


Reeses Peanut Butter Banana Bread isn’t just a dessert; it’s a nostalgic hug in every slice, a culinary symphony that marries two beloved comfort foods into something truly extraordinary. If you’ve ever found yourself craving the creamy, salty sweetness of Reese’s Peanut Butter Cups and the rich, moist deliciousness of homemade banana bread, then prepare for your taste buds to do a happy dance. This isn’t your average quick bread; it’s a celebration of textures and flavors, where the distinct allure of peanut butter chips and finely chopped peanut butter cups melts into the tender, banana-infused crum extractb. What makes this particular Reeses Peanut Butter Banana Bread so special? It’s the perfect balance – the natural sweetness of ripe bananas is beautifully complemented by the irresistible, iconic taste of peanut butter, creating a treat that’s both familiar and excitingly new.

Ingredients:
- 1 1/2 cups all-purpose flour
- 1/2 teaspoon baking soda
- 1 1/2 teaspoons baking powder
- 1/2 teaspoon kosher salt
- 3 very ripe medium bananas, mashed
- 1/2 cup creamy peanut butter
- 1/4 cup vegetable oil
- 2 large eggs
- 1 cup granulated sugar
- 8 ounces miniature peanut butter cups, chopped (or regular peanut butter cups, chopped)
Getting Started: Preheat and Prep
Preheat Your Oven and Prepare Your Loaf Pan
The first step to creating a delicious Reeses Peanut Butter Banana Bread is to get your oven and your baking vessel ready. Preheat your oven to 350 degrees Fahrenheit (175 degrees Celsius). This consistent, moderate temperature is ideal for baking quick breads, ensuring they cook through evenly without burning the outside before the inside is done. While the oven is preheating, it’s time to prepare your loaf pan. Take a standard 9×5 inch loaf pan and grease it thoroughly. You can use butter, cooking spray, or a baking spray specifically designed for non-stick properties. For an extra layer of insurance against sticking, and to make unmolding a breeze, I highly recommend lining the pan with parchment paper. Cut a piece of parchment paper to fit the bottom of the pan, and then cut two long strips that will overhang the sides. This creates “handles” that you can later use to lift the baked bread right out of the pan.
Mixing the Wet Ingredients
Combining the Creamy and Sweet Elements
In a large mixing bowl, begin extract by combining your mashed bananas, creamy peanut butter, and vegetable oil. Mash your bananas until they are smooth and free of large lumps. The riper the bananas, the sweeter and more intensely banana-flavored your bread will be, so don’t be afraid of bananas with plenty of brown spots! Add the creamy peanut butter to the mashed bananas. Ensure it’s well-incorporated. Then, pour in the vegetable oil. Whisk these three ingredients together until they form a relatively smooth and homogenous mixture. Next, crack your two large eggs into the bowl. Add the granulated sugar to this mixture as well. Now, whisk everything vigorously until it’s well combined and slightly lighter in color. The sugar will start to dissolve, and the mixture will become cohesive. This stage is crucial for ensuring that the flavors and textures are evenly distributed throughout the final loaf.
Incorporating the Dry Ingredients and Chocolatey Goodness
gin extract>Bringing It All Together
Now, it’s time to introduce the dry ingredients. In a separate medium-sized bowl, whisk together the all-purpose flour, baking soda, baking powder, and kosher salt. Whisking these dry ingredients together beforehand helps to ensure that the leavening agents (baking soda and baking powder) and the salt are evenly distributed throughout the flour, preventing pockets of bitterness or uneven rising in your bread. Once the dry ingredients are well combined, gently add them to the wet ingredients. Use a spatula or wooden spoon to fold the dry ingredients into the wet ingredients until just combined. Be careful not to overmix at this stage. Overmixing can develop the gluten in the flour too much, resulting in a tough loaf of bread. A few streaks of flour are perfectly acceptable at this point; they will disappear as you fold in the star of the show: the Reeses peanut butter cups!
Folding in the Reeses Peanut Butter Cups
The Chocolatey Surprise
Now for the truly exciting part – the Reeses peanut butter cups! Take your 8 ounces of miniature peanut butter cups and chop them into smaller pieces. You can do this with a knife on a cutting board or pulse them briefly in a food processor if you prefer smaller, more uniform crum extractbles. Reserve about a quarter of the chopped peanut butter cups to sprinkle on top of the batter before baking. Add the remaining three-quarters of the chopped peanut butter cups to the batter. Gently fold them into the mixture using your spatula. You want to distribute them evenly throughout the batter, ensuring that every slice of your Reeses Peanut Butter Banana Bread will have a delightful burst of peanut butter cup goodness. The goal is to get them distributed without overmixing the batter.
Baking Your Masterpiece
The Final Transformation
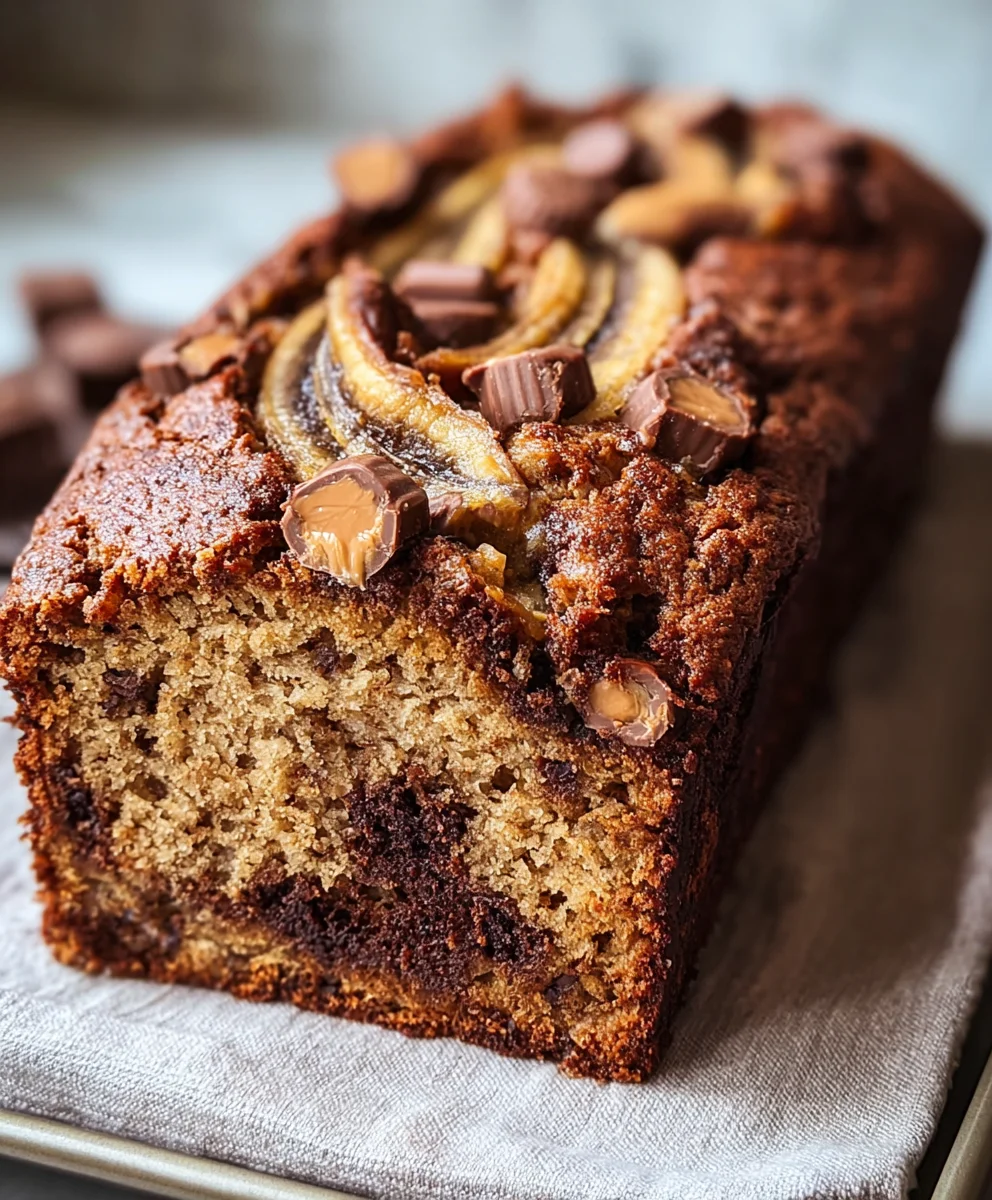
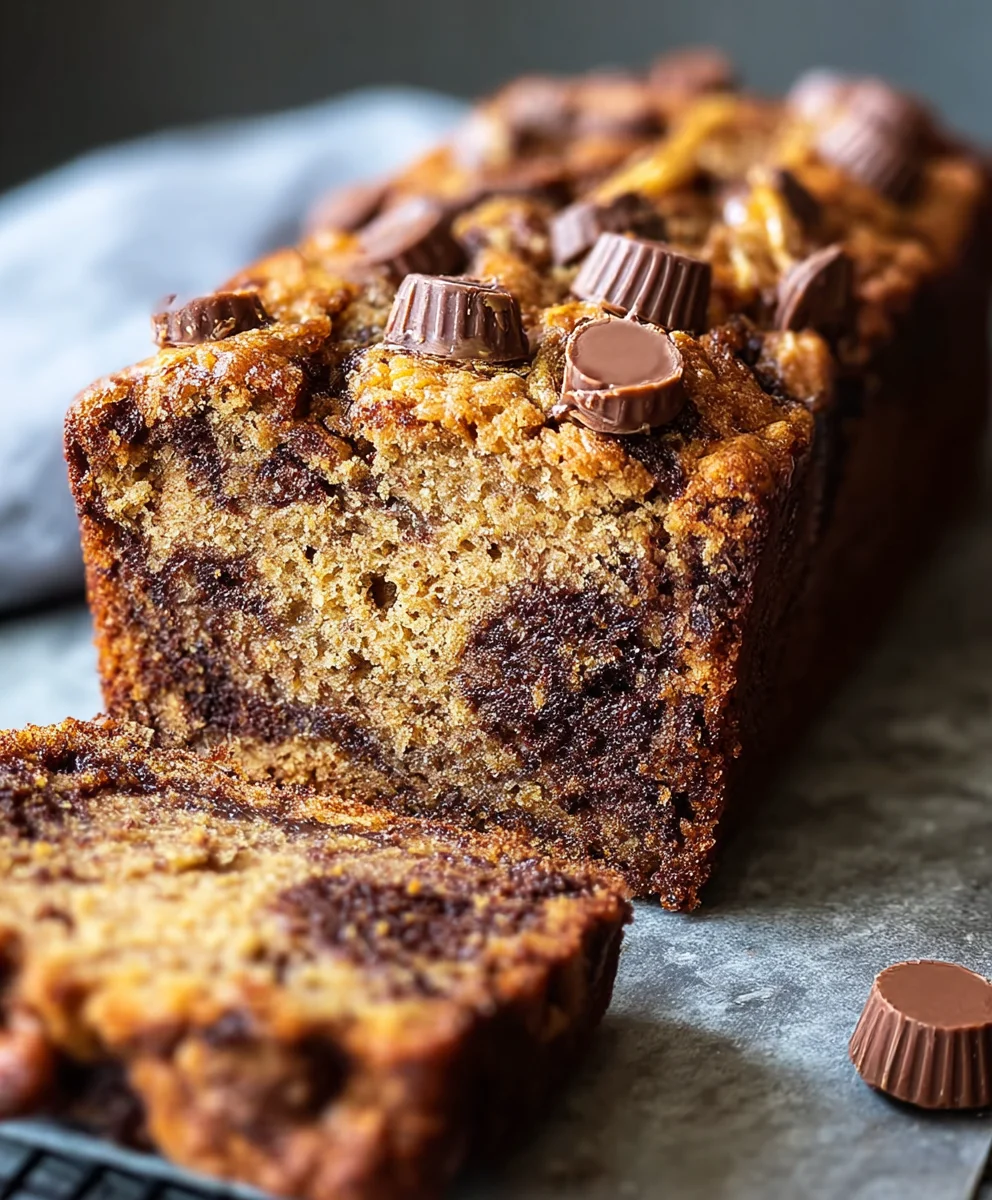
Pour the batter evenly into your prepared loaf pan. Use your spatula to spread the batter to the edges of the pan, creating a relatively level surface. Sprinkle the reserved chopped peanut butter cups over the top of the batter. This will create a beautiful, chocolatey crust as the bread bakes. Place the loaf pan in the preheated oven. Bake for 50-65 minutes, or until a wooden skewer or toothpick inserted into the center of the loaf comes out clean or with just a fewrum extractist crumbs attached. If the top of your bread starts to brown too quickly during baking, you can loosely tent it with aluminum foil. This will protect the crust from burning while allowing the inside to finish cooking.
Cooling and Enjoying
Patience is a Virtue
Once your Reeses Peanut Butter Banana Bread is baked to perfection, carefully remove the loaf pan from the oven. Let the bread cool in the pan for about 10-15 minutes. This initial cooling period allows the bread to firm up slightly, making it easier to remove from the pan without breaking. After this initial cooling, use the parchment paper overhangs to gently lift the loaf out of the pan and transfer it to a wire cooling rack to cool completely. Allowing the bread to cool completely is crucial for the best texture and flavor. Cutting into it too early can result in a gummy texture. Once fully cooled, slice and enjoy your incredibly delicious Reeses Peanut Butter Banana Bread. It’s fantastic on its own, toasted, or even with a smear of extra peanut butter!
Conclusion:
And there you have it – your very own batch of delicious Reeses Peanut Butter Banana Bread! We hope you enjoyed this journey of transforming simple ingredients into a truly irresistible treat. This bread is more than just a dessert; it’s a warm hug in every slice, perfect for breakfast, a mid-afternoon snack, or even a late-night craving. The combination of sweet banana, rich peanut butter, and those iconic Reeses pieces creates a flavor profile that’s both comforting and exciting. Don’t be afraid to get creative with your additions and enjoy the process of making this special bread. Happy baking!
Frequently Asked Questions:
Can I make this Reeses Peanut Butter Banana Bread ahead of time?
Absolutely! This Reeses Peanut Butter Banana Bread actually tastes even better the next day as the flavors meld together. Store it in an airtight container at room temperature for up to 3 days, or wrap it tightly and freeze for up to 3 months. Thaw at room temperature before serving.
What other mix-ins work well with this Reeses Peanut Butter Banana Bread?
While Reeses pieces are the star, feel free to experiment! Chocolate chips (milk, dark, or semi-sweet) are a classic addition. Chopped nuts like walnuts or pecans add a lovely crunch, or you could even stir in a tablespoon or two of instant coffee granules for a mocha twist.
My Reeses Peanut Butter Banana Bread seems a little dense. What could I have done differently?
A common culprit for dense banana bread is overmixing the batter once the flour is added. Mix just until the dry ingredients are incorporated to avoid developing too much gluten. Also, ensure your bananas are very ripe – they contain more moisture and natural sugars, leading to a lighter, more flavorful loaf.
Reeses Peanut Butter Banana Bread
A deliciously easy recipe for moist and flavorful banana bread packed with Reese’s Peanut Butter Cups.
Ingredients
-
1 1/2 cups all-purpose flour
-
1/2 teaspoon baking soda
-
1 1/2 teaspoons baking powder
-
1/2 teaspoon kosher salt
-
3 very ripe medium bananas, mashed
-
1/2 cup creamy peanut butter
-
1/4 cup vegetable oil
-
2 large eggs
-
1 cup granulated sugar
-
8 ounces miniature peanut butter cups, chopped
Instructions
-
Step 1
Preheat your oven to 350 degrees Fahrenheit (175 degrees Celsius). Grease and flour a 9×5 inch loaf pan, or line it with parchment paper, leaving an overhang for easy removal. -
Step 2
In a large bowl, combine mashed bananas, creamy peanut butter, and vegetable oil. Whisk until smooth. Add the eggs and granulated sugar, whisking vigorously until well combined and slightly lighter in color. -
Step 3
In a separate medium bowl, whisk together the all-purpose flour, baking soda, baking powder, and kosher salt. Gently add the dry ingredients to the wet ingredients and fold until just combined. Do not overmix. -
Step 4
Fold in three-quarters of the chopped Reeses peanut butter cups into the batter. Reserve the remaining quarter for topping. -
Step 5
Pour the batter evenly into the prepared loaf pan and spread to the edges. Sprinkle the reserved chopped peanut butter cups over the top. -
Step 6
Bake for 50-65 minutes, or until a wooden skewer inserted into the center comes out clean. If the top browns too quickly, loosely tent with aluminum foil. -
Step 7
Let the bread cool in the pan for 10-15 minutes before lifting it out using the parchment paper overhangs onto a wire rack to cool completely.
Important Information
Nutrition Facts (Per Serving)
It is important to consider this information as approximate and not to use it as definitive health advice.
Allergy Information
Please check ingredients for potential allergens and consult a health professional if in doubt.


Leave a Comment