

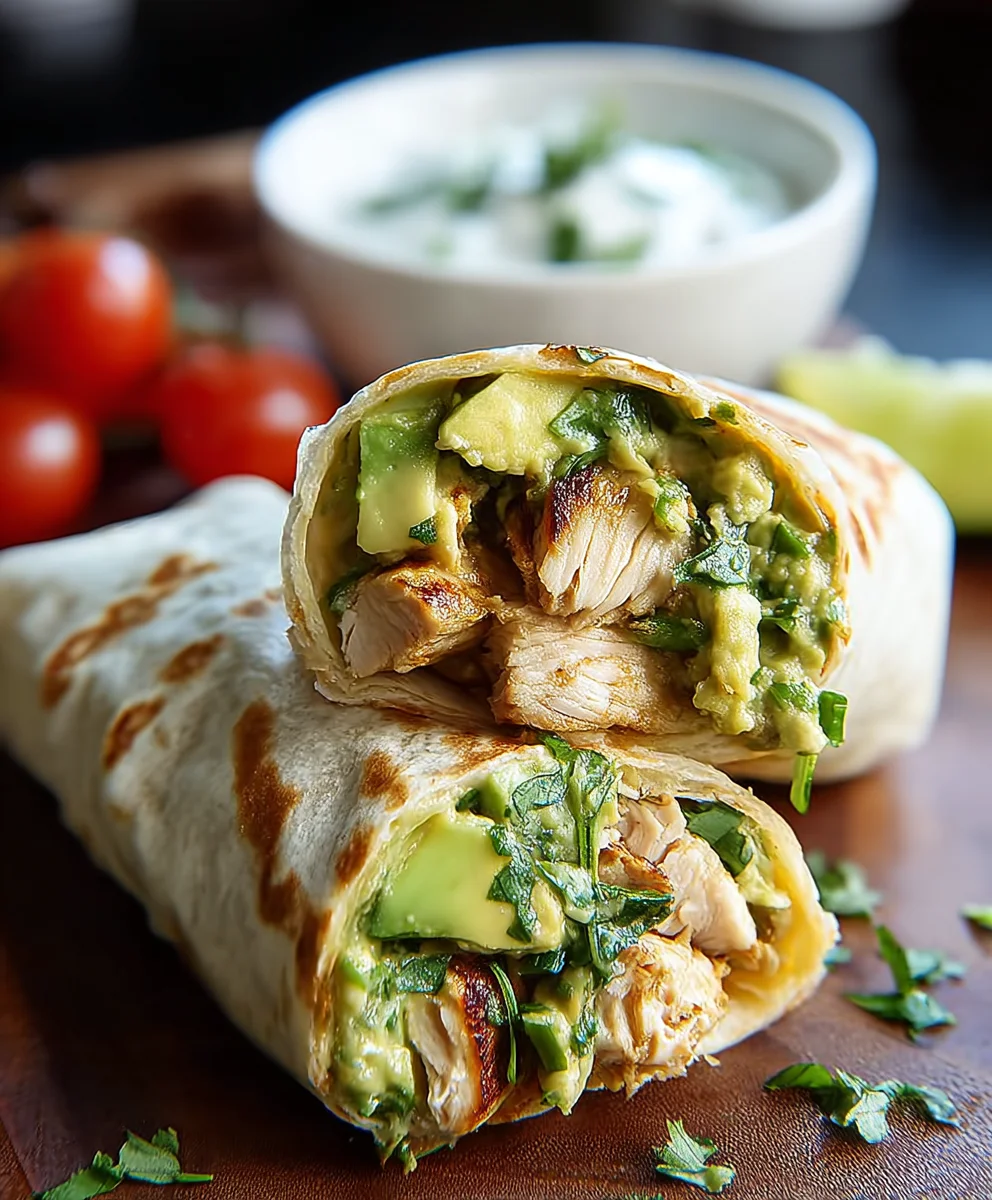
Quick Chicken Avocado Burritos are more than just a meal; they’re a culinary hug in a tortilla, a vibrant explosion of fresh flavors that come together with unbelievable speed. In today’s whirlwind world, who doesn’t crave something delicious, satisfying, and, most importantly, easy to whip up? That’s where these delightful burritos shine. People adore them because they strike that perfect balance between being incredibly wholesome and undeniably craveable. The creamy avocado, the tender chicken, and the zesty lime create a symphony of tastes and textures that dance on your palate. What truly sets these Quick Chicken Avocado Burritos apart is their sheer versatility and the promise of a restaurant-quality experience without the fuss or the extensive ingredient list. They’re the ultimate weeknight savior, a guaranteed crowd-pleaser, and a fantastic way to nourish yourself and your loved ones without spending hours in the kitchen. Get ready to discover your new go-to for a speedy, sensational meal.

Ingredients:
- 4 burrito sized tortillas, warmed
- 1 pound cooked chicken, sliced or shredded
- 1 large avocado, diced
- 1 cup Monterey Jack cheese, shredded
- 1/4 cup salsa verde
- 1/4 cup sour cream or greek yogurt
- 2 tablespoons cilantro, chopped
Assembling the Burritos
Preparing the Filling Base
- In a medium bowl, combine the cooked chicken, diced avocado, shredded Monterey Jack cheese, and chopped cilantro. This forms the heart of your Quick Chicken Avocado Burritos. Make sure your chicken is already cooked and cooled slightly so it doesn’t melt the cheese too quickly or make the avocado mushy. If you’re shredding your chicken, a rotisserie chicken is a fantastic shortcut here, saving you cooking time and adding a wonderful depth of flavor. For dicing the avocado, aim for small, uniform pieces. This ensures you get a bit of creamy avocado in every bite and prevents large chunks from making the burrito difficult to eat.
- Next, add the salsa verde and sour cream (or Greek yogurt, for a slightly lighter option) to the chicken and avocado mixture. Gently fold everything together until just combined. You don’t want to overmix, especially with the avocado, as it can become bruised and unappetizing. The salsa verde will add a bright, zesty flavor with a hint of heat, while the sour cream or yogurt will provide a creamy balance. Taste this mixture and adjust seasonings if needed. While the salsa verde has flavor, you might want to add a pinch of salt or a grind of black pepper depending on your preference and the saltiness of your chicken and cheese.
Warming and Filling the Tortillas
- Now it’s time to get your tortillas ready for filling. It’s crucial to warm them so they become pliable and don’t crack when you roll them. You can do this in a few ways. The easiest is to microwave them: wrap a stack of tortillas in a damp paper towel and microwave for about 30-60 seconds, or until they are warm and flexible. Alternatively, you can warm them one by one in a dry skillet over medium heat for about 15-20 seconds per side, or directly over a low gas flame for a few seconds, being very careful not to burn them. Once warmed, lay one tortilla flat on a clean surface or a plate.
- Spoon a generous portion of the prepared chicken and avocado filling down the center of the tortilla, leaving about an inch of space on each side and an inch at the top and bottom. Don’t overfill, as this will make rolling a challenge. The amount you spoon will depend on the size of your tortillas and how generously you want to fill them, but aim for roughly a quarter of the filling mixture per burrito. Distribute the filling evenly across the width of the tortilla, creating a compact line that will be easy to enclose.
Rolling the Burritos to Perfection
- This is where the magic happens! To roll your burrito, first, fold the left and right sides of the tortilla inward, over the filling, tucking them in snugly. This creates a secure packet that will prevent the filling from spilling out. Think of it like wrapping a gift; you want neat, tight folds. Ensure the filling is packed somewhat compactly before you start rolling.
- Once the sides are tucked in, begin extract rolling the tortilla upwards from the bottom edge, keeping the filling as tight as possible. Use your fingers to hold the tucked-in sides in place as you roll. The goal is to create a tightly senon-alcoholic aled cylinder. If your tortilla is very warm and pliable, this step should be relatively easy. If you find it’s being stubborn, you might need to gently press down as you roll. The warmth from the tortillas is your best friend here.
Serving Your Quick Chicken Avocado Burritos
Once rolled, you can serve your Quick Chicken Avocado Burritos immediately. For an extra touch, you can lightly sear them in a dry skillet for a minute or two per side until golden brown and slightly crispy. This adds a delightful textural contrast and a warm, toasted flavor. Garnish with extra cilantro if you like, and serve with any additional toppings you desire, such as extra salsa, a dollop of sour cream, or some shredded lettuce. Enjoy the vibrant flavors and satisfying textures of these delicious burritos!
Conclusion:
And there you have it – your delicious and incredibly satisfying Quick Chicken Avocado Burritos are ready to be devoured! This recipe is a testament to how simple ingredients can come together to create a meal that’s both healthy and bursting with flavor. We hope you enjoyed making these as much as we enjoyed eating them. The creamy avocado, tender chicken, and fresh toppings create a harmonious blend that will leave you feeling perfectly content. Don’t hesitate to make these your go-to weeknight meal or a fantastic option for casual gatherings.
We love serving our Quick Chicken Avocado Burritos with a side of black beans and a dollop of sour cream or Greek yogurt. For variations, feel free to add some corn, diced bell peppers, or even a sprinkle of your favorite hot sauce for an extra kick. You can also swap out the shredded chicken for seasoned ground turkey or even seasoned tofu for a vegetarian option. The beauty of these burritos is their adaptability! So go ahead, get creative, and make them your own.
Frequently Asked Questions:
Can I make the chicken ahead of time for these Quick Chicken Avocado Burritos?
Absolutely! To save even more time, you can cook and shred the chicken a day or two in advance. Store it in an airtight container in the refrigerator. When you’re ready to assemble the burritos, simply reheat the chicken gently on the stovetop or in the microwave.
What are some other filling ideas for Quick Chicken Avocado Burritos?
Beyond the core ingredients, consider adding seasoned rice, refried beans, shredded lettuce, pico de gallo, shredded cheese (cheddar, Monterey Jack, or a Mexican blend work wonderfully), or even some pickled jalapeños for a tangy bite. Each addition can elevate the flavor and texture profile of your burritos.
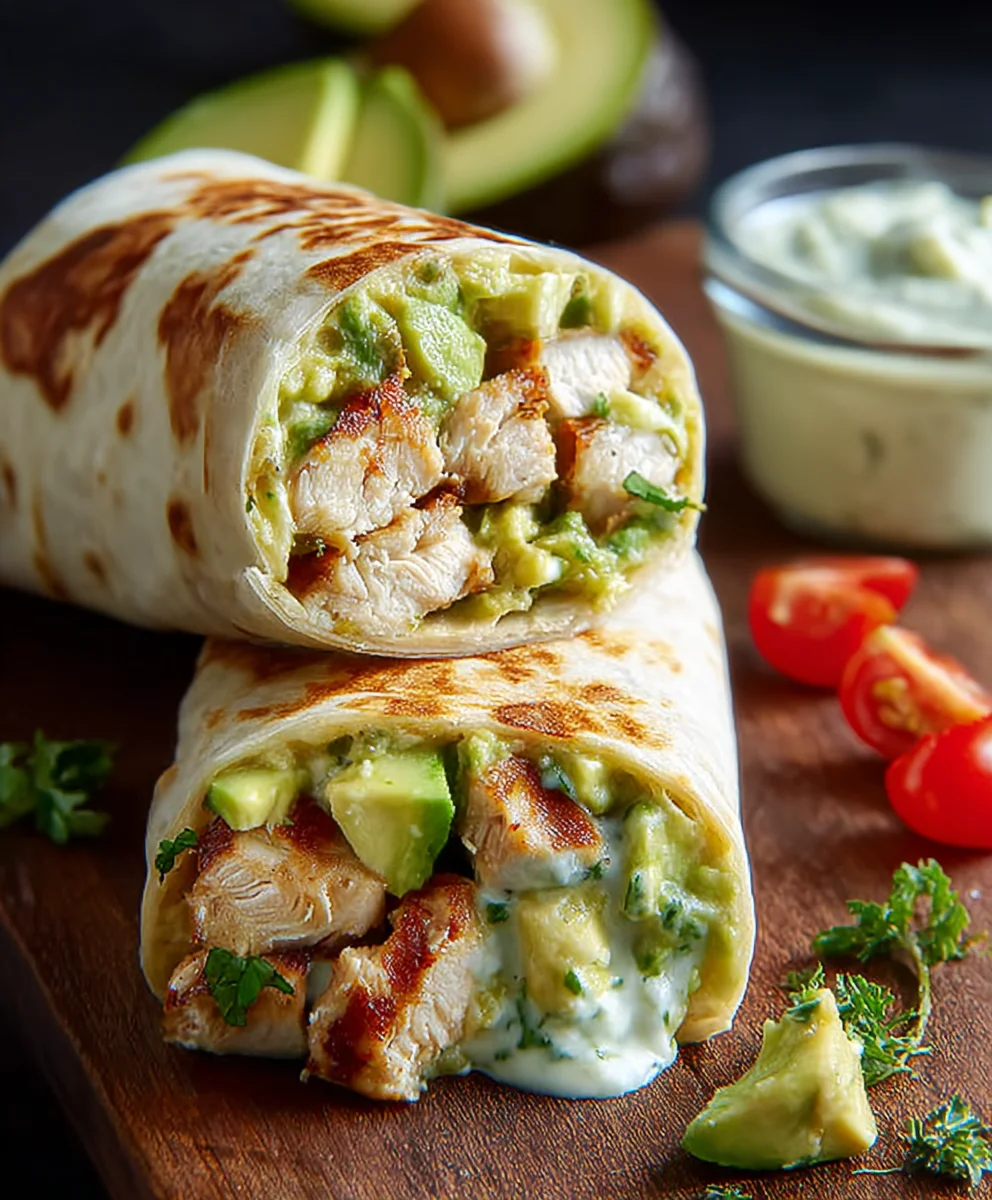
Easy Quick Beef Avocado Burritos
Flavorful and quick beef avocado burritos perfect for a speedy meal.
Ingredients
-
4 burrito sized tortillas, warmed
-
1 pound cooked beef, sliced or shredded
-
1 large avocado, diced
-
1 cup Monterey Jack cheese, shredded
-
1/4 cup salsa verde
-
1/4 cup sour cream or greek yogurt
-
2 tablespoons cilantro, chopped
Instructions
-
Step 1
In a medium bowl, combine the cooked beef, diced avocado, shredded Monterey Jack cheese, and chopped cilantro. Ensure the beef is cooked and slightly cooled. Dice the avocado into small, uniform pieces. -
Step 2
Add the salsa verde and sour cream (or Greek yogurt) to the beef and avocado mixture. Gently fold everything together until just combined. Taste and adjust seasonings if needed. -
Step 3
Warm the burrito-sized tortillas until pliable. This can be done in a microwave wrapped in a damp paper towel or in a dry skillet over medium heat. -
Step 4
Lay a warmed tortilla flat and spoon a generous portion of the filling down the center, leaving space on the sides and ends. Do not overfill. -
Step 5
Fold the left and right sides of the tortilla inward over the filling, tucking them in snugly. Then, roll the tortilla upwards from the bottom edge, keeping the filling tight. -
Step 6
Serve immediately or lightly sear in a dry skillet until golden brown and slightly crispy. Garnish with extra cilantro if desired.
Important Information
Nutrition Facts (Per Serving)
It is important to consider this information as approximate and not to use it as definitive health advice.
Allergy Information
Please check ingredients for potential allergens and consult a health professional if in doubt.

Leave a Comment