


Red Velvet Cinnamon Rolls are more than just a breakfast treat; they’re an experience. Imagin extracte waking up to the non-intoxicating aroma of warm, sweet dough, a whisper of cocoa, and the vibrant hue of deep red. These aren’t your average cinnamon rolls. They’re a decadent fusion, taking the beloved, slightly tangy, and cocoa-infused notes of red velvet cake and transforming them into the ultimate gooey, swirl-filled pastry. People adore them because they offer a familiar comfort with an exciting twist. The magic lies in that perfect balance: the subtle richness of the red velvet batter meets the classic warmth of cinnamon, all topped off with a luscious cream cheese frosting that’s undeniably addictive. Get ready to elevate your mornings or your dessert game with these show-stopping Red Velvet Cinnamon Rolls that are guaranteed to impress.

Ingredients:
- 1 cup warm milk (around 110°F)
- 2¼ teaspoons active dry yeast
- ½ cup granulated sugar
- ¼ cup melted unsalted butter
- 2 large eggs, at room temperature
- 1 teaspoon vanilla extract
- 4 cups all-purpose flour, plus more for dusting
- 2 tablespoons unsweetened cocoa powder
- 1 teaspoon salt
- 2 tablespoons red food coloring
- ½ cup unsalted butter, softened to room temperature (for the filling)
- 1 cup packed light brown sugar (for the filling)
- 2 tablespoons ground cinnamon (for the filling)
- 4 ounces cream cheese, softened to room temperature (for the frosting)
- ¼ cup unsalted butter, softened to room temperature (for the frosting)
Making the Red Velvet Dough
Step 1: Activate the Yeast and Mix the Wet Ingredients
Begin extract by gently warming your milk. You want it to be lukewarm, around 110°F. This is the perfect temperature to wake up your active dry yeast and get it working. Pour the warm milk into a large mixing bowl and sprinkle the active dry yeast over the top. Let it sit undisturbed for about 5-10 minutes. You’ll see it start to foam and bubble, which is a sign that your yeast is alive and ready to go! Next, add the ½ cup of granulated sugar to the foamy yeast mixture and stir gently. Now, whisk in the ¼ cup of melted unsalted butter. We want these flavors to meld together beautifully. In a separate small bowl, lightly beat the 2 large eggs, then add them to the yeast mixture along with the 1 teaspoon of vanilla extract. Whisk everything together until it’s well combined. The warmth from the milk and the richness of the butter and eggs create a wonderful base for our dough.
Step 2: Combine Dry Ingredients and Form the Dough
In a medium bowl, whisk together the 4 cups of all-purpose flour, 2 tablespoons of unsweetened cocoa powder, and 1 teaspoon of salt. This ensures that the cocoa powder and salt are evenly distributed throughout the flour, preventing any pockets of bitterness or saltiness. Gradually add the dry ingredients to the wet ingredients in the large mixing bowl, mixing on low speed with a stand mixer fitted with a dough hook, or stirring with a sturdy spoon if mixing by hand. As the dough starts to come together, add the 2 tablespoons of red food coloring. It might seem like a lot, but remember we’re aiming for a vibrant red hue that will bake into a beautiful characteristic red velvet color. Continue mixing until a shaggy dough forms.
Step 3: Knead the Dough to Develop Gluten
Once the dough has formed, it’s time to knead it. If using a stand mixer, increase the speed to medium-low and knead for about 8-10 minutes. The dough should become smooth, elastic, and pull away from the sides of the bowl. If you’re kneading by hand, turn the dough out onto a lightly floured surface and knead for about 10-12 minutes. Push the dough away from you with the heels of your hands, then fold it back over and repeat. The goal is to develop the gluten, which will give our cinnamon rolls their lovely soft and chewy texture. If the dough feels too sticky, add flour a tablespoon at a time, but be careful not to add too much, as this can make the rolls tough.
Step 4: First Rise – Let the Dough Double in Size
Lightly grease a clean large bowl with a little oil or cooking spray. Place the kneaded dough into the bowl, turning it to coat all sides. Cover the bowl tightly with plastic wrap or a clean kitchen towel. Find a warm, draft-free spot in your kitchen for the dough to rise. This could be in a slightly warmed oven (turned off!) or simply on your countertop on a warm day. Let the dough rise for 1 to 1.5 hours, or until it has doubled in size. This magical transformation is thanks to the yeast working its magic, creating air pockets that will make our rolls light and fluffy.
Assembling and Baking the Red Velvet Cinnamon Rolls
Step 5: Shape the Rolls and Second Rise
Once the dough has doubled, gently punch it down to release the air. Turn the dough out onto a lightly floured surface. With a rolling pin, roll the dough into a large rectangle, approximately 12×18 inches. Aim for an even thickness. Now, for the luscious filling. In a medium bowl, combine the ½ cup of softened unsalted butter, 1 cup of packed light brown sugar, and 2 tablespoons of ground cinnamon. Mix with a fork until it forms a paste. Spread this cinnamon-sugar mixture evenly over the surface of the rolled-out dough, leaving a small border (about ½ inch) along one of the long edges. This border will help seal the roll. Starting from the long edge opposite the border, tightly roll up the dough. Try to keep the roll as even as possible to ensure uniform baking. Once rolled, use a sharp knife or dental floss to cut the log into 12 equal slices, about 1.5 inches thick. Place the cinnamon rolls, cut-side up, into a greased 9×13 inch baking pan. Cover the pan loosely with plastic wrap or a clean kitchen towel and let them rise for another 30-45 minutes. They will puff up and become slightly larger during this second rise.
Step 6: Bake to Golden Perfection
Preheat your oven to 350°F (175°C). Once the rolls have completed their second rise, remove the covering. Place the baking pan into the preheated oven and bake for 20-25 minutes, or until the tops are lightly golden brown and the centers are cooked through. You can test for doneness by gently pressing the center of a roll; it should spring back. Be careful not to overbake them, as this can lead to dry rolls.
Crafting the Cream Cheese Frosting
Step 7: Whip Up the Tangy Cream Cheese Frosting
While the cinnamon rolls are baking or cooling slightly, prepare the frosting. In a medium bowl, beat the 4 ounces of softened cream cheese with the ¼ cup of softened unsalted butter using an electric mixer until smooth and creamy. This is your base for a wonderfully tangy and rich frosting. Gradually beat in about 1 cup of powdered sugar (not listed ingin extracte original ingredients but essential for frosting consistency – assume a standard amount) until the frosting is thick and spreadable. If it’s too thick, add a tablespoon of milk or cream until you reach your desired consistency. For an extra touch, you can add a splash of vanilla extract if you like. The key is to have the cream cheese and butter at room temperature, making them easy to whip into a smooth, lump-free frosting.
Step 8: Frost and Enjoy
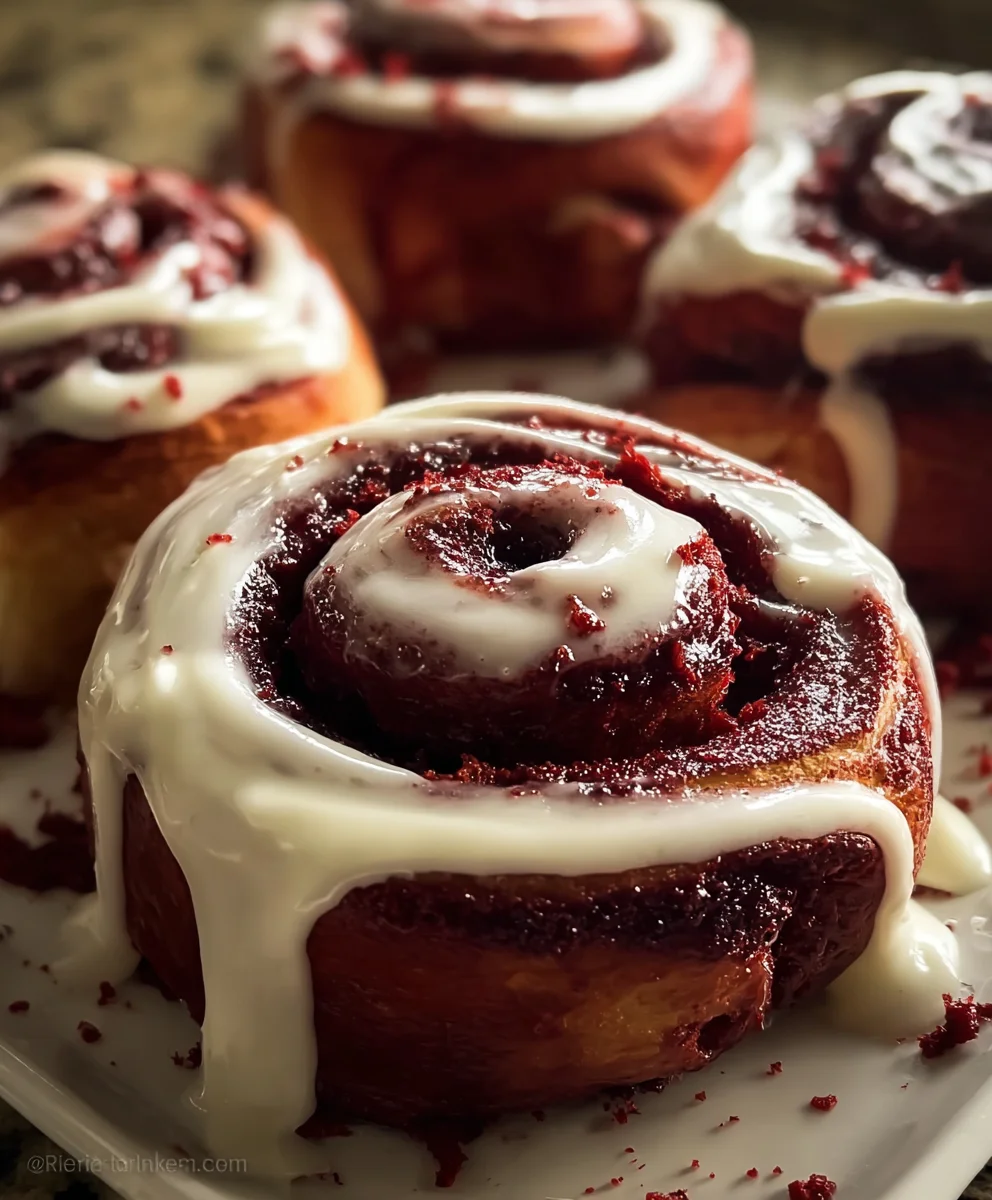
Once the red velvet cinnamon rolls have cooled for about 10-15 minutes – you want them warm, but not piping hot, so the frosting melts slightly without becoming completely liquid – generously spread the cream cheese frosting over the warm rolls. Use an offset spatula or a knife to get an even coating. The warmth of the rolls will help the frosting melt slightly, creating that irresistible gooeyness. Allow the frosting to set for a few minutes before serving. These Red Velvet Cinnamon Rolls are best enjoyed warm, making them the perfect treat for breakfast, brunch, or a delightful dessert.
Conclusion:
And there you have it! Your very own batch of decadent Red Velvet Cinnamon Rolls. We’ve walked through each step together, from crafting that vibrant red dough to swirling in the rich cinnamon-sugar filling and finishing with a luscious cream cheese frosting. The aroma alone is enough to make your kitchen feel like a cozy bakery, and the taste is simply divine – a perfect balance of sweet, spiced, and velvety goodness.
These Red Velvet Cinnamon Rolls are fantastic served warm, straight from the oven, for breakfast or brunch. For an extra special treat, consider serving them with a hot cup of coffee or a glass of cold milk. They also make a delightful dessert when enjoyed after dinner. Don’t be afraid to get creative with variations! You can add chocolate chips to the filling, sprinkle some chopped pecans on top before baking, or even experiment with different frosting flavors like a white chocolate ganache.
We truly hope you enjoy making and, more importantly, eating these delightful Red Velvet Cinnamon Rolls. They’re a labor of love that’s absolutely worth the effort. So gather your ingredients, put on your favorite apron, and get ready to impress yourself and anyone lucky enough to share these with you!
Frequently Asked Questions:
Q: Can I make the dough for these Red Velvet Cinnamon Rolls ahead of time?
A: Yes, absolutely! You can prepare the dough up to the point of the first rise, then cover it tightly and refrigerate it overnight. When you’re ready to proceed, let the dough come to room temperature for about 30-60 minutes before rolling and filling. This makes them perfect for a special weekend morning without all the early prep!
Q: My red velvet dough isn’t as vibrantly red as I expected. What did I do wrong?
A: Color intensity can vary depending on the brand of red food coloring you use. For a deeper, richer red, you might need to use a gel food coloring rather than liquid, and potentially a bit more of it. Don’t be afraid to add a few extra drops until you achieve your desired hue, but remember to do so gradually to avoid making the dough too wet. The vinegar and cocoa powder also react with the food coloring, sometimes slightly altering the shade.
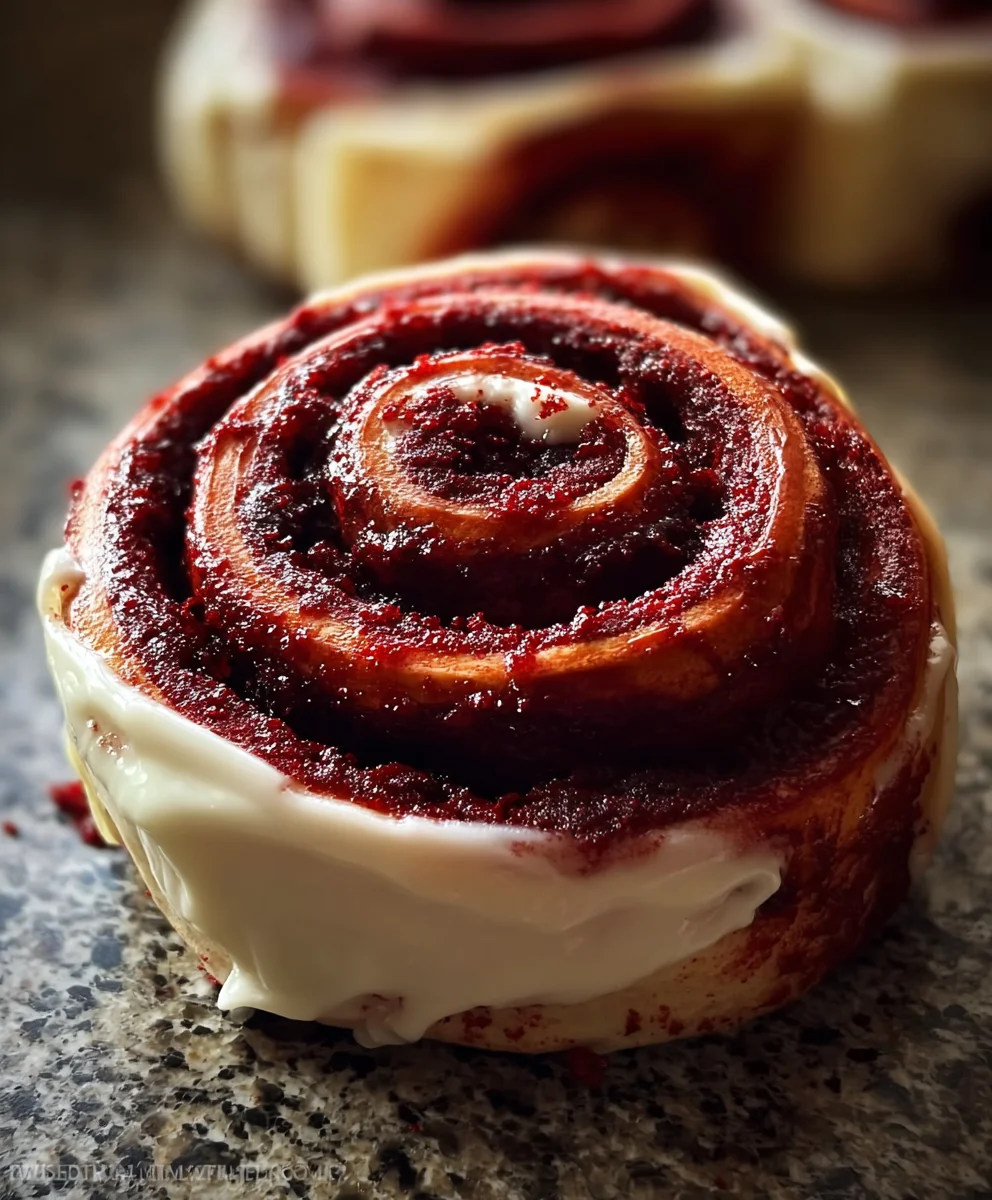
Decadent Red Velvet Cinnamon Rolls
Indulge in festive baking with these decadent red velvet cinnamon rolls, featuring a vibrant red dough, a spiced cinnamon-sugar filling, and a luscious cream cheese frosting.
Ingredients
-
1 cup warm milk (around 110°F)
-
2¼ teaspoons active dry yeast
-
½ cup granulated sugar
-
¼ cup melted unsalted butter
-
2 large eggs
-
1 teaspoon vanilla extract
-
4 cups all-purpose flour
-
2 tablespoons unsweetened cocoa powder
-
1 teaspoon salt
-
2 tablespoons red food coloring
-
½ cup unsalted butter, softened
-
1 cup packed light brown sugar
-
2 tablespoons ground cinnamon
-
4 ounces cream cheese, softened
-
¼ cup unsalted butter, softened
Instructions
-
Step 1
In a large mixing bowl, warm milk to 110°F. Sprinkle yeast over milk and let sit for 5-10 minutes until foamy. Stir in granulated sugar and melted butter. In a separate bowl, beat eggs and add to yeast mixture with vanilla extract. Whisk until well combined. -
Step 2
In a medium bowl, whisk together flour, cocoa powder, and salt. Gradually add dry ingredients to wet ingredients in the large bowl, mixing on low speed until a shaggy dough forms. Add red food coloring and continue mixing until incorporated. -
Step 3
Knead the dough on a lightly floured surface for 10-12 minutes until smooth and elastic. If using a stand mixer, knead for 8-10 minutes on medium-low speed. The dough should pull away from the sides of the bowl. Add flour sparingly if too sticky. -
Step 4
Lightly grease a clean bowl. Place kneaded dough in the bowl, turning to coat. Cover tightly and let rise in a warm, draft-free spot for 1 to 1.5 hours, or until doubled in size. -
Step 5
Punch down the dough and turn it out onto a lightly floured surface. Roll into a 12×18 inch rectangle. In a medium bowl, combine softened butter, brown sugar, and cinnamon to form a paste. Spread evenly over the dough, leaving a ½ inch border. Tightly roll up the dough from the long edge opposite the border. Cut into 12 equal slices and place cut-side up in a greased 9×13 inch baking pan. Cover and let rise for 30-45 minutes. -
Step 6
Preheat oven to 350°F (175°C). Bake the rolls for 20-25 minutes, or until lightly golden brown and cooked through. Gently press the center of a roll to test for doneness. -
Step 7
While rolls bake or cool, prepare the frosting. Beat softened cream cheese and softened butter until smooth and creamy. Gradually beat in powdered sugar until thick and spreadable. Adjust consistency with milk or cream if needed. -
Step 8
Once rolls have cooled for 10-15 minutes, spread cream cheese frosting generously over the warm rolls. Let the frosting set for a few minutes before serving. Best enjoyed warm.
Important Information
Nutrition Facts (Per Serving)
It is important to consider this information as approximate and not to use it as definitive health advice.
Allergy Information
Please check ingredients for potential allergens and consult a health professional if in doubt.

Leave a Comment