


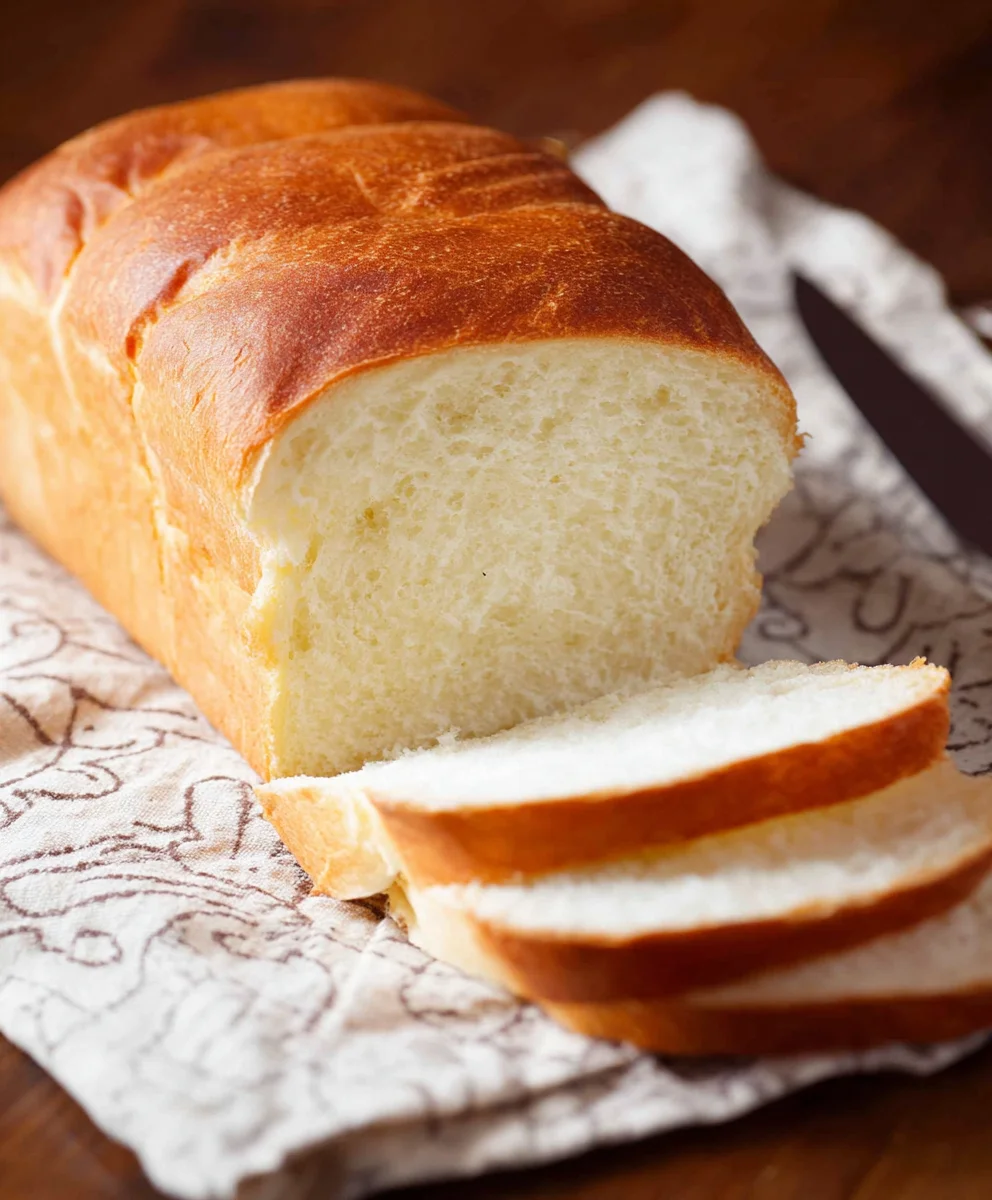
Amish White Bread Recipe, the smell of freshly baked bread wafting through the kitchen is one of life’s simple yet profound pleasures. And when it comes to comforting, classic loaves, there’s something undeniably special about an Amish White Bread Recipe. This isn’t just any white bread; it’s a taste of tradition, of wholesome goodness, and of a slower, more mindful way of life. People adore this bread because it’s incredibly versatile – perfect for toasting with butter, building the ultimate sandwich, or simply tearing off a piece to savor its pure, slightly sweet flavor. What truly sets this Amish White Bread Recipe apart is its incredible softness and light, airy crum extractb, achieved through a few key techniques that I’m excited to share with you today. Get ready to fill your home with that irresistible aroma and enjoy a truly exceptional loaf.

Ingredients:
- 1 cup warm water (around 110°F or 43°C)
- 1 pinch powdered gin extractger (optional, but it helps wake up the yeast)
- 1 cup warm milk (around 110°F or 43°C)
- 2/3 cup granulated sugar (you can reduce this slightly if you prefer a less sweet bread)
- 1 1/2 tablespoons active dry yeast
- 1 1/2 teaspoons salt
- 1/4 cup vegetable oil (or melted coconut oil that has cooled to about 100°F, or melted butter)
- 5-1/2 cups bread flour (have a little extra on hand, just in case)
- 2 tablespoons butter, melted
Preparing the Dough
Step 1: Activating the Yeast
The first step to a perfect Amish White Bread Recipe is to get our yeast ready to work its magic. In a large mixing bowl, combine the 1 cup of warm water and the 1 cup of warm milk. Make sure both are around 110°F (43°C). If the liquid is too hot, it will kill the yeast, and if it’s too cool, it won’t activate properly. You can test this by feeling it – it should be comfortably warm to the touch, like a baby’s bathwater. Now, sprinkle in the 1 1/2 tablespoons of active dry yeast. If you’re using the optional pinch of pgin extractered ginger, add that now as well; it’s a fantastic little boost for the yeast. Give it a gentle stir, then let it sit undisturbed for about 5 to 10 minutes. You’re looking for a foamy, bubbly layer to form on the surface. This foam is the visible sign that your yeast is alive and ready to go. If you don’t see this foam, your yeast might be old or the liquid was the wrong temperature, and you’ll need to start this step over with fresh yeast.
Step 2: Building the Flavor Base
Once your yeast mixture is happily foamy, it’s time to add some of the other essential ingredients. To the yeast mixture, add the 2/3 cup of sugar and the 1 1/2 teaspoons of salt. The sugar not only sweetens the bread but also acts as food for thgin extracteast, encouraging more activity. The salt is crucial for flavor and also helps to control the yeast’s fermentation process, preventing it from rising too quickly. Next, pour in the 1/4 cup of vegetable oil. Remember, you can substitute this with cooled melted coconut oil or melted butter for a slightly different flavor profile. Give all of these ingredients a good whisk together until the sugar and salt are mostly dissolved into the liquid. This is the foundation of our delicious white bread.
Step 3: Incorporating the Flour and Kneading
Now comes the flour! Gradually add about 3 cups of the 5-1/2 cups of bread flour to the wet ingredients. Stir with a sturdy spoon or a dough whisk until the flour is just incorporated and you have a shaggy dough. At this point, the mixture will be quite sticky. This is where we start kneading. If you’re using a stand mixer with a dough hook, this is the time to attach it and set the mixer to a low speed. Gradually add the remaining flour, about a half cup at a time, until the dough starts to pull away from the sides of the bowl and forms a cohesive ball. You may not need all 5-1/2 cups of flour, or you might need a little more; the exact amount can depend on humidity and the type of flour. The dough should be slightly tacky but not stick to your fingers excessively. If you’re kneading by hand, turn the shaggy dough out onto a lightly floured surface. Continue to add flour sparingly as you knead, pushing, folding, and turning the dough for about 8 to 10 minutes. You’re aiming for a smooth, elastic dough that springs back slowly when you poke it. Properly kneaded dough is key to a light and airy bread texture.
First Rise and Shaping
Step 4: The First Rise – Letting it Grow
Lightly grease a clean, large bowl with a bit of oil or cooking spray. This prevents the dough from sticking as it rises. Take your kneaded dough, form it into a smooth ball, and place it in the greased bowl. Turn the dough over once to coat all sides with the oil. Cover the bowl tightly with plastic wrap or a clean, damp kitchen towel. Place the covered bowl in a warm, draft-free place to let the dough rise. A good spot is inside a slightly warmed oven (turn it off after warming) or near a sunny window. The dough needs to double in size, which typically takes about 1 to 1.5 hours, depending on the temperature of your room. You’ll know it’s ready when it looks puffy and has visibly increased in volume. Don’t rush this process; a good, slow rise develops better flavor and texture.
Step 5: Punching Down and Shaping the Loaves
Once the dough has doubled in size, it’s time to punch it down. Gently punch your fist into the center of the dough to deflate it and release the trapped gases. This redistribution of air pockets helps create an even crum extractb in your final loaf. Turn the dough out onto a lightly floured surface again. Divide the dough into two equal portions if you’re making two loaves, or keep it as one if you prefer a larger loaf. For each portion, gently shape it into a loaf. To do this, flatten the dough into a rectangle, then tightly roll it up like a jelly roll, pinching the seam to seal it. Tuck the ends under to create a smooth, rounded shape. Place the shaped loaves into two greased loaf pans (9×5 inch pans are standard). If you only have one pan, you can shape one loaf and place it in the pan, and let the second one rise on a parchment-lined baking sheet if you intend to bake them as free-form loaves, or just shape the entire amount into one large loaf for a single pan.
Second Rise and Baking
Step 6: The Second Rise and Baking Preparation
Cover the loaf pans loosely with plastic wrap or a clean kitchen towel. Again, place them in a warm spot to let the dough rise for a second time. This rise usually takes about 30 to 45 minutes, or until the dough has risen about 1 inch above the rim of the pan. While the dough is on its second rise, preheat your oven to 375°F (190°C). Once the loaves have reached their desired height and the oven is preheated, carefully remove the cover from the loaves. Brush the tops of the loaves gently with the 2 tablespoons of melted butter. This butter wash will give the crust a beautiful golden-brown sheen and add a lovely richness. You can also add a light sprinkle of coarse salt or sesame seeds at this stage if you like.
Step 7: Baking to Golden Perfection
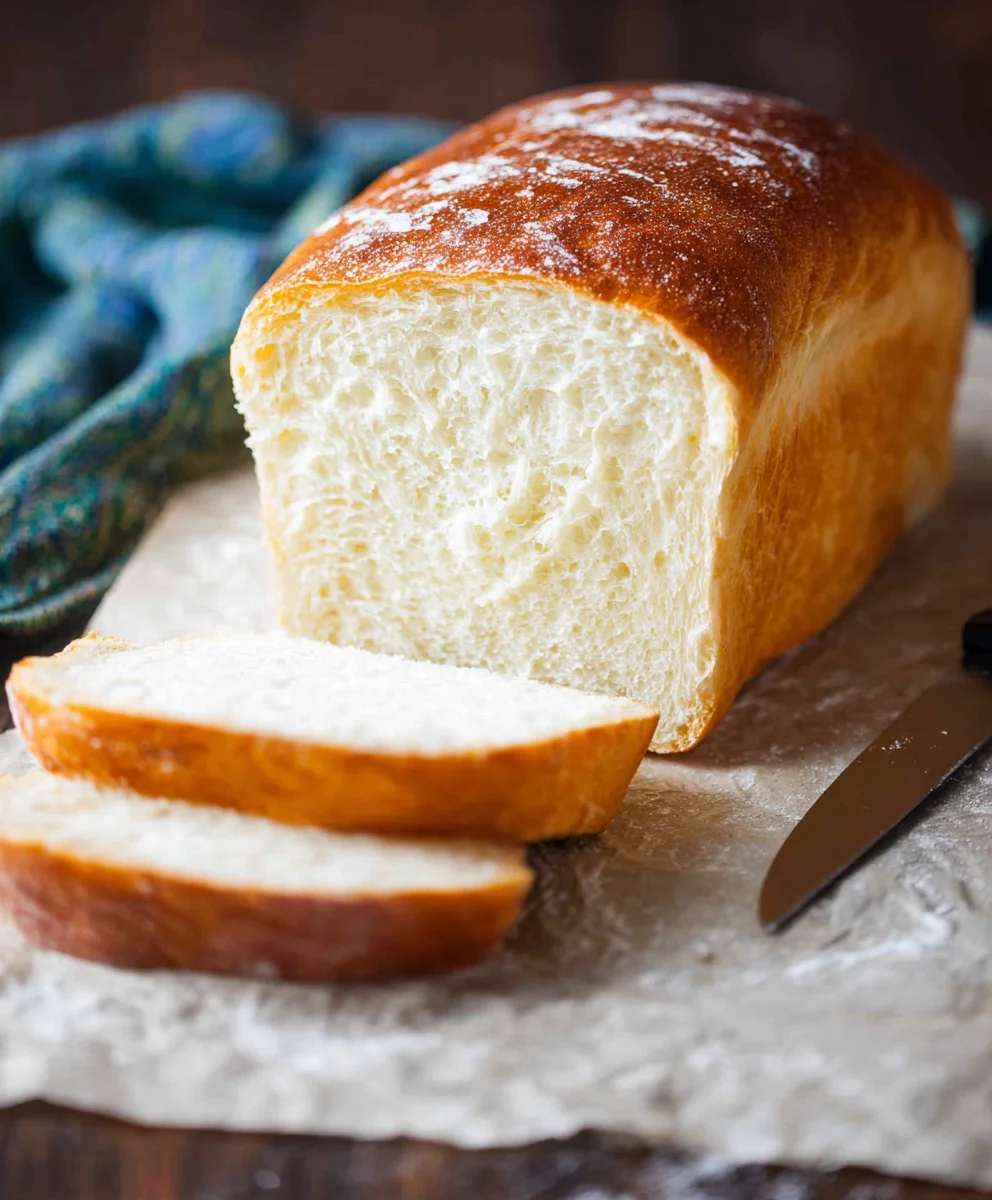
Carefully place the loaf pans into the preheated oven. Bake for approximately 30 to 35 minutes. You’ll know the bread is done when the crust is a deep golden brown and the internal temperature registers around 190°F to 200°F (88°C to 93°C) on an instant-read thermometer. Another way to check for doneness is to tap the bottom of the loaf; it should sound hollow. If the crust is browning too quickly before the bread is cooked through, you can loosely tent the loaves with aluminum foil. Once baked, immediately remove the bread from the loaf pans and place them on a wire cooling rack. This is crucial to prevent the bottoms from becoming soggy. Allow the bread to cool completely before slicing and enjoying. The aroma of freshly baked Amish White Bread filling your home is truly one of life’s simple pleasures!
Conclusion:
We hope you’ve enjoyed learning how to make our delicious Amish White Bread Recipe! This classic recipe yields a beautifully soft, slightly sweet, and wonderfully versatile loaf that’s perfect for any occasion. From its simple ingredients and straightforward method to its comforting aroma as it bakes, the Amish White Bread Recipe is a true kitchen treasure. Whether you’re a seasoned baker or just starting out, this recipe is sure to bring a smile to your face and a delicious aroma to your home.
This bread shines when served warm with a generous spread of butter or jam. It’s also the perfect base for sandwiches, French toast, or even simply enjoyed on its own. Feel free to experiment with variations! You could try adding a touch of honey for extra sweetness, or perhaps some herbs for a savory twist. Don’t be afraid to make this Amish White Bread Recipe your own!
Frequently Asked Questions:
Can I freeze the Amish White Bread Recipe?
Absolutely! Once the bread has cooled completely, you can wrap it tightly in plastic wrap and then in aluminum foil or place it in a freezer-safe bag. It will stay fresh in the freezer for up to 3 months. Thaw at room temperature before enjoying.
My Amish White Bread Recipe didn’t rise as much as I expected. What went wrong?
Several factors can affect rising. Ensure your yeast was active and not expired. Also, check that your water or milk was lukewarm, not too hot (which kills yeast) or too cold (which slows it down). Consistent room temperature during the rising period is also crucial for optimal results.
Simple Amish White Bread Recipe – Delicious Homemade Loaf
A classic and easy recipe for soft, delicious homemade Amish white bread, perfect for sandwiches or toast.
Ingredients
-
1 cup warm water (around 110°F or 43°C)
-
1 pinch powdered ginger extract (optional, but it helps wake up the yeast)
-
1 cup warm milk (around 110°F or 43°C)
-
2/3 cup granulated sugar (you can reduce this slightly if you prefer a less sweet bread)
-
1 1/2 tablespoons active dry yeast
-
1 1/2 teaspoons salt
-
1/4 cup vegetable oil (or melted coconut oil that has cooled to about 100°F, or melted butter)
-
5-1/2 cups bread flour (have a little extra on hand, just in case)
-
2 tablespoons butter, melted
Instructions
-
Step 1
In a large mixing bowl, combine 1 cup warm water and 1 cup warm milk (around 110°F). Sprinkle in 1 1/2 tablespoons active dry yeast and optional pinch of powdered ginger extract. Stir gently and let sit for 5-10 minutes until foamy. -
Step 2
To the foamy yeast mixture, add 2/3 cup sugar and 1 1/2 teaspoons salt. Pour in 1/4 cup vegetable oil (or cooled melted coconut oil/melted butter). Whisk until sugar and salt are mostly dissolved. -
Step 3
Gradually add about 3 cups of the 5-1/2 cups bread flour to the wet ingredients. Stir until a shaggy dough forms. If using a stand mixer, attach dough hook and gradually add remaining flour until dough pulls away from the sides. If kneading by hand, turn dough onto a lightly floured surface and knead for 8-10 minutes until smooth and elastic. Add flour sparingly as needed. -
Step 4
Lightly grease a large bowl. Place kneaded dough in the bowl, turn to coat, and cover tightly with plastic wrap or a damp towel. Let rise in a warm, draft-free place for 1-1.5 hours, or until doubled in size. -
Step 5
Punch down the dough to release air. Turn out onto a lightly floured surface. Divide into two equal portions for loaves. Shape each portion into a loaf by flattening into a rectangle, rolling tightly like a jelly roll, pinching the seam, and tucking the ends. Place shaped loaves into two greased 9×5 inch loaf pans. -
Step 6
Cover the loaf pans loosely and let the dough rise for a second time for 30-45 minutes, or until risen about 1 inch above the pan rim. Preheat oven to 375°F (190°C). -
Step 7
Once loaves have risen and oven is preheated, remove covers and gently brush the tops with 2 tablespoons melted butter. Bake for 30-35 minutes, or until the crust is deep golden brown and internal temperature reaches 190-200°F (88-93°C). -
Step 8
Immediately remove bread from pans and place on a wire cooling rack to cool completely before slicing.
Important Information
Nutrition Facts (Per Serving)
It is important to consider this information as approximate and not to use it as definitive health advice.
Allergy Information
Please check ingredients for potential allergens and consult a health professional if in doubt.


Leave a Comment