


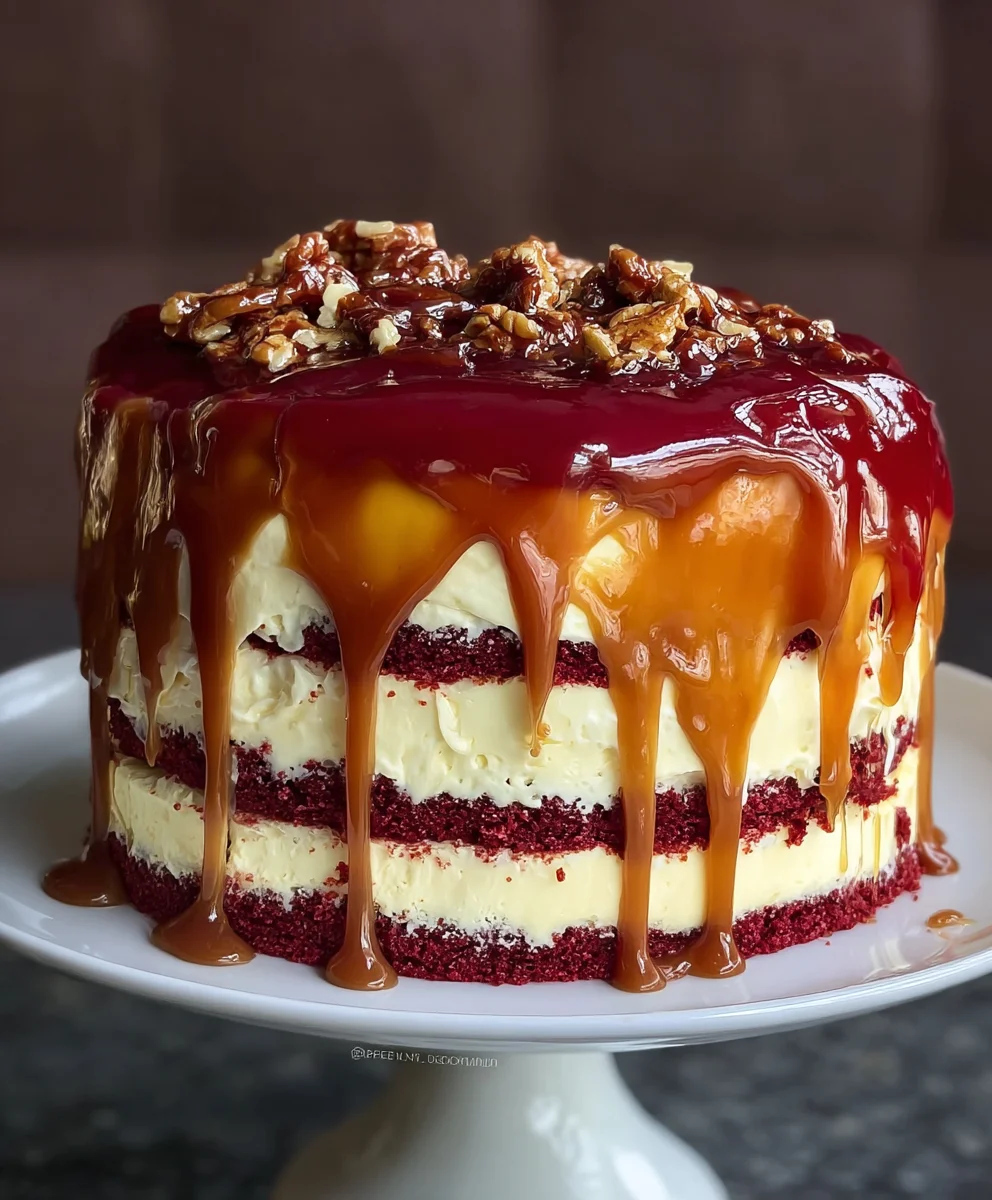
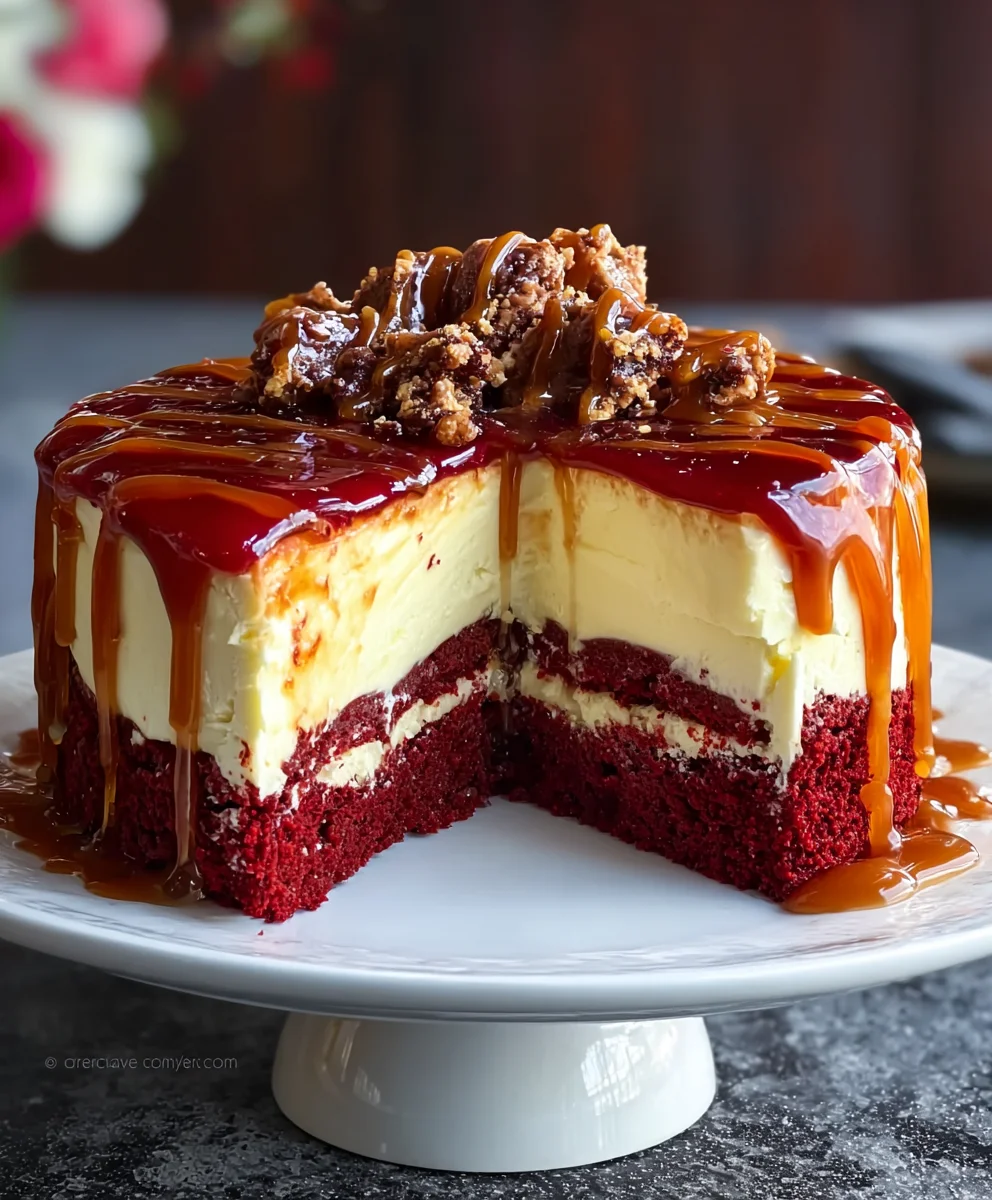
Red Velvet Cheesecake Cake With Caramel Drizzle. If you’re searching for a dessert that’s both visually stunning and incredibly delicious, look no further! This showstopper combines the rich, chocolatey allure of red velvet with the creamy decadence of cheesecake, all crowned with a luscious caramel drizzle. It’s the kind of dessert that gets gasps of delight when it’s brought to the table, and it’s perfect for celebrating special occasions or simply treating yourself to something truly extraordinary. People adore this creation because it masterfully balances the slightly tangy, cocoa-infused notes of red velvet cake with the smooth, luxurious texture of cheesecake, creating a symphony of flavors and textures in every bite. What truly sets this Red Velvet Cheesecake Cake With Caramel Drizzle apart is the unexpected harmony it achieves; it’s not just a cake and a cheesecake, but a seamless fusion that elevates both components to new heights, with the sweet, gooey caramel adding the final, irresistible touch.

Ingredients:
- 2 ½ cups all-purpose flour
- 1 ½ cups granulated sugar
- 1 teaspoon baking soda
- 1 teaspoon salt
- 1 teaspoon cocoa powder
- 1 ½ cups vegetable oil
- 1 cup buttermilk, room temperature
- 2 large eggs, room temperature
- 2 tablespoons red food coloring
- 1 teaspoon vanilla extract
- 1 teaspoon white vinegar
- 16 oz cream cheese, softened
- ½ cup granulated sugar (for cheesecake layer)
- 2 large eggs (for cheesecake layer)
- 1 teaspoon vanilla extract (for cheesecake layer)
Preparing the Red Velvet Cake Layers
Dry Ingredients Assembly
Start by preheating your oven to 350°F (175°C). Grease and flour two 8-inch round cake pans, or line them with parchment paper. In a large mixing bowl, whisk together the 2 ½ cups of all-purpose flour, 1 ½ cups of granulated sugar, 1 teaspoon of baking soda, 1 teaspoon of salt, and 1 teaspoon of cocoa powder. Whisking these dry ingredients thoroughly ensures that the leavening agents and salt are evenly distributed, which is crucial for a uniform cake texture. The cocoa powder, even though it’s a small amount, adds depth to the red velvet flavor and helps achieve that characteristic color.
Wet Ingredients Integration
In a separate medium bowl, whisk together the 1 ½ cups of vegetable oil, 1 cup of room temperature buttermilk, 2 large room temperature eggs, 2 tablespoons of red food coloring, and 1 teaspoon of vanilla extract. Whisk these wet ingredients until they are well combined and the color is a vibrant, uniform red. Having your buttermilk and eggs at room temperature is important because it helps them emulsify better with the other ingredients, preventing a greasy texture and ensuring a smoother batter. The red food coloring is what gives this cake its iconic appearance, so don’t be shy with it!
Combining and Reacting for Batter Perfection
Gradually add the wet ingredients to the dry ingredients, mixing on low speed (or by hand with a whisk) until just combined. Be careful not to overmix the batter at this stage, as overmixing can develop the gluten in the flour too much, resulting in a tough cake. Once the wet and dry ingredients are just incorporated, gently stir in 1 teaspoon of white vinegar. The vinegar, when combined with the buttermilk and baking soda, creates a chemical reaction that produces carbon dioxide gas, which helps the cake rise and become light and fluffy. This is a key element in achieving that tender crum extractb that defines a great red velvet cake.
Baking the Red Velvet Layers
Divide the batter evenly between the two prepared cake pans. Tap the pans gently on the counter a few times to release any large air bubbles. Bake for 30-35 minutes, or until a wooden skewer or toothpick inserted into the center of the cakes comes out clean. The exact baking time will vary depending on your oven, so it’s always best to start checking around the 30-minute mark. Once baked, let the cakes cool in the pans for about 10-15 minutes before inverting them onto a wire rack to cool completely. Allowing them to cool in the pans initially prevents them from cracking or breaking.
Crafting the Creamy Cheesecake Filling
Cream Cheese Foundation
While the cake layers are cooling, it’s time to prepare the cheesecake filling. In a large mixing bowl, beat the 16 oz of softened cream cheese until it is smooth and creamy. Using softened cream cheese is essential for a lump-free filling. You can leave the cream cheese out on the counter for about an hour to soften, or gently microwave it for short bursts of 10-15 seconds, checking frequently to avoid melting.
Sweetening and Enriching the Filling
To the smooth cream cheese, add ½ cup of granulated sugar and 1 teaspoon of vanilla extract. Beat these ingredients together until they are well combined and the mixture is light and fluffy. Scrape down the sides of the bowl occasionally to ensure everything is incorporated. This stage is where you build the rich, sweet flavor of the cheesecake layer.
Binding the Cheesecake Mixture
Incorporate 2 large eggs into the cream cheese mixture, one at a time, beating well after each addition until just combined. Again, avoid overmixing here. Overbeating can introduce too much air into the filling, which can cause it to puff up excessively during baking and then crack as it cools. The goal is a smooth, luscious filling that will bake up evenly.
Assembling and Drizzling Your Masterpiece
Layering the Cake and Cheesecake
Once your red velvet cake layers are completely cool, and your cheesecake filling is ready, you can begin extract assembling. If you want a perfectly flat surface for your cheesecake, you can carefully trim the domed tops of the cake layers with a serrated knife. Place one red velvet cake layer on your serving plate or cake stand. Spread the cheesecake filling evenly over the top of this cake layer.
Adding the Second Cake Layer and Baking
Gently place the second red velvet cake layer on top of the cheesecake filling. Now, you’ll need to bake the entire cake. Place your assembled cake in a larger baking pan (like a 9-inch springform pan or a 9×13 inch pan lined with foil to catch any potential drips). Bake in the preheated oven at 325°F (160°C) for approximately 50-60 minutes, or until the edges of the cheesecake are set and the center is just slightly jiggly. A water bath can also be used for baking the cheesecake layer to ensure even cooking and prevent cracking, though it’s not strictly necessary for this recipe.
Cooling and Chilling for Perfect Set
After baking, carefully remove the cake from the oven. Let the cake cool in the pan for at least 15-20 minutes before removing it from any larger baking pan. Then, let it cool completely on a wire rack. Once at room temperature, cover the cake tightly with plastic wrap and refrigerate for at least 4-6 hours, or preferably overnight. This chilling period is crucial for the cheesecake filling to set properly and for the flavors to meld together beautifully.
The Grand Finnon-alcoholic ale: Caramel Drizzle
For the caramel drizzle, you can use your favorite store-bought caramel sauce or make your own. Warm the caramel sauce slightly if it’s too thick to drizzle easily. Once your Red Velvet Cheesecake Cake is thoroughly chilled and set, you can generously drizzle the caramel sauce over the top. You can create patterns or just a free-flowing drizzle. For an extra touch, you could even add some chopped toasted pecans or a dusting of cocoa powder on top of the caramel. Slice and serve this decadent creation!
Conclusion:
I truly hope you enjoyed delving into the decadent world of this Red Velvet Cheesecake Cake With Caramel Drizzle! This recipe is a showstopper, combining the rich, tangy flavor of cheesecake with the moist, cocoa notes of red velvet, all crowned with a luscious caramel drizzle. It’s a dessert that’s as impressive to look at as it is to eat, perfect for special occasions or simply when you crave something truly extraordinary.
For serving, consider a generous slice on its own, or elevate it further with a dollop of fresh whipped cream or a scattering of dark chocolate shavings. This Red Velvet Cheesecake Cake With Caramel Drizzle also pairs beautifully with a strong cup of coffee or a sweet dessert grape juice. Don’t be afraid to experiment with variations! You could fold in mini chocolate chips into the cheesecake layer, or swap the caramel for a rich chocolate ganache. The possibilities are endless for making this recipe your own. Go ahead, bake with confidence, and savor every delicious bite!
Frequently Asked Questions:
Can I make this Red Velvet Cheesecake Cake With Caramel Drizzle ahead of time?
Yes, absolutely! The cheesecake layer needs to chill to set properly. It’s actually best made a day in advance. Once baked and cooled, cover it tightly and refrigerate overnight. The caramel can also be made ahead and gently rewarmed before drizzling. This makes assembly on the day of serving much easier!
How do I prevent my cheesecake layer from cracking?
A few things can help prevent cracks. Ensure your cream cheese and eggs are at room temperature. Avoid over-beating the cheesecake batter, as this incorporates too much air. Baking in a water bath is also highly recommended; it provides a gentle, even heat that bakes the cheesecake slowly and helps keep it moist and prevents cracking. Let the cheesecake cool gradually in the oven with the door ajar before refrigerating.
Red Velvet Cheesecake Cake Caramel Drizzle Recipe
A decadent fusion of moist red velvet cake and creamy cheesecake, finished with a sweet caramel drizzle.
Ingredients
-
2 ½ cups all-purpose flour
-
1 ½ cups granulated sugar
-
1 teaspoon baking soda
-
1 teaspoon salt
-
1 teaspoon cocoa powder
-
1 ½ cups vegetable oil
-
1 cup buttermilk, room temperature
-
2 large eggs, room temperature
-
2 tablespoons red food coloring
-
1 teaspoon vanilla extract
-
1 teaspoon white vinegar
-
16 oz cream cheese, softened
-
½ cup granulated sugar
-
2 large eggs
-
1 teaspoon vanilla extract
Instructions
-
Step 1
Preheat oven to 350°F (175°C). Grease and flour two 8-inch round cake pans. In a large bowl, whisk together flour, 1 ½ cups granulated sugar, baking soda, salt, and cocoa powder. -
Step 2
In a separate bowl, whisk together vegetable oil, buttermilk, 2 room temperature eggs, red food coloring, and 1 teaspoon vanilla extract until well combined. Gradually add wet ingredients to dry ingredients, mixing until just combined. Stir in white vinegar. -
Step 3
Divide batter evenly between prepared pans. Bake for 30-35 minutes, or until a skewer inserted into the center comes out clean. Cool in pans for 10-15 minutes before inverting onto a wire rack to cool completely. -
Step 4
While cake layers cool, prepare cheesecake filling. Beat softened cream cheese until smooth. Add ½ cup granulated sugar and 1 teaspoon vanilla extract; beat until well combined and fluffy. Beat in 2 large eggs, one at a time, until just combined. -
Step 5
Place one cooled cake layer on serving plate. Spread cheesecake filling evenly over the top. Gently place the second cake layer on top of the filling. Bake assembled cake at 325°F (160°C) for 50-60 minutes, or until edges are set and center is slightly jiggly. -
Step 6
Cool cake in pan for 15-20 minutes, then cool completely on a wire rack. Cover tightly and refrigerate for at least 4-6 hours, or overnight. Drizzle with warmed caramel sauce before serving.
Important Information
Nutrition Facts (Per Serving)
It is important to consider this information as approximate and not to use it as definitive health advice.
Allergy Information
Please check ingredients for potential allergens and consult a health professional if in doubt.
Leave a Comment