

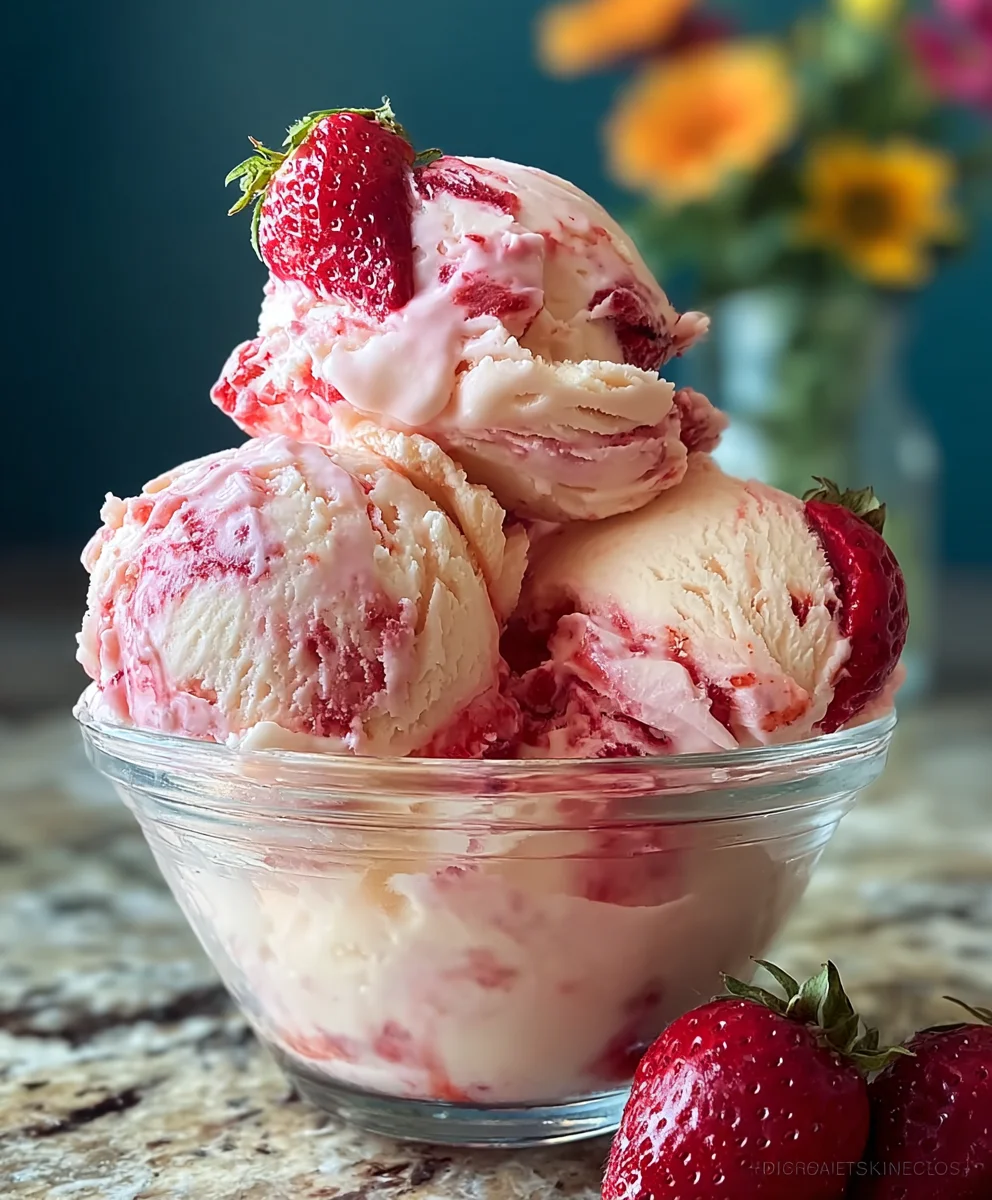
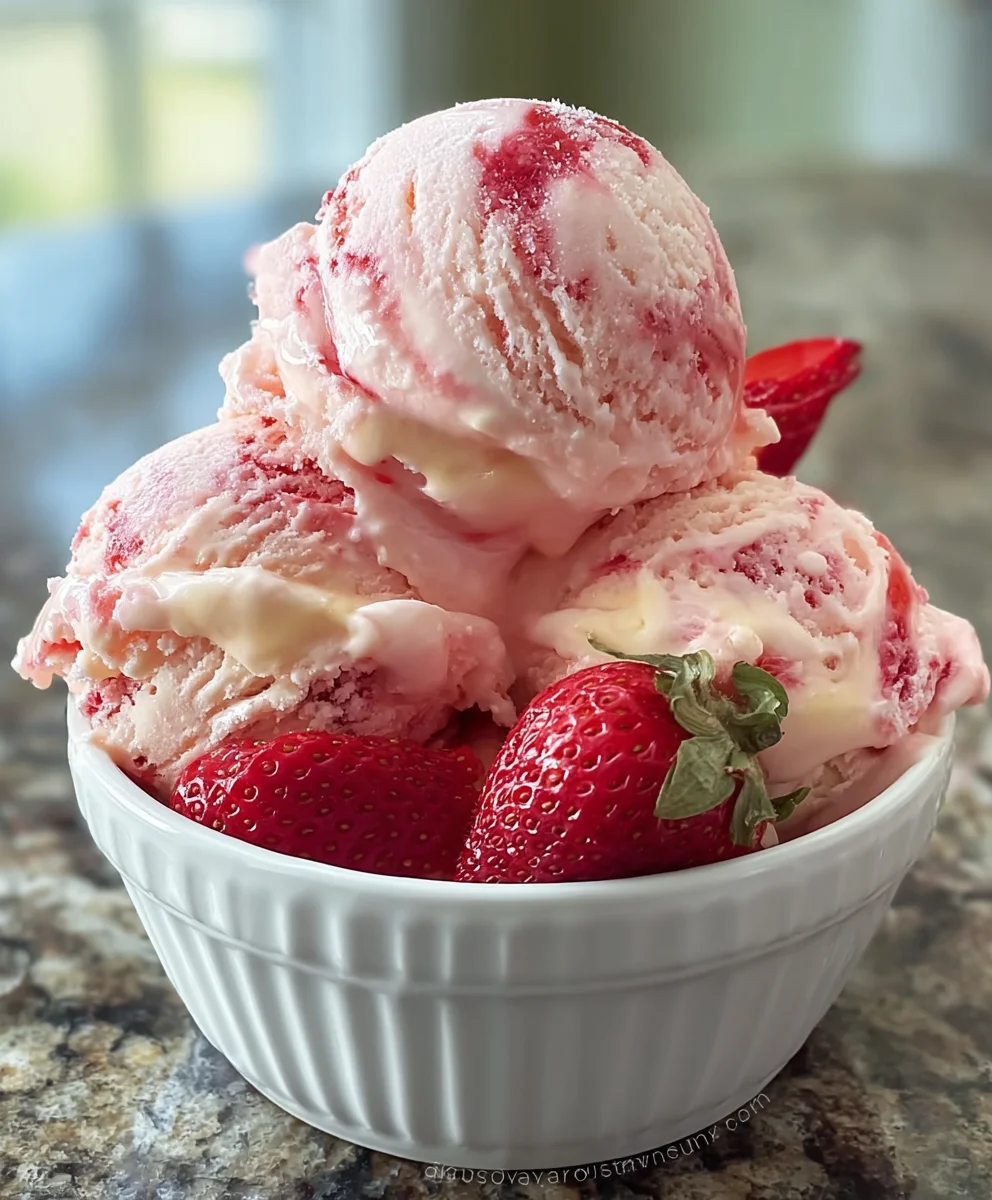
Strawberry Ice Cream is more than just a frozen dessert; it’s a nostalgic embrace of summer’s sweetest bounty. Imagin extracte the pure, unadulterated joy of biting into a scoop, the cool, creamy texture melting on your tongue, bursting with the vibrant, sun-ripened flavor of fresh strawberries. This isn’t just about satisfying a sweet tooth; it’s about capturing a feeling. Why do we all adore homemade Strawberry Ice Cream? It’s the perfect balance of sweet and slightly tart, a delightful symphony of fruity freshness and rich, velvety smoothness that store-bought varieties simply can’t replicate. What makes this particular recipe truly special is its emphasis on natural, simple ingredients, allowing the true essence of the strawberries to shine through without any artificial interference. Get ready to create a batch that will have everyone asking for seconds, a taste of pure, homemade happiness.

Ingredients:
- Fresh strawberries: 2 cups, hulled and sliced
- Vanilla bean: 1, split and seeds scraped
- Heavy cream: 1 cup
- Whole milk: 1 cup
- Granulated sugar: ¾ cup
- Salt: Pinch
Preparing the Strawberry Base
The journey to homemade Strawberry Ice Cream begin extracts with creating a vibrant, intensely flavored strawberry puree. Take your 2 cups of fresh strawberries, ensuring they are thoroughly hulled to remove any tough green bits. Once hulled, slice them into manageable pieces. The size of the slices doesn’t need to be precise; they will be processed down into a smooth consistency. Place these sliced strawberries into a food processor or blender. Process them until they form a smooth, uniform puree. There might be tiny flecks of strawberry skin remaining, which is perfectly fine and adds character to the finished ice cream. If you prefer an absolutely silken texture, you can choose to strain the puree through a fine-mesh sieve at this point, pressing down on the solids to extract as much liquid as possible. Discard the solids. This step is optional but recommended for those who desire the smoothest possible ice cream.
Infusing the Cream Mixture
Next, we’ll build the rich, creamy foundation that will carry our strawberry flavor. In a medium saucepan, combine the 1 cup of heavy cream and 1 cup of whole milk. Add the ¾ cup of granulated sugar and a pinch of salt. The salt is a crucial, often overlooked ingredient in sweet desserts; it doesn’t make the ice cream taste salty but instead amplifies and balances all the other flavors, making the strawberry and vanilla shine brighter. Now, take your vanilla bean. Carefully split it lengthwise with a sharp knife, and then use the back of the knife or a small spoon to scrape out all those precious vanilla seeds. Add both the scraped vanilla seeds and the split vanilla bean pod to the saucepan with the cream, milk, sugar, and salt.
Heating and Steeping the Vanilla
Place the saucepan over medium heat. Stir the mixture gently and continuously with a whisk or spoon until the sugar and salt have completely dissolved. It’s important not to let the mixture boil; we’re just aiming to heat it through and allow the vanilla to infuse its wonderful aroma and flavor into the dairy. Once the sugar is dissolved, remove the saucepan from the heat. Cover the pan with a lid and let it steep for about 20 to 30 minutes. This steeping period allows the vanilla bean to release its full essence into the cream and milk, creating a deeply fragrant and flavorful base. The longer it steeps, the more pronounced the vanilla flavor will be. While the cream mixture is steeping, you can prepare your ice cream maker according to the manufacturer’s instructions, ensuring the freezer bowl is sufficiently chilled.
Combining and Chilling
After the steeping time, remove the vanilla bean pod from the cream mixture. You can rinse it and allow it to dry, then store it in a jar with sugar to make vanilla-infused sugar for future baking projects. Whisk the cream mixture briefly to ensure it’s well combined. Now, it’s time to introduce the strawberry puree to our creamy base. Pour the prepared strawberry puree into the vanilla-infused cream mixture. Stir everything together thoroughly until the color is uniform and the strawberry flavor is evenly distributed throughout the dairy. This is your ice cream base. Before churning, it is absolutely essential to chill this base thoroughly. Transfer the combined mixture to a clean bowl or container, cover it tightly, and refrigerate for at least 4 hours, or preferably overnight. The colder the base is when it goes into the ice cream maker, the faster and more efficiently it will churn, resulting in a smoother texture.
Churning the Strawberry Ice Cream
Once your ice cream base is well-chilled and your ice cream maker is ready, it’s time to churn. Pour the cold strawberry and vanilla base into your pre-frozen ice cream maker bowl. Churn according to your manufacturer’s instructions. This process typically takes between 20 to 30 minutes. During churning, the ice cream will gradually thicken and become scoopable, taking on the consistency of soft-serve ice cream. Keep an eye on it; you don’t want to over-churn, as this can lead to a less desirable texture. The goal is a thick, creamy mixture that holds its shape when a spoon is lifted from it. As it churns, the air incorporated into the mixture will help create a lighter, creamier texture, preventing it from becoming icy.
Hardening the Ice Cream
The final stage is to “harden” your delicious Strawberry Ice Cream. Once the ice cream has reached the soft-serve consistency from churning, immediately transfer it to a freezer-safe container. A good quality airtight container will prevent ice crystals from forming on the surface. For the best texture, press a piece of parchment paper or plastic wrap directly onto the surface of the ice cream before sealing the container. This helps to minimize air exposure and prevent freezer burn. Place the container in the coldest part of your freezer and let it harden for at least 4 to 6 hours, or until it is firm enough to scoop. The longer it hardens, the more solid it will become. Once hardened, your homemade Strawberry Ice Cream is ready to be enjoyed. Scoop generously into bowls or cones and savor the delightful taste of fresh strawberries and rich vanilla.
Conclusion:
And there you have it! You’ve mastered the art of creating luscious, homemade Strawberry Ice Cream. This recipe is a true celebration of fresh strawberries, delivering a creamy, sweet, and slightly tart frozen delight that’s far superior to anything you’ll find in a store. The vibrant pink hue and the delightful chunks of real strawberry make it a feast for the eyes as well as the palate. We hope you enjoy every spoonful of this delightful treat!
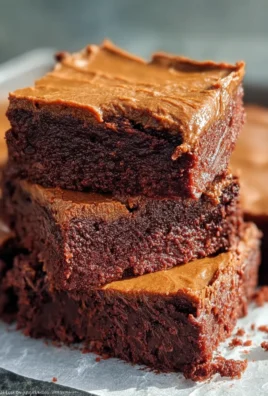
For serving suggestions, this Strawberry Ice Cream is fantastic on its own, allowing its pure flavor to shine. It’s also a perfect accompaniment to freshly baked brownies, warm apple pie, or a simple vanilla cake. A drizzle of chocolate sauce or a sprinkle of toasted almonds adds an extra layer of indulgence.
Feeling adventurous? Don’t hesitate to experiment with variations! Consider adding a hint of balsamic glaze for a surprising depth of flavor, or swirl in some fresh basil for a unique herbaceous twist. A handful of mini chocolate chips or a ribbon of raspberry coulis can also elevate your Strawberry Ice Cream to new heights. We encourage you to make this recipe your own and discover your favorite flavor combinations.
Frequently Asked Questions:
Q1: My Strawberry Ice Cream isn’t as smooth as I’d like. What can I do?
Ensuring your ingredients are well-chilled before you begin extract is crucial for a smoother texture. Also, make sure to churn the ice cream according to your machine’s instructions until it reaches a soft-serve consistency. Freezing it completely after churning can sometimes lead to iciness if not done properly. You can try incorporating a tablespoon or two of corn syrup or a bit of vodka extract into the base before churning, as these can help prevent ice crystal formation.
Q2: Can I make this Strawberry Ice Cream without an ice cream maker?
Absolutely! While an ice cream maker simplifies the process, you can achieve a delicious result without one. After preparing your base and freezing it in a shallow, freezer-safe container, you’ll need to stir it vigorously every 30-45 minutes for the first 3-4 hours of freezing. This manual stirring breaks up ice crystals and incorporates air, mimicking the churning process. It will take a bit more effort, but the reward is well worth it.
Easy Strawberry Ice Cream Recipe – No Machine
A simple and delicious no-churn strawberry ice cream recipe made with fresh strawberries and a hint of vanilla.
Ingredients
-
2 cups fresh strawberries, hulled and sliced
-
1 vanilla bean, split and seeds scraped
-
1 cup heavy cream
-
1 cup whole milk
-
3/4 cup granulated sugar
-
Pinch of salt
Instructions
-
Step 1
Prepare the strawberry base by pureeing 2 cups of hulled and sliced fresh strawberries in a food processor or blender until smooth. Strain if a silkier texture is desired. -
Step 2
Infuse the cream mixture by combining 1 cup heavy cream, 1 cup whole milk, 3/4 cup granulated sugar, and a pinch of salt in a medium saucepan. Add the scraped seeds and pod of 1 vanilla bean. -
Step 3
Heat the cream mixture over medium heat, stirring until sugar and salt dissolve. Do not boil. Remove from heat, cover, and let steep for 20-30 minutes to infuse vanilla flavor. -
Step 4
Combine the strawberry puree with the infused cream mixture. Stir until uniform in color and flavor. Chill the base thoroughly in a refrigerator for at least 4 hours, or preferably overnight. -
Step 5
Churn the well-chilled ice cream base in an ice cream maker according to manufacturer’s instructions, typically 20-30 minutes, until it reaches a soft-serve consistency. -
Step 6
Harden the ice cream by transferring it to a freezer-safe airtight container. Press parchment paper or plastic wrap directly onto the surface before sealing. Freeze for at least 4-6 hours until firm.
Important Information
Nutrition Facts (Per Serving)
It is important to consider this information as approximate and not to use it as definitive health advice.
Allergy Information
Please check ingredients for potential allergens and consult a health professional if in doubt.
Leave a Comment