

Pickled Red Onions are an absolute game-changer in my kitchen, and I’m so excited to share this recipe with you. Forget bland and boring – these vibrant, tangy jewels transform almost any dish from ordinary to extraordinary. Ever wonder what gives those gourmet tacos or perfectly dressed salads that extra oomph? Chances are, it’s these beautiful pickled red onions. Their delightful crunch and sweet-tart flavor are utterly addictive, offering a refreshing counterpoint to rich meats, creamy avocados, and even simple sandwiches. What truly makes these pickled red onions so special is their stunning visual appeal; their ruby-red hue adds a pop of color that’s as delightful to the eye as it is to the palate. They’re incredibly simple to make, proving that you don’t need complex techniques to achieve spectacular results.

Pickled Red Onions
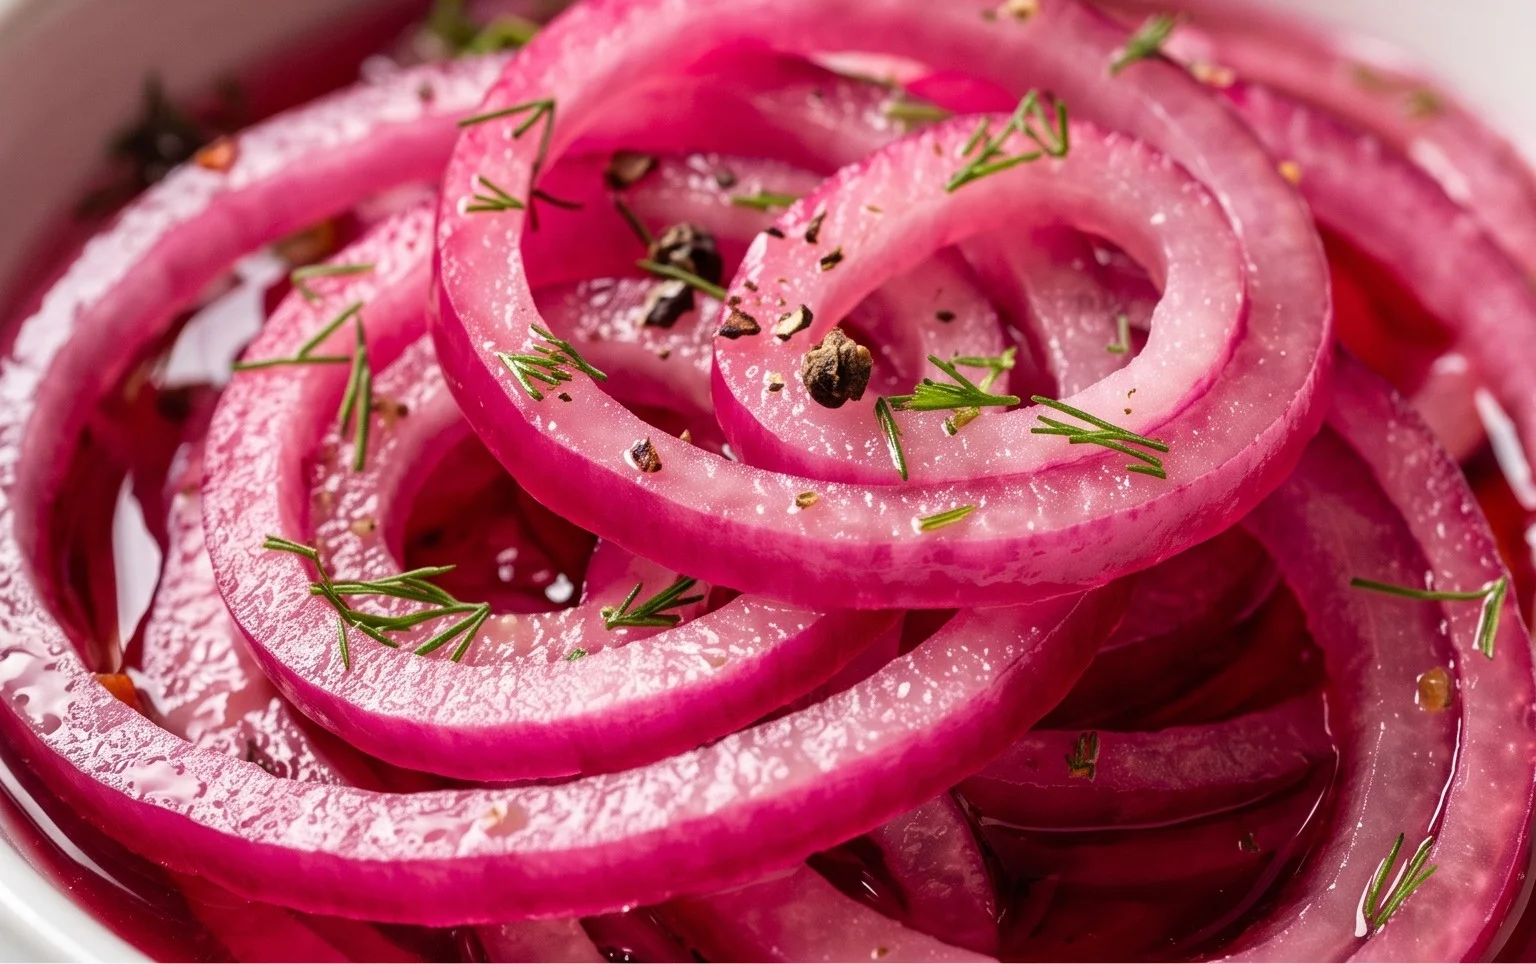
There’s something truly magical about pickled red onions. Their vibrant fuchsia hue instantly elevates any dish, and their crisp-tender texture and tangy, slightly sweet flavor provide a delightful contrast to richer ingredients. Whether you’re topping tacos, dressing up a salad, gracing a gourmet burger, or adding a zing to avocado toast, these quick pickles are an absolute game-changer in the kitchen. They’re incredibly easy to make, requiring just a handful of pantry staples and about 15 minutes of active preparation. The best part? You can have them ready to enjoy in just a couple of hours, though they only get better with time.
I used to buy pre-made pickled red onions, but once I learned how simple it is to make them at home, I never looked back. The flavor is so much fresher, and you have complete control over the ingredients. Plus, the satisfaction of creating such a beautiful and versatile condiment from scratch is immense. They are a staple in my refrigerator, ready to add that perfect pop of flavor and color whenever I need it. Let’s dive into how you can make your own batch of these delightful pickles!
Ingredients:
Instructions:
Prepare the Onion:
Start by preparing your red onion. This is the most time-consuming part, but it’s still quite quick. You’ll want to peel the outer papery skin from the red onion. Then, slice the onion as thinly as possible. A mandoline slicer is ideal for achieving uniform, paper-thin slices, which will pickle evenly and have the best texture. If you don’t have a mandoline, a very sharp knife and a steady hand will work just fine. Aim for slices that are almost translucent. The thinner the slices, the quicker they will pickle and the more tender they will become. Avoid thick, chunky slices as they can remain unpleasantly crisp even after pickling.
Combine the Brine Ingredients:
In a medium saucepan, combine the white vinegar, water, sugar, and kosher salt. Place the saucepan over medium heat. Stir the mixture gently as it heats up. You want to bring the liquid just to a simmer, which means you’ll see small bubbles forming around the edges of the pan, but it’s not a rolling boil. The goal here is to dissolve the sugar and salt completely into the liquid, creating a well-balanced brine. As soon as you see the first signs of simmering, remove the saucepan from the heat. Be patient and ensure all the granules of sugar and salt have disappeared. This is crucial for achieving the right flavor profile and texture for your pickled onions.
Arrange the Onions and Pour the Brine:
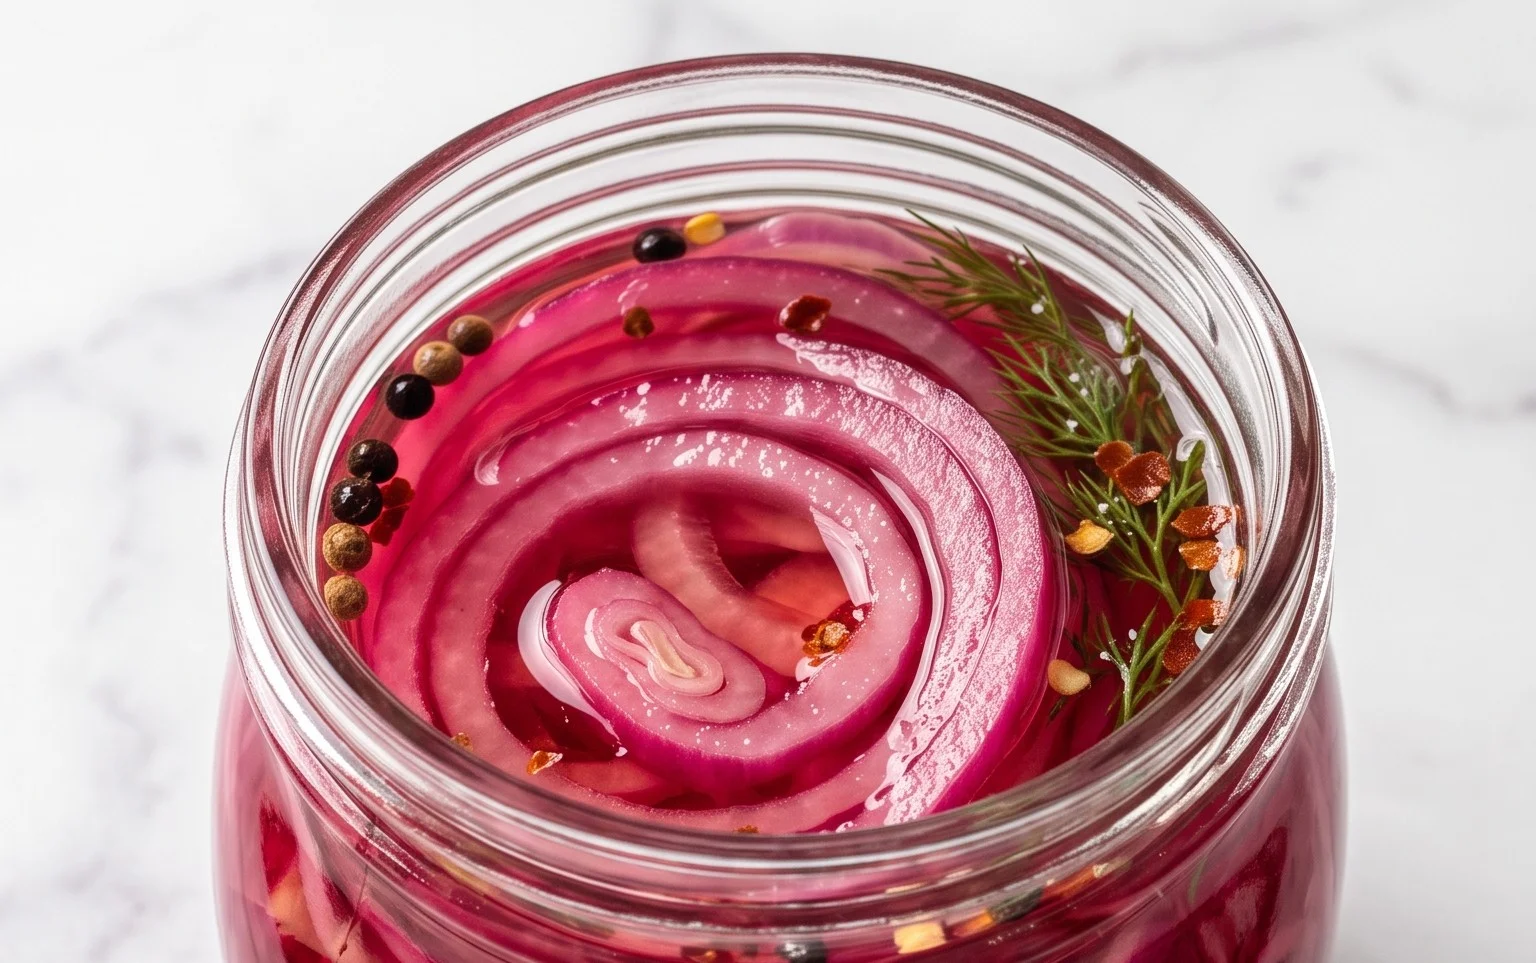
While the brine is still hot, carefully pack the thinly sliced red onions into a clean, heatproof jar or container. A mason jar with a lid is perfect for this. Don’t over-pack them; you want to ensure the hot brine can circulate freely around all the onion slices. Once the onions are nestled in the jar, carefully and slowly pour the hot vinegar and water mixture over the onions. Make sure the onions are completely submerged in the liquid. If some slices are floating, you can gently press them down with a clean spoon to ensure they are all covered. The hot brine will begin extract to slightly wilt and turn the onions a beautiful pink color almost immediately. This is the start of the magic!
Cool and Refrigerate:
Once the brine has been poured over the onions, allow the jar to cool down on the counter at room temperature for about 30 minutes to an hour. This gradual cooling process helps the onions absorb the flavors of the brine. After the initial cooling period, securely place the lid on the jar and transfer it to the refrigerator. For the best flavor and texture, I like to let them pickle for at least 2-3 hours before enjoying them. However, they will continue to develop even more wonderful flavor the longer they sit in the refrigerator. I often make a batch in the morning and they’re perfect for dinner.
Storage and Enjoyment:
Once fully pickled and chilled, your pickled red onions are ready to be devoured! They will keep in the refrigerator for at least 2-3 weeks, making them a fantastic make-ahead condiment. The vibrant pink color will deepen, and the flavors will become even more complex and delicious over time. To serve, simply drain off the brine (or leave a little on if you like) and add them to your favorite dishes. They are incredibly versatile. Try them on tacos, nachos, quesadillas, salads, sandwiches, burgers, grilled meats, or even scrambled eggs. The possibilities are truly endless. I find myself reaching for them constantly, and I’m sure you will too. Enjoy the bright, tangy goodness they bring to every meal!
Conclusion:
I hope you’re as excited as I am about the incredible versatility of these pickled red onions! This recipe is a true game-changer because it transforms a simple ingredient into a vibrant, tangy, and slightly sweet condiment that elevates virtually any dish. They add a beautiful pop of color and a delightful crunch, cutting through richness and adding a refreshing zest. Whether you’re a seasoned cook or just starting out, this quick pickling method is incredibly easy to master, making it a pantry staple I return to again and again. Don’t hesitate to give these pickled red onions a try – I promise you won’t regret it!
Imagin extracte them gracing your tacos, burgers, salads, avocado toast, or even alongside grilled fish or roasted vegetables. The possibilities are truly endless! For those who love to experiment, consider adding a pinch of chili flakes for a spicy kick, a sprig of fresh dill for an herbaceous note, or even a teaspoon of honey for a touch more sweetness. The beauty of this recipe lies in its adaptability, allowing you to tailor it to your personal taste preferences.
Frequently Asked Questions:
How long do pickled red onions last?
When stored properly in an airtight container in the refrigerator, these pickled red onions can last for up to 2-3 weeks. The longer they sit, the more their flavor will mellow and deepen.
Can I use a different type of vinegar?
Absolutely! While apple cider vinegar and white grape juice vinegar are popular choices for their balanced flavor, you can also experiment with red grape juice vinegar for a deeper hue and more robust taste, or even rice vinegar for a milder tang. Just be mindful of how the vinegar’s flavor profile might influence the final taste.
What if I don’t have sugar? Can I use a sweetener substitute?
Yes, you can. While sugar helps balance the acidity, you can use other sweeteners like honey or maple syrup. Adjust the amount to your preference, as these sweeteners can be more potent. Be aware that honey might add a slightly different flavor note than granulated sugar.
Pickled Red Onions
Quick and easy pickled red onions that add a vibrant tang and beautiful color to any dish. Perfect for tacos, salads, sandwiches, and more.
Ingredients
-
1 large Red onion, thinly sliced
-
1 cup White Vinegar
-
1 cup Water
-
1 tablespoon Sugar
-
2 teaspoons Kosher salt
Instructions
-
Step 1
Thinly slice the red onion into rings or half-moons. -
Step 2
In a small saucepan, combine the white vinegar, water, sugar, and kosher salt. -
Step 3
Heat the mixture over medium heat, stirring until the sugar and salt are dissolved. Do not boil. -
Step 4
Place the sliced red onions into a heatproof jar or bowl. -
Step 5
Pour the hot pickling liquid over the onions, ensuring they are fully submerged. -
Step 6
Let the mixture cool to room temperature, then cover and refrigerate for at least 30 minutes before serving. For best flavor, let them pickle for a few hours or overnight.
Important Information
Nutrition Facts (Per Serving)
It is important to consider this information as approximate and not to use it as definitive health advice.
Allergy Information
Please check ingredients for potential allergens and consult a health professional if in doubt.


Leave a Comment