

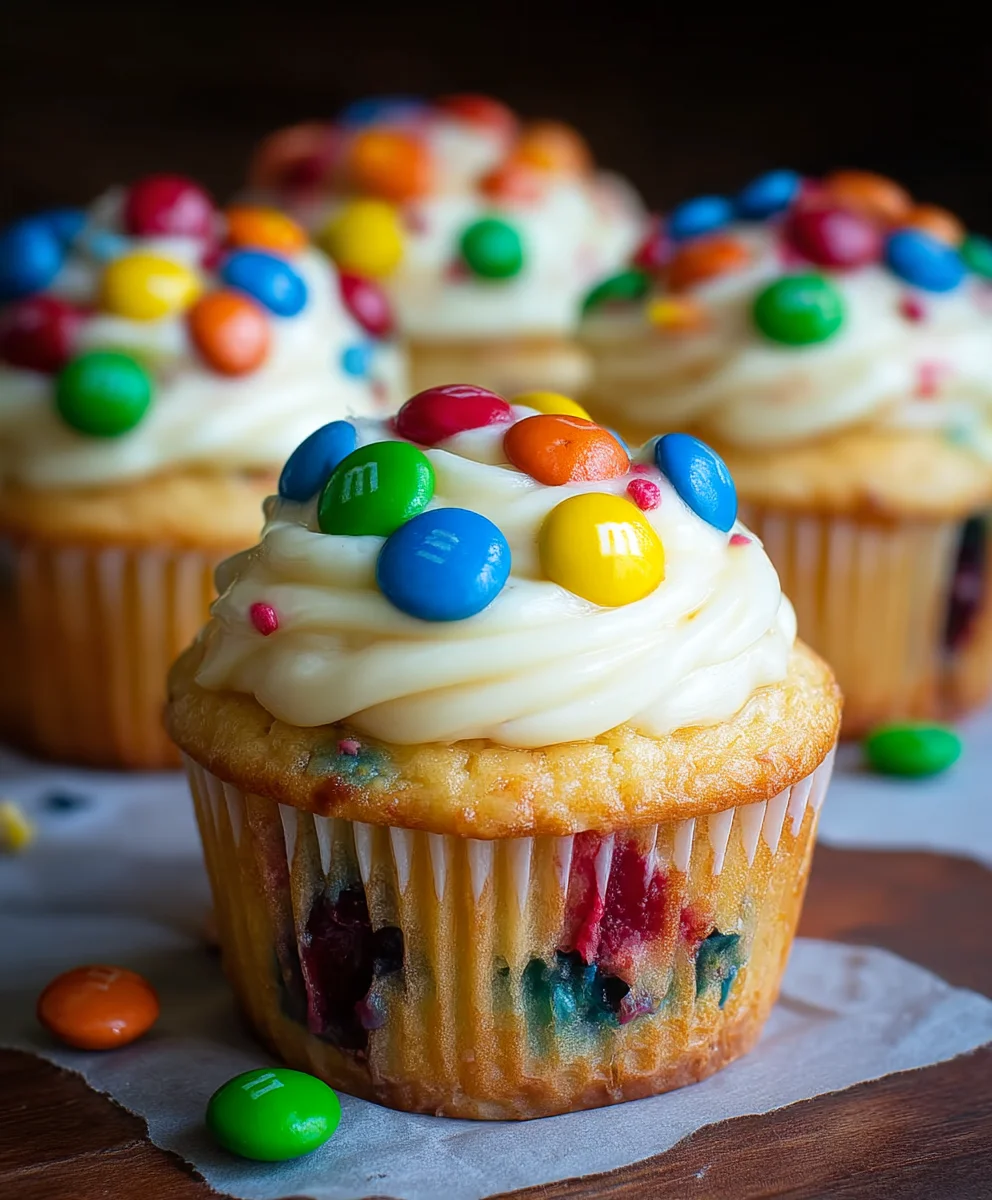
M&M Cupcakes Recipe. Oh, the pure joy that erupts when a batch of M&M cupcakes hits the table! These aren’t just any cupcakes; they’re little explosions of color and flavor, guaranteed to bring a smile to anyone’s face. We all have those comfort foods, those treats that instantly transport us back to simpler times, and for many, that treat is a classic M&M cupcake. What makes them so universally loved? It’s the delightful surprise hidden within the tender cake – a treasure trove of colorful candy-coated chocolates, offering a satisfying crunch and a burst of sweetness with every bite. But what truly elevates this M&M cupcakes recipe from good to unforgettable is the perfect balance of moist, fluffy cake and a rich, creamy frosting that complements the candies without overpowering them. Get ready to bake up some happiness!

Ingredients:
- 1½ cups all-purpose flour
- ½ cup unsweetened cocoa powder
- 1 cup granulated sugar
- 1 teaspoon baking powder
- ½ teaspoon baking soda
- ½ teaspoon salt
- ½ cup unsalted butter, melted
- 2 large eggs
- 1 teaspoon vanilla extract
- ½ cup buttermilk
- ½ cup M&Ms, plus extra for topping
Preparing the Batter
Mixing Dry Ingredients
Begin extract by preparing your dry ingredients for these delightful M&M Cupcakes. In a large mixing bowl, whisk together the 1½ cups of all-purpose flour, ½ cup of unsweetened cocoa powder, 1 cup of granulated sugar, 1 teaspoon of baking powder, ½ teaspoon of baking soda, and ½ teaspoon of salt. Whisking these ingredients together thoroughly ensures that all the leavening agents and salt are evenly distributed throughout the flour mixture. This is a crucial step for achieving a consistent and well-risen cupcake. Take your time to ensure there are no clumps of cocoa powder or baking soda, which can lead to uneven baking or pockets of unmixed ingredients. A fine-mesh sieve can be helpful here if you find your cocoa powder is particularly lumpy.
Combining Wet Ingredients and Incorporating into Dry
In a separate medium-sized bowl, whisk together the ½ cup of melted unsalted butter, 2 large eggs, and 1 teaspoon of vanilla extract. Make sure the melted butter has cooled slightly before adding the eggs to prevent them from scrambling. Once combined, you’ll gradually add this wet mixture to your dry ingredients. It’s best to do this in stages. Add about half of the wet ingredients to the dry ingredients and mix gently until just combined. Then, slowly incorporate the ½ cup of buttermilk. Finally, add the remaining wet ingredients and continue to mix until a smooth batter forms. Be careful not to overmix at this stage. Overmixing can develop the gluten in the flour too much, resulting in tough cupcakes. A few small lumps are perfectly fine.
Adding the M&Ms
Now for the star of the show! Gently fold in the ½ cup of M&Ms into your cupcake batter. Reserve a few M&Ms for topping the cupcakes later, if you like. Folding them in means using a spatula to gently incorporate them into the batter, rather than vigorous stirring. This helps to distribute the M&Ms evenly throughout the batter without breaking them into too many small pieces, which can color the batter excessively. You want to see distinct M&M pieces scattered throughout your delightful chocolate batter.
Baking the M&M Cupcakes
Preparing the Pans and Filling
Preheat your oven to 350°F (175°C). Line a standard 12-cup muffin tin with paper cupcake liners. This makes cleanup a breeze and ensures your cupcakes release easily. Fill each cupcake liner about two-thirds full with your M&M cupcake batter. Overfilling will cause the cupcakes to overflow during baking, creating an unsightly mess. It’s better to have slightly smaller cupcakes that bake beautifully than to risk a baking mishap. You can use an ice cream scoop or a tablespoon to ensure you’re adding a consistent amount of batter to each liner.
Baking and Cooling
Bake the M&M Cupcakes for 18 to 22 minutes, or until a wooden skewer or toothpick inserted into the center of a cupcake comes out clean. The baking time can vary slightly depending on your oven, so it’s always best to check for doneness a few minutes before the minimum time. Once baked, let the cupcakes cool in the muffin tin for about 5 to 10 minutes. This allows them to set up a little more before you attempt to remove them. After this initial cooling period, carefully transfer the cupcakes to a wire rack to cool completely. Allowing them to cool on a wire rack promotes air circulation, preventing the bottoms from becoming soggy.
Decorating and Serving
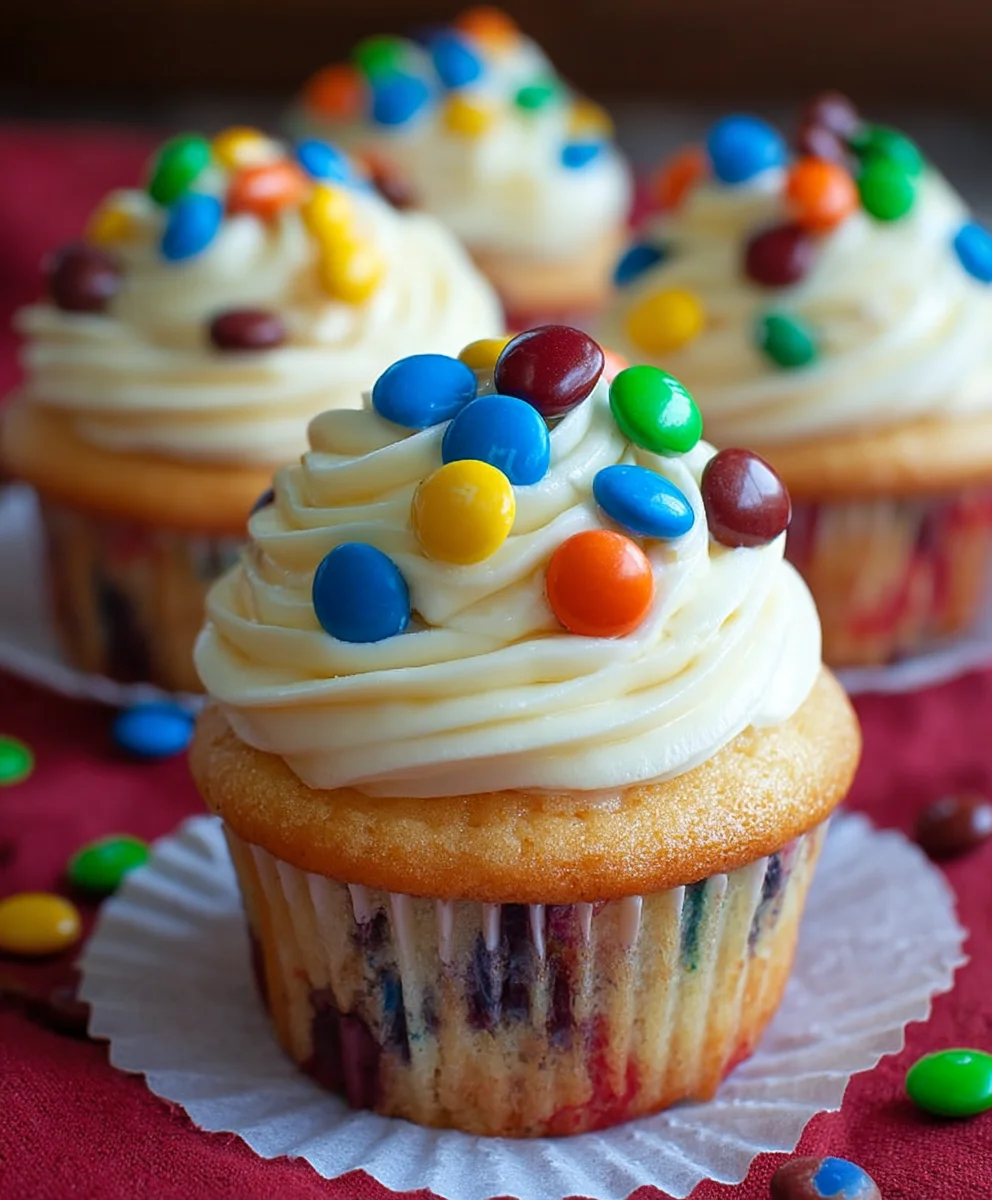
Once your M&M Cupcakes have cooled completely, you can decorate them. A simple dusting of powdered sugar is lovely, or you can whip up your favorite chocolate or vanilla frosting. For an extra festive touch, press a few of your reserved M&Ms into the frosting while it’s still soft. These cupcakes are perfect for parties, school events, or just a sweet treat to brighten your day. Enjoy the delightful crunch of the M&Ms with the soft, chocolatey cupcake!
Conclusion:
There you have it – your ultimate guide to creating delicious M&M Cupcakes that are sure to be a hit! We’ve walked through each step, from preparing the perfect batter to adding those iconic M&M’s that make these cupcakes so special. These delightful treats are versatile enough for any occasion, whether it’s a birthday party, a bake snon-alcoholic ale, or simply a Tuesday afternoon treat. For serving, I love to present them on a colorful platter, perhaps with a swirl of buttercream frosting and a few extra M&M’s on top for that extra visual appeal. Don’t be afraid to get creative with variations! You could try different colored M&M’s to match a theme, or even fold in some chocolate chips along with the M&M’s for an extra chocolatey punch. The possibilities are truly endless with this fantastic M&M Cupcakes Recipe.
I encourage you to give this recipe a try. It’s incredibly rewarding to see the joy these homemade cupcakes bring to friends and family. Happy baking!
Frequently Asked Questions:
Can I use mini M&M’s instead of regular ones for my M&M Cupcakes Recipe?
Absolutely! Mini M&M’s are a wonderful alternative. They distribute more evenly throughout the batter and can create a more delicate M&M crunch in every bite. Just be sure to note that the baking time might be slightly shorter if the cupcakes are smaller due to the mini M&M size.
How should I store leftover M&M Cupcakes?
To keep your M&M Cupcakes fresh, store them in an airtight container at room temperature for up to 2-3 days. If your kitchen is particularly warm or if they are frosted with a frosting that requires refrigeration (like cream cheese frosting), it’s best to refrigerate them. Allow them to come to room temperature before serving for the best flavor and texture.
M&M Cupcakes
Easy and fun chocolate cupcakes packed with M&Ms, perfect for any occasion.
Ingredients
-
1½ cups all-purpose flour
-
½ cup unsweetened cocoa powder
-
1 cup granulated sugar
-
1 teaspoon baking powder
-
½ teaspoon baking soda
-
½ teaspoon salt
-
½ cup unsalted butter, melted
-
2 large eggs
-
1 teaspoon vanilla extract
-
½ cup buttermilk
-
½ cup M&Ms, plus extra for topping
Instructions
-
Step 1
In a large bowl, whisk together flour, cocoa powder, sugar, baking powder, baking soda, and salt until well combined and free of lumps. -
Step 2
In a separate bowl, whisk together melted butter, eggs, and vanilla extract. Gradually add this wet mixture to the dry ingredients in stages, alternating with buttermilk, until a smooth batter forms. Do not overmix. -
Step 3
Gently fold in the M&Ms into the batter, reserving a few for topping. -
Step 4
Preheat oven to 350°F (175°C). Line a 12-cup muffin tin with liners and fill each about two-thirds full with batter. -
Step 5
Bake for 18-22 minutes, or until a toothpick inserted into the center comes out clean. Cool in the pan for 5-10 minutes, then transfer to a wire rack to cool completely. -
Step 6
Decorate with frosting and reserved M&Ms if desired before serving.
Important Information
Nutrition Facts (Per Serving)
It is important to consider this information as approximate and not to use it as definitive health advice.
Allergy Information
Please check ingredients for potential allergens and consult a health professional if in doubt.
Leave a Comment