


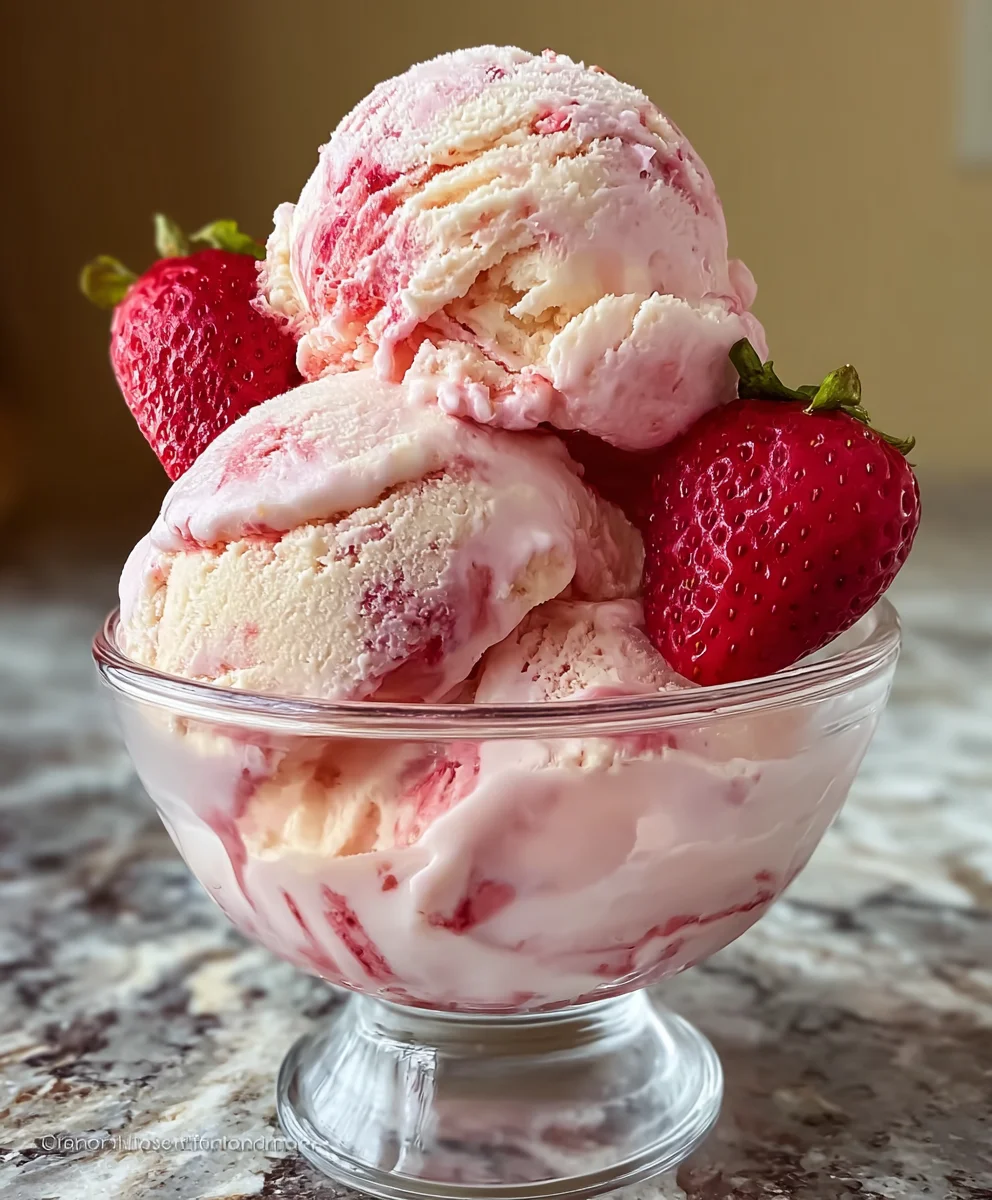
Strawberry Ice Cream. Ah, the very words conjure up images of sun-drenched days, backyard barbecues, and pure, unadulterated joy. Is there any dessert more universally beloved, more synonymous with summer bliss than a perfectly churned scoop of this vibrant treat? I think not! What is it about this creamy, dreamy concoction that captures our hearts and taste buds year after year? It’s the incredible balance of sweet, ripe strawberries bursting with their natural flavor, swirled into a rich, velvety ice cream base that’s both refreshing and utterly decadent. This isn’t just any old dessert; it’s a nostalgic hug in a bowl, a simple pleasure that can instantly transport us back to childhood memories or create new ones. What truly sets this homemade version apart is the ability to control the intensity of the strawberry flavor, ensuring every bite is a pure explosion of berry goodness, far surpassing anything you’ll find in a store-bought tub.

Ingredients:
- 2 cups fresh strawberries, hulled and sliced
- 1 vanilla bean, split and seeds scraped
- 1 cup heavy cream
- 1 cup whole milk
- ¾ cup granulated sugar
- Pinch of salt
Preparing the Strawberry Base
The first step to achieving that vibrant flavor in our Strawberry Ice Cream is to prepare the strawberries. You’ll want to start with about 2 cups of fresh, ripe strawberries. Hull them by removing the green leafy tops and then slice them. Slicing helps them release their juices more readily. Place these sliced strawberries into a medium-sized bowl. To this bowl, add about half of your granulated sugar – that’s roughly 6 tablespoons. Gently toss the strawberries with the sugar. This process is called macerating. By coating the strawberries in sugar, you are drawing out their natural juices and intensifying their flavor. This will also create a lovely syrupy liquid at the bottom of the bowl. Let this mixture sit at room temperature for at least 30 minutes, or even up to an hour, stirring occasionally. This allows the flavors to meld and the strawberries to soften beautifully.
While your strawberries are macerating, you can prepare your vanilla bean. Take your vanilla bean and carefully slice it lengthwise using a sharp paring knife. Once split, use the back of your knife to gently scrape out all the tiny, aromatic seeds from inside. These seeds are where all that incredible vanilla flavor is concentrated. Set both the scraped vanilla seeds and the scraped vanilla bean pod aside. You’ll be using them in the next stage.
Creating the Custard Base
Now it’s time to build the creamy foundation for our Strawberry Ice Cream. In a medium saucepan, combine the whole milk and the heavy cream. Add the scraped vanilla seeds and the vanilla bean pod to the milk and cream mixture. Gently heat this mixture over medium-low heat. You want to bring it to a simmer, which means you’ll see small bubbles forming around the edges of the pan, but it shouldn’t come to a rolling boil. Stirring occasionally will prevent a skin from forming on top and ensure even heating. Once it reaches this gentle simmer, remove the saucepan from the heat. Cover the saucepan and let the vanilla bean steep in the warm milk and cream for about 15 to 20 minutes. This steeping process allows the vanilla flavor to infuse deeply into the liquid, creating a much richer and more complex taste.
After the vanilla has steeped, remove and discard the vanilla bean pod. In a separate bowl, whisk together the remaining granulated sugar (about 6 tablespoons) and the pinch of salt. You’ll also need two large eggs. Crack the eggs into a bowl and whisk them thoroughly until they are well combined and slightly frothy. Now, we need to temper the eggs to prevent them from scrambling when they come into contact with the hot milk mixture. To do this, slowly ladle about half a cup of the warm milk and cream mixture into the whisked eggs, whisking constantly as you pour. This gradual introduction of heat gently raises the temperature of the eggs. Once tempered, pour this egg and milk mixture back into the saucepan with the rest of the warm milk and cream.
Cooking the Custard
Return the saucepan to medium-low heat. Now, you’ll cook this mixture, stirring constantly with a heatproof spatula or wooden spoon, until it thickens enough to coat the back of the spoon. This process is crucial for achieving a smooth and scoopable ice cream. You are essentially making a simple custard base. Be patient and keep stirring. You are looking for the custard to reach a temperature of about 170-175°F (77-79°C) if you have a thermometer. The custard should become noticeably thicker, and when you run your finger across the back of the spoon coated in custard, the line should hold its shape without immediately running back together. Do not let the custard boil, as this will cause the eggs to curdle and ruin the texture. Once thickened, immediately remove the saucepan from the heat.
Combining and Chilling
Now it’s time to incorporate our beautiful strawberry base into the creamy custard. Strain the thickened custard through a fine-mesh sieve into a clean bowl. This will catch any potential bits of cooked egg and ensure a silky-smooth texture for your Strawberry Ice Cream. Next, add your macerated strawberries, along with all their delicious syrupy juices, to the strained custard. Stir everything together gently until the strawberries are evenly distributed throughout the mixture. You’ll notice the beautiful pink hue begin extractning to develop. For the best results, you’ll want to chill this mixture thoroughly before churning. Cover the bowl tightly with plastic wrap, pressing the wrap directly onto the surface of the ice cream base to prevent a skin from forming. Refrigerate for at least 4 hours, or preferably overnight. The colder the base, the faster and better it will churn.
Churning and Freezing
Once your ice cream base is thoroughly chilled, it’s time to churn it. Follow the manufacturer’s instructions for your ice cream maker. Most machines require you to pre-freeze the bowl for a specific amount of time. Pour the chilled strawberry ice cream base into the frozen bowl of your ice cream maker. Churn according to the manufacturer’s directions, which typically takes about 20-30 minutes. The mixture will start to thicken and take on a soft-serve consistency. As it churns, the air incorporated into the base will create a lighter and creamier texture.
Once churned, the ice cream will have the consistency of soft-serve. Transfer the churned ice cream into a freezer-safe container. You can gently fold in additional sliced strawberries or swirls of strawberry puree at this stage if you desire extra chunks or swirls. Press a piece of parchment paper or plastic wrap directly onto the surface of the ice cream to prevent ice crystals from forming. Cover the container tightly with a lid. Place the container in the freezer for at least 4-6 hours, or until it is firm enough to scoop. This final freezing period allows the ice cream to harden completely. Allow it to soften slightly at room temperature for a few minutes before scooping and enjoying your homemade Strawberry Ice Cream!
Conclusion:
There you have it! This recipe for Strawberry Ice Cream is your gateway to pure, homemade bliss. We’ve walked through the simple steps to transform fresh strawberries and a few basic ingredients into a creamy, dreamy frozen treat that will undoubtedly impress. The vibrant color and authentic, bursting strawberry flavor are truly unmatched. Don’t be afraid to experiment and make this your own! Serve it by the scoop in a cone, alongside a slice of warm cake, or even blended into a decadent milkshake.
Remember, the beauty of homemade Strawberry Ice Cream lies in its versatility. Feel free to add a swirl of whipped cream, a drizzle of chocolate sauce, or even some fresh mint for an extra burst of freshness. You can also swap out some of the strawberries for other berries if you’re feeling adventurous. So, gather your ingredients, embrace the process, and get ready to enjoy the most delicious Strawberry Ice Cream you’ve ever tasted. Happy churning!
Frequently Asked Questions:
Q: Can I make Strawberry Ice Cream without an ice cream maker?
A: Absolutely! While an ice cream maker ensures the smoothest texture, you can achieve delicious results by using the no-churn method. This typically involves whipping heavy cream and condensed milk together, then folding in your pureed strawberries. Freeze in a loaf pan, stirring vigorously every hour for the first few hours to break up ice crystals. The texture will be slightly different, more like a rich frozen mousse, but still incredibly tasty!
Q: How long does homemade Strawberry Ice Cream last?
A: For the best quality and flavor, it’s recommended to consume your homemade Strawberry Ice Cream within 1-2 weeks. After this time, the texture can start to degrade, and the flavor might not be as fresh. Ensure it’s stored in an airtight container in the coldest part of your freezer to prolong its lifespan.
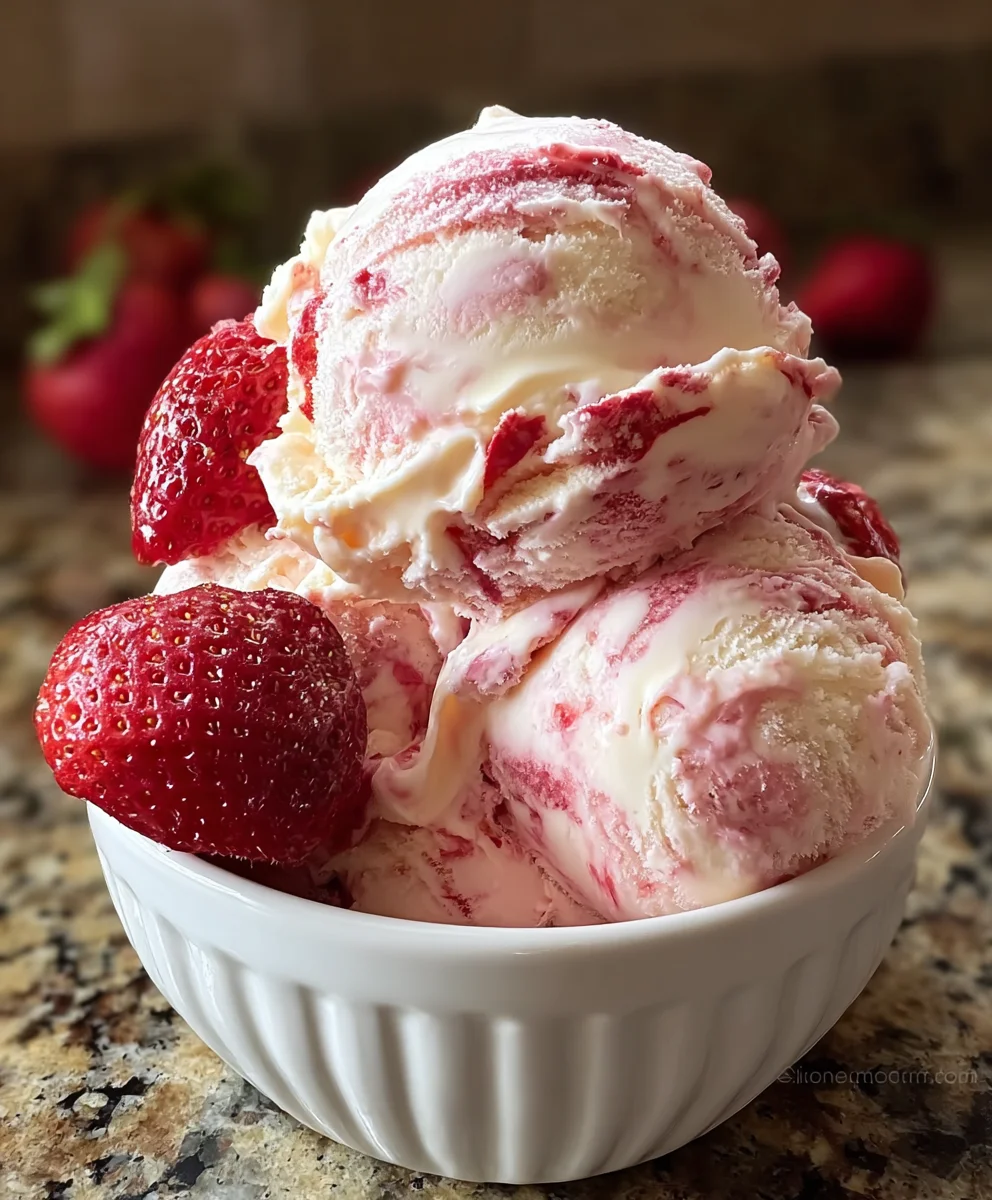
Homemade Strawberry Ice Cream-Easy No-Churn Recipe
A delicious and easy no-churn homemade strawberry ice cream recipe, perfect for a sweet treat.
Ingredients
-
2 cups fresh strawberries, hulled and sliced
-
1 vanilla bean, split and seeds scraped
-
1 cup heavy cream
-
1 cup whole milk
-
¾ cup granulated sugar
-
Pinch of salt
Instructions
-
Step 1
Prepare the strawberry base by hulling and slicing 2 cups of fresh strawberries. Toss them with 6 tablespoons of granulated sugar in a bowl and let macerate for at least 30 minutes, or up to an hour. -
Step 2
While strawberries macerate, split a vanilla bean lengthwise and scrape out the seeds. Combine 1 cup whole milk and 1 cup heavy cream in a saucepan with the vanilla seeds and pod. Heat to a simmer, then remove from heat, cover, and let steep for 15-20 minutes. -
Step 3
Whisk together the remaining 6 tablespoons of granulated sugar and a pinch of salt in a separate bowl. Whisk 2 large eggs until frothy. Temper the eggs by slowly adding about half a cup of the warm milk mixture to the eggs while whisking constantly. Pour the tempered egg mixture back into the saucepan with the rest of the milk and cream. -
Step 4
Cook the custard base over medium-low heat, stirring constantly, until it thickens enough to coat the back of a spoon (around 170-175°F). Do not let it boil. Immediately remove from heat. -
Step 5
Strain the thickened custard through a fine-mesh sieve into a clean bowl. Add the macerated strawberries and their juices to the strained custard and stir gently. Cover the bowl tightly, pressing plastic wrap directly onto the surface, and refrigerate for at least 4 hours, or preferably overnight. -
Step 6
Once the base is thoroughly chilled, churn it according to your ice cream maker’s manufacturer instructions (typically 20-30 minutes) until it reaches a soft-serve consistency. Transfer the churned ice cream to a freezer-safe container. Press parchment paper or plastic wrap directly onto the surface to prevent ice crystals, cover tightly, and freeze for at least 4-6 hours until firm.
Important Information
Nutrition Facts (Per Serving)
It is important to consider this information as approximate and not to use it as definitive health advice.
Allergy Information
Please check ingredients for potential allergens and consult a health professional if in doubt.

Leave a Comment