


10-Minute Tuna Melt Wrap, the ultimate speedy solution for a satisfying meal when time is of the essence. Who doesn’t love the comforting combination of creamy tuna salad and gooey melted cheese, all wrapped up in a convenient package? It’s a classic for a reason, offering that perfect balance of textures and flavors that just hits the spot. What truly makes the 10-Minute Tuna Melt Wrap so special is its incredible versatility and speed. Forget about lengthy preparation or cooking times; this recipe is designed to deliver maximum deliciousness with minimal effort. Whether you’re a busy student, a working professional, or just someone craving a quick and tasty lunch or dinner, this wrap is your new best friend. It’s the kind of dish that can be whipped up on a hectic weekday, yet feels indulgent enough for a relaxed weekend bite.
Why You’ll Adore This Recipe
The beauty of this 10-Minute Tuna Melt Wrap lies in its simplicity. We’re talking about a recipe that’s not only incredibly fast but also incredibly forgiving. You can customize it with your favorite additions, making each wrap uniquely yours. It’s a perfect canvas for those moments when you need something nourishing and delicious without the fuss. Imagin extracte that warm, melted cheese embracing the savory tuna, all cradled within a soft tortilla – pure bliss!

Ingredients:
- 1 can (5 oz) skipjack or yellowfin tuna, drained
- 2 tablespoons plain Greek yogurt
- 1/2 tablespoon Dijon mustard
- 1 tablespoon fresh lemon juice (from about 1/2 a lemon)
- 1/4 cup corn, drained (if using canned)
- 1/4 cup finely diced red onion
- 1 tablespoon dill relish (or capers, rinsed and chopped, if you prefer)
- 1/2 teaspoon garlic powder
- 1/4 teaspoon freshly ground black pepper
- 1 burrito-sized tortilla or wrap (aim for one that’s at least 10 inches in diameter)
- 1/4 cup shredded mozzarella cheese
- Olive oil, for brushing the outside of the wrap
Preparing the Tuna Filling
Step 1: Drain and Flake the Tuna
Begin extract by thoroughly draining the canned tuna. You want to remove as much excess liquid as possible to prevent a soggy wrap. Once drained, place the tuna in a medium-sized mixing bowl. Use a fork to flake the tuna into small, manageable pieces. Aim for a texture that’s easy to mix and spread. This initial step is crucial for ensuring a well-balanced flavor and texture in your 10-Minute Tuna Melt Wrap.
Step 2: Combine the Wet Ingredients and Seasonings
To the flaked tuna, add the Greek yogurt and Dijon mustard. The Greek yogurt provides a creamy base without adding too much fat, while the Dijon mustard adds a pleasant tang and a bit of spice. Next, squeeze in the fresh lemon juice. The acidity from the lemon juice will brighten the flavors of the tuna and the other ingredients. Now, it’s time to add the seasonings. Sprinkle in the garlic powder and black pepper. If you are using dill relish, add it now. If you opted for capers, rinse them thoroughly to remove excess salt and then finely chop them before adding them to the bowl. Mix everything together until it’s well combined. Taste the mixture at this point and adjust seasonings if needed. You might want a little more pepper or a touch more lemon juice depending on your preference.
Step 3: Incorporate the Corn and Onion
Gently fold in the drained corn and the finely diced red onion. The corn adds a touch of sweetness and a pleasant pop of texture, while the red onion provides a sharp, refreshing bite. Be careful not to overmix at this stage, as you want to maintain some of the individual textures of the corn and onion. Ensure they are evenly distributed throughout the tuna mixture. This combination of ingredients creates a flavorful and texturally interesting filling that forms the heart of your 10-Minute Tuna Melt Wrap.
Assembling and Grilling the Wrap
Step 4: Assemble the Wrap
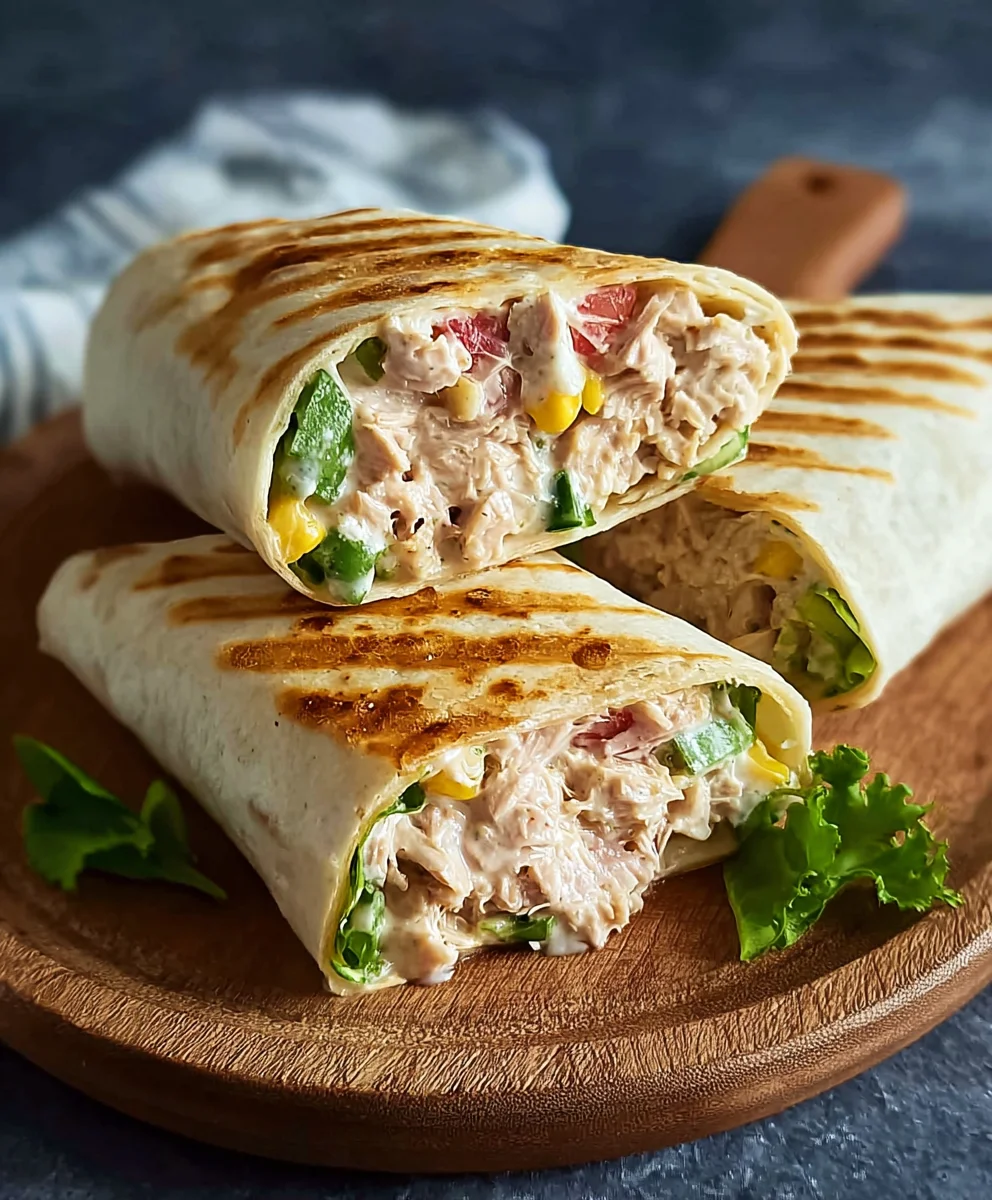
Lay your burrito-sized tortilla flat on a clean surface. Spoon the prepared tuna mixture evenly over the center of the tortilla, leaving a border of about an inch around the edges. This space will help prevent the filling from spilling out when you fold and grill the wrap. Sprinkle the shredded mozzarella cheese generously over the tuna filling. The cheese will melt and bind the filling together, creating that desirable “melt” in your 10-Minute Tuna Melt Wrap.
Now, carefully fold in the sides of the tortilla over the filling. This helps to contain the ingredients. Then, starting from the bottom edge closest to you, tightly roll up the tortilla, tucking in the filling as you go. Aim for a snug roll that will hold its shape during the grilling process. If the tortilla is slightly dry, you can warm it for a few seconds in the microwave to make it more pliable, but be careful not to overheat it.
Step 5: Grill the Wrap to Golden Perfection
Heat a non-stick skillet or a grill pan over medium heat. Once the pan is warm, brush the outside of your assembled wrap lightly with olive oil. This olive oil is essential for achieving a beautifully golden-brown and slightly crispy exterior on your 10-Minute Tuna Melt Wrap. Place the rolled wrap seam-side down into the hot skillet. Cook for about 3-4 minutes per side, or until the tortilla is golden brown and the cheese inside is melted and gooey. You’ll see the cheese starting to ooze out slightly as it melts, which is a good sign!
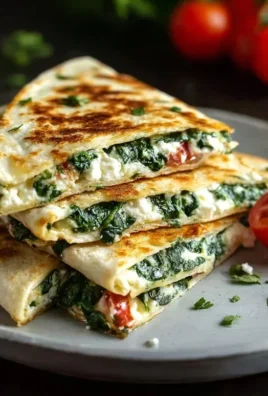
Keep an eye on the wrap as it cooks to prevent burning. You can gently press down on the wrap with a spatula occasionally to ensure even cooking and to help seal the seam. Once both sides are beautifully browned and the cheese is fully melted, carefully remove the wrap from the skillet. Let it rest for about a minute before slicing. This brief resting period allows the cheese to set slightly, making it easier to cut without the filling completely falling out. Slice the wrap in half diagonally for a classic presentation and to reveal the delicious, cheesy, tuna-filled interior of your quick and satisfying 10-Minute Tuna Melt Wrap.
Conclusion:
And there you have it – the incredibly simple yet satisfying 10-Minute Tuna Melt Wrap! We hope you’ve enjoyed learning how to whip up this delicious and speedy meal. This wrap is perfect for those busy weeknights, quick lunches, or even a late-night snack when hunger strikes. Its versatility means you can truly make it your own, and we encourage you to experiment with the suggested variations to discover your favorite combination. Don’t be afraid to get creative and enjoy the process! We’re confident that the 10-Minute Tuna Melt Wrap will become a staple in your recipe repertoire.
Frequently Asked Questions:
What are some other filling ideas for the 10-Minute Tuna Melt Wrap?
Beyond the classic tuna, you can try using shredded chicken, mashed chickpeas for a vegetarian option, or even leftover cooked salmon. Feel free to add other vegetables like chopped bell peppers, corn, or spinach for extra flavor and nutrients.
Can I make the 10-Minute Tuna Melt Wrap ahead of time?
While it’s designed for speed, you can prepare the tuna salad mixture a day in advance and store it in an airtight container in the refrigerator. However, it’s best to assemble and toast the wrap just before serving to ensure the best texture and prevent soggin extractess.
What kind of bread or tortilla is best for the 10-Minute Tuna Melt Wrap?
For this recipe, a large flour tortilla works wonderfully as it holds all the fillings and toasts nicely. You could also use a whole wheat tortilla, a spinach wrap, or even a large pita bread if you prefer.
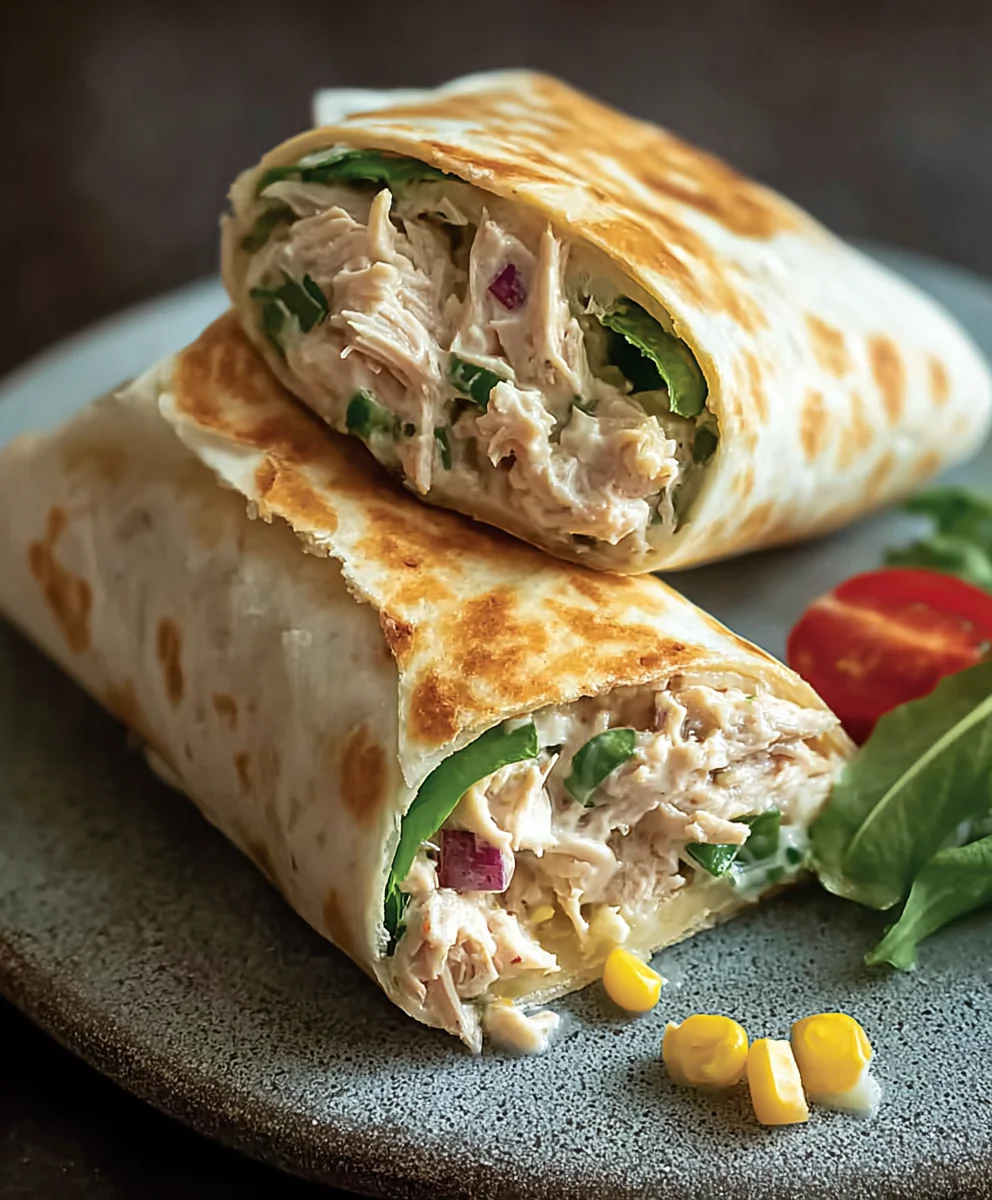
Easy Tuna Melt Wrap
A quick and delicious lunch recipe for a tuna melt wrap, perfect for a speedy meal.
Ingredients
-
1 can (5 oz) skipjack or yellowfin tuna, drained
-
2 tablespoons plain Greek yogurt
-
1/2 tablespoon Dijon mustard
-
1 tablespoon fresh lemon juice
-
1/4 cup corn, drained
-
1/4 cup finely diced red onion
-
1 tablespoon dill relish
-
1/2 teaspoon garlic powder
-
1/4 teaspoon freshly ground black pepper
-
1 burrito-sized tortilla or wrap
-
1/4 cup shredded mozzarella cheese
-
Olive oil, for brushing the outside of the wrap
Instructions
-
Step 1
Drain and flake the tuna into small pieces in a medium mixing bowl. -
Step 2
Add Greek yogurt, Dijon mustard, lemon juice, garlic powder, black pepper, and dill relish (or capers) to the tuna. Mix until well combined. -
Step 3
Gently fold in the drained corn and finely diced red onion. -
Step 4
Spoon the tuna mixture evenly over the center of a tortilla, leaving a border. Sprinkle with mozzarella cheese. Fold in the sides and tightly roll up the tortilla. -
Step 5
Heat a non-stick skillet over medium heat. Brush the outside of the wrap with olive oil. Place the wrap seam-side down in the skillet and cook for 3-4 minutes per side, until golden brown and the cheese is melted. -
Step 6
Remove from skillet, let rest for a minute, then slice in half diagonally.
Important Information
Nutrition Facts (Per Serving)
It is important to consider this information as approximate and not to use it as definitive health advice.
Allergy Information
Please check ingredients for potential allergens and consult a health professional if in doubt.
Leave a Comment