


Honey Garlic Chicken is a dish that consistently captures hearts and taste buds, and for good reason! It’s that magical combination of sweet and savory that feels both comforting and incredibly satisfying. Imagin extracte tender, succulent chicken pieces coated in a glossy, irresistible glaze, each bite bursting with the perfect balance of aromatic garlic and pure, golden honey. This is more than just a meal; it’s an experience. What makes this particular Honey Garlic Chicken recipe so special is its simplicity and the depth of flavor it achieves with just a few pantry staples. It’s the kind of weeknight hero that makes everyone at the table smile, and the leftovers (if there are any!) are just as delightful the next day. Get ready to discover your new go-to favorite!

Ingredients:
- 1 1/2 pounds boneless, skinless chicken thighs or breasts, cut into bite-sized pieces
- 2 tablespoons cornstarch
- 2 tablespoons vegetable oil
- 4 garlic cloves, minced
- 1/3 cup honey
- 1/4 cup soy sauce (low sodium recommended)
- 2 tablespoons rice vinegar or apple cider vinegar
- 1 teaspoon sesame oil
- 1/2 teaspoon chili flakes (optional, for heat)
- Sesame seeds and chopped green onions, for garnish
Preparing the Chicken
Step 1: Marinate and Coat the Chicken
The first step to achieving perfectly tender and flavorful Honey Garlic Chicken is to prepare the chicken properly. I like to use chicken thighs for this recipe as they tend to stay more moist and tender, but boneless, skinless chicken breasts work beautifully too. Ensure your chicken is cut into uniform, bite-sized pieces, about 1-inch cubes. This ensures they cook evenly and absorb the sauce wonderfully. In a medium bowl, toss the chicken pieces with the cornstarch. The cornstarch is crucial here; it creates a slight barrier that helps the chicken brown nicely and gives the sauce something to cling to, resulting in that irresistible glaze. Make sure each piece is lightly and evenly coated. Don’t worry if it looks a little dusty. This coating also helps to thicken the sauce slightly as it cooks.
Cooking the Chicken
Step 2: Searing the Chicken to Golden Perfection
Now it’s time to get some color on that chicken. Heat the vegetable oil in a large skillet or wok over medium-high heat. You want the oil to be shimmering but not smoking. Carefully add the cornstarch-coated chicken pieces to the hot skillet in a single layer. Avoid overcrowding the pan; if necessary, cook the chicken in batches. Overcrowding will steam the chicken rather than sear it, preventing that desirable golden-brown crust. Let the chicken cook undisturbed for about 3-4 minutes per side, until it’s nicely browned and mostly cooked through. You’ll see a lovely golden hue develop, and the cornstarch coating will start to crisp up slightly. Once browned, remove the chicken from the skillet and set it aside on a plate. You don’t need to worry if it’s not fully cooked at this stage, as it will finish cooking in the sauce.
Crafting the Honey Garlic Sauce
Step 3: Infusing the Aromatics and Building the Sauce Base
In the same skillet (no need to wash it; those browned bits are flavor!), reduce the heat to medium. If there’s excess oil, you can carefully pour some of it off, leaving just about a tablespoon. Add the minced garlic cloves to the skillet. Cook the garlic for about 30-60 seconds, stirring constantly, until it’s fragrant. Be very careful not to burn the garlic, as burnt garlic can turn bitter and ruin the sauce. Just a gentle sauté to release its aromatic oils is all you need. Once the garlic is fragrant, it’s time to add the star ingredients for our sauce. Pour in the honey, soy sauce, and rice vinegar (or apple cider vinegar). Stir everything together, scraping up any browned bits from the bottom of the pan – that’s pure flavor! If you’re using chili flakes for a touch of heat, add them now. This combination creates the perfect balance of sweet, savory, and tangy that defines Honey Garlic Chicken.
Combining and Finishing
Step 4: Simmering and Thickening the Glorious Glaze
Bring the sauce mixture to a gentle simmer. Let it bubble and cook for about 2-3 minutes, allowing the flavors to meld together and the sauce to start thickening slightly. This is where the magic happens! The honey will caramelize a bit, and the soy sauce and vinegar will create a rich, complex base. While the sauce is simmering, stir in the sesame oil. Sesame oil adds a wonderfully nutty and aromatic depth that is characteristic of many Asian-inspired dishes. Taste the sauce at this point and adjust seasonings if needed. You might want a little more sweetness, a touch more tang, or a pinch of salt, though the soy sauce usually provides enough. The sauce should be starting to look glossy and inviting.
Step 5: Returning the Chicken and Achieving the Perfect Glaze
Now, return the seared chicken pieces to the skillet with the simmering sauce. Toss the chicken gently to ensure each piece is thoroughly coated in the luscious honey garlic glaze. Continue to cook over medium heat for another 5-7 minutes, stirring occasionally, until the chicken is cooked through and the sauce has thickened to a beautiful, syrupy consistency that clings to every piece of chicken. The chicken should be tender and juicy, and the sauce should be thick enough to coat the back of a spoon. This final stage allows the chicken to absorb all the delicious flavors of the sauce and for the sauce to reach its perfect consistency. If the sauce seems too thick, you can add a tablespoon or two of water or chicken broth to loosen it up. If it’s too thin, let it simmer a little longer, or if you’re in a pinch and need it thicker quickly, you can create a cornstarch slurry (1 teaspoon cornstarch mixed with 2 teaspoons cold water) and stir it in, letting it simmer for another minute.
Step 6: Garnishing and Serving
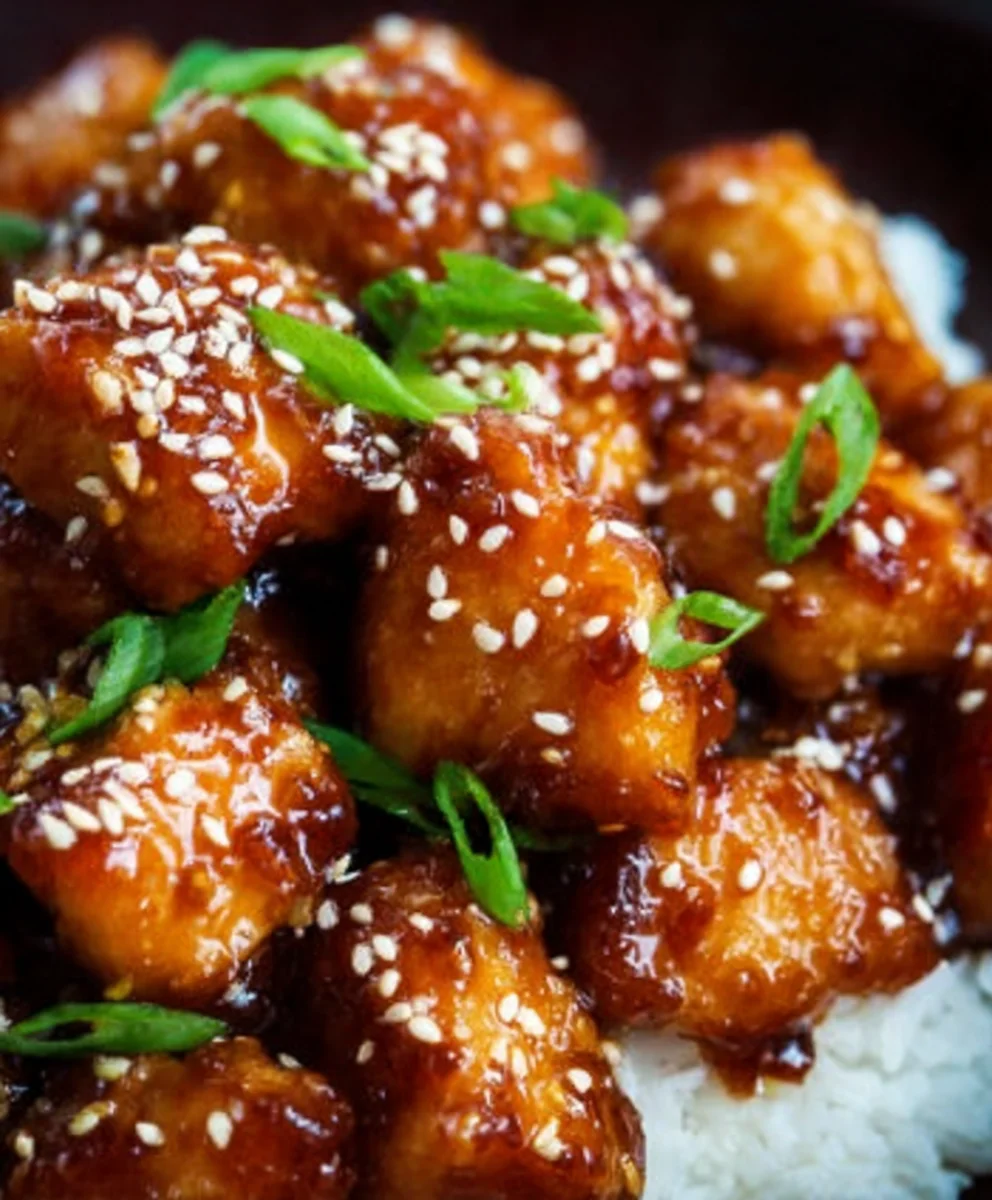
Once the Honey Garlic Chicken is perfectly glazed and the chicken is cooked through, it’s time for the final flourish. Remove the skillet from the heat. Transfer the chicken and sauce to your serving platter. To finish off this incredible dish, generously sprinkle with toasted sesame seeds and freshly chopped green onions. The sesame seeds add a delightful crunch and nutty flavor, while the green onions provide a fresh, sharp contrast to the rich, sweet, and savory sauce. Serve this delectable Honey Garlic Chicken immediately with steamed rice, noodles, or your favorite side vegetables for a complete and incredibly satisfying meal. The aroma alone will have everyone at the table eager to dig in!
Conclusion:
There you have it – your foolproof guide to making the most delicious Honey Garlic Chicken! We’ve explored the simple steps to achieve that perfect balance of sweet and savory, with tender chicken coated in a sticky, irresistible glaze. This recipe is incredibly versatile, making it a weeknight hero or a crowd-pleasing dish for any occasion. Don’t be afraid to experiment and make it your own!
For serving suggestions, this Honey Garlic Chicken pairs wonderfully with steamed jasmine rice, fluffy quinoa, or even a crisp, fresh salad. You can also enjoy it tucked into warm tortillas for delicious wraps or served alongside roasted vegetables like broccoli or asparagus. Get creative with your side dishes to complement the rich flavors of the chicken.
We’ve already touched on some great variations, but remember you can also add a pinch of red pepper flakes for a touch of heat or a splash of soy sauce for an extra umami boost. Feel free to try different cuts of chicken, like thighs or tenders, adjusting cooking times as needed. The beauty of this recipe is its adaptability. We encourage you to try it, enjoy it, and share it with loved ones. Happy cooking!
Frequently Asked Questions:
Q1: Can I make Honey Garlic Chicken ahead of time?
Yes, you can prepare the sauce and marinate the chicken in advance. Store them separately in the refrigerator for up to 24 hours. When you’re ready to cook, simply proceed with the recipe. The cooked chicken is best enjoyed fresh, but leftovers can be stored in an airtight container in the refrigerator for 2-3 days and reheated gently.
Q2: What if I don’t have fresh garlic?
If you don’t have fresh garlic, you can substitute it with garlic powder. A good starting point is about 1 teaspoon of garlic powder for every clove of fresh garlic called for in the recipe. Add the garlic powder when you add the other dry ingredients or during the sauce-making process. Taste and adjust as needed.
Q3: How can I make the sauce thicker?
If you prefer a thicker sauce, you can simmer it for a few extra minutes on medium-low heat, stirring constantly, until it reaches your desired consistency. Alternatively, you can create a slurry by mixing 1 teaspoon of cornstarch with 2 teaspoons of cold water. Stir this slurry into the simmering sauce and cook for another minute or two until it thickens.
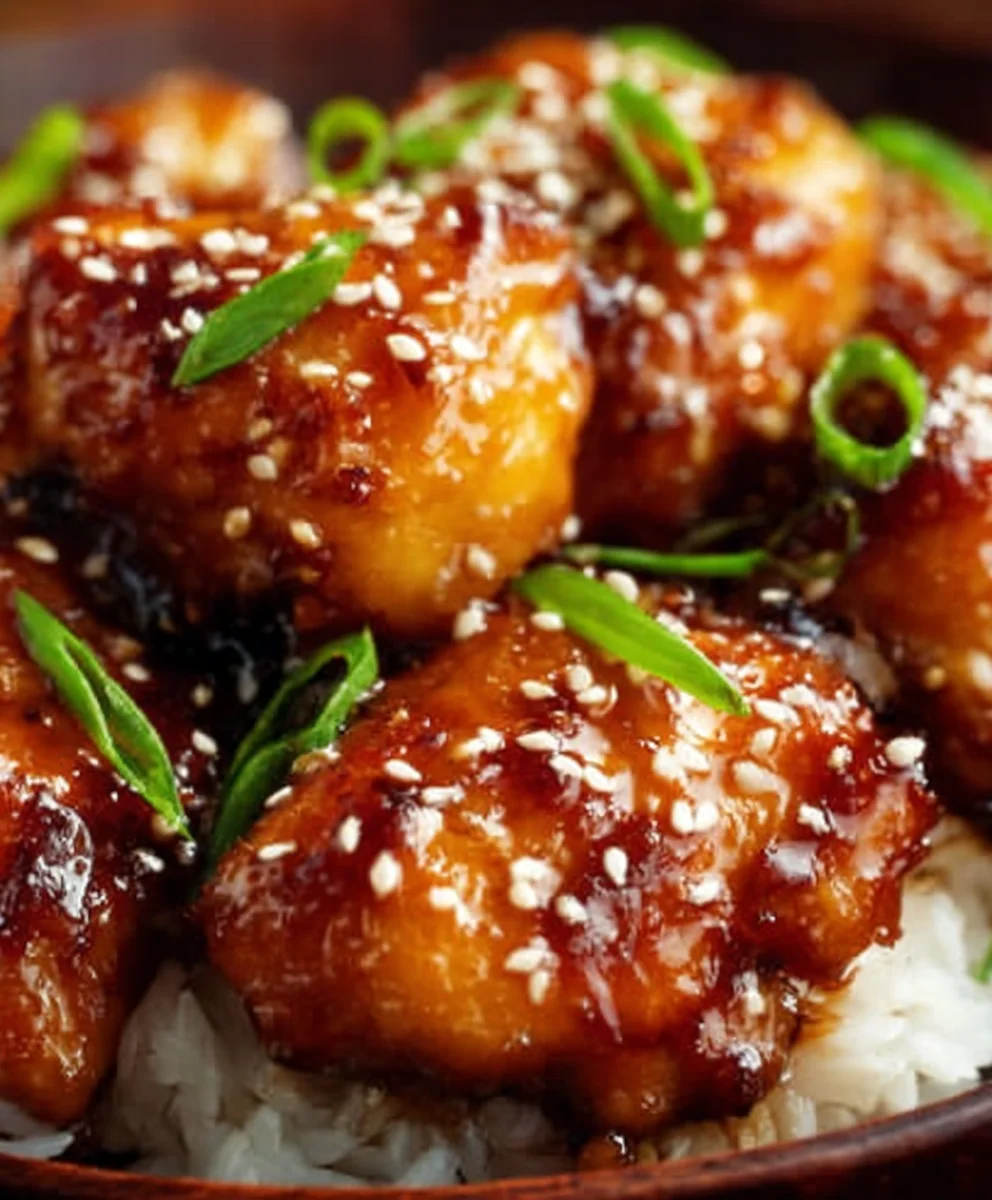
Easy Honey Garlic Beef
A delicious and quick recipe for tender beef coated in a sweet and savory honey garlic glaze.
Ingredients
-
1 1/2 pounds boneless beef sirloin or flank steak, cut into bite-sized pieces
-
2 tablespoons cornstarch
-
2 tablespoons vegetable oil
-
4 garlic cloves, minced
-
1/3 cup honey
-
1/4 cup soy sauce (low sodium recommended)
-
2 tablespoons rice vinegar
-
1 teaspoon sesame oil
-
1/2 teaspoon chili flakes (optional, for heat)
-
Sesame seeds and chopped green onions, for garnish
Instructions
-
Step 1
In a medium bowl, toss the beef pieces with the cornstarch until lightly and evenly coated. This will help the beef brown nicely and the sauce to cling. -
Step 2
Heat the vegetable oil in a large skillet or wok over medium-high heat. Add the cornstarch-coated beef in a single layer, cooking in batches if necessary, for 3-4 minutes per side until browned and mostly cooked through. Remove beef from skillet and set aside. -
Step 3
Reduce heat to medium. Add minced garlic to the skillet and cook for 30-60 seconds until fragrant, being careful not to burn. Add honey, soy sauce, rice vinegar, and chili flakes (if using). Stir to combine and scrape up any browned bits from the bottom of the pan. -
Step 4
Bring the sauce mixture to a gentle simmer and cook for 2-3 minutes, stirring occasionally, until slightly thickened. Stir in the sesame oil. -
Step 5
Return the seared beef to the skillet with the sauce. Toss to coat and continue to cook over medium heat for another 5-7 minutes, stirring occasionally, until the beef is cooked through and the sauce has thickened to a syrupy consistency. -
Step 6
Remove from heat. Garnish with sesame seeds and chopped green onions before serving immediately with steamed rice or your favorite sides.
Important Information
Nutrition Facts (Per Serving)
It is important to consider this information as approximate and not to use it as definitive health advice.
Allergy Information
Please check ingredients for potential allergens and consult a health professional if in doubt.

Leave a Comment