


Easy Homemade Bread is a dream that’s far more achievable than you might think, and I’m here to show you just how simple it can be. Imagin extracte the comforting aroma filling your kitchen, the satisfying crackle of a perfectly baked crust, and the incredibly soft, yielding interior – all made by your own hands. There’s a unique kind of magic in creating something so fundamental and delicious from scratch. People adore homemade bread for so many reasons: it’s a connection to tradition, a healthier alternative to store-bought options packed with preservatives, and frankly, it just tastes infinitely better. What truly makes this particular recipe special is its forgiving nature. We’re stripping away all the intimidation, focusing on core ingredients and straightforward steps, ensuring that even if you’ve never baked bread before, you’ll end up with a loaf you’ll be incredibly proud of. Get ready to discover the joy of truly delicious, easy homemade bread.

Easy Homemade Bread
There’s something incredibly satisfying about pulling a warm, crusty loaf of homemade bread from your own oven. The aroma alone can transform your kitchen into a cozy haven. Many people are intimidated by bread making, thinking it’s a complex and time-consuming process. I’m here to tell you that it absolutely doesn’t have to be! This recipe for Easy Homemade Bread is designed for begin extractners, requiring minimal ingredients and effort, yet delivering a fantastic result. Forget those store-bought loaves that often taste bland and lack that authentic texture. With just a few simple steps, you can create a delicious, wholesome bread that will impress yourself and anyone lucky enough to share it. This recipe is a fantastic starting point for anyone wanting to dive into the wonderful world of baking. Let’s get started!
Ingredients:
Getting Started: Mixing the Dough
The foundation of any great bread is a well-mixed dough. For this recipe, we’ll be using instant yeast, which means you don’t need to “proof” it beforehand. This makes the process even quicker and simpler. First, grab a large mixing bowl. Pour in your 1 ½ cups of warm water. It’s important that the water is warm, not hot or cold. Think of it like a comfortable bath – around 105-115°F (40-46°C). This temperature is ideal for activating the yeast without killing it. If the water is too hot, it will kill the yeast, and your bread won’t rise. If it’s too cold, the yeast will be sluggish, and you’ll get a denser loaf.
Next, sprinkle your 1 packet (which is 2 ¼ teaspoons) of instant yeast directly into the warm water. Give it a gentle stir, just enough to distribute the yeast. You don’t need to see a foamy layer; with instant yeast, it will go to work quietly. Now, add your 3 cups of bread flour. Bread flour is preferred because its higher protein content develops gluten more effectively, leading to a chewier texture and better rise. However, all-purpose flour will also work perfectly well if that’s what you have on hand. Finally, add the 2 ½ teaspoons of kosher salt. Salt is crucial for flavor, but it also plays a vital role in controlling the yeast’s activity and strengthening the gluten structure.
Kneading and Developing the Dough
Once all your ingredients are in the bowl, it’s time to bring them together. You can use a wooden spoon or a sturdy spatula to mix everything until a shaggy dough begin extracts to form. Don’t worry about it looking perfect at this stage; it will be quite sticky and uneven. Now, it’s time for the magic of kneading. You can do this by hand or with a stand mixer fitted with a dough hook.
Hand Kneading Method:
If you’re kneading by hand, lightly flour a clean work surface. Turn the shaggy dough out onto the floured surface. Begin extract to knead by pushing the dough away from you with the heels of your hands, then folding it back towards you. Rotate the dough a quarter turn and repeat. Initially, the dough will be sticky and will cling to your hands and the surface. Resist the urge to add too much extra flour; a little bit is okay, but too much will make your bread tough. Continue kneading for about 8-10 minutes. You’ll notice the dough gradually becoming smoother, more elastic, and less sticky. It should spring back when you gently poke it. This is the gluten developing, which gives bread its structure.
Stand Mixer Method:
If you’re using a stand mixer, attach the dough hook. Add all the ingredients to the mixer bowl. Mix on low speed until the dough just comes together. Then, increase the speed to medium-low and let the mixer knead the dough for about 5-7 minutes. You’ll see the dough start to pull away from the sides of the bowl and form a smooth ball around the dough hook. It should be elastic and slightly tacky.
The First Rise: Letting the Dough Rest
After kneading, it’s time for the dough to rest and rise. Lightly grease a clean bowl with a little bit of oil or cooking spray. Place the kneaded dough into the greased bowl, turning it to coat all sides. This prevents the dough from drying out as it rises. Cover the bowl tightly with plastic wrap or a clean kitchen towel. Place the bowl in a warm, draft-free place. A slightly warm oven (turned off, of course!) or even on top of your refrigerator can be good spots. Let the dough rise for about 1 to 1 ½ hours, or until it has doubled in size. The exact time will depend on the warmth of your environment. You’ll see it puff up beautifully, becoming light and airy. This is where the yeast works its magic, producing carbon dioxide that makes the dough expand.
Shaping and the Second Rise
Once your dough has doubled, it’s time to gently deflate it and shape it. Lightly punch down the dough to release the air pockets. Turn it out onto a lightly floured surface. For a classic loaf shape, you can gently flatten the dough into a rectangle. Then, roll it up tightly from one of the shorter sides, pinching the seam closed as you go. Tuck the ends under to create a neat loaf shape.
Place the shaped loaf into a greased 9×5 inch loaf pan. You can also bake it freeform on a baking sheet if you prefer a more rustic look, but a loaf pan will help it keep its shape during baking. Cover the loaf pan loosely with plastic wrap or a clean kitchen towel again. Let it rise for a second time in a warm place for about 30-45 minutes, or until it has almost doubled in size again. You’ll see it puff up nicely in the pan.
Baking Your Beautiful Loaf
Preheat your oven to 375°F (190°C) about 15-20 minutes before you expect the second rise to be complete. This ensures your oven is at the correct temperature when the bread is ready to bake. Once the dough has had its second rise, carefully place the loaf pan (or baking sheet) into the preheated oven.
Bake for 30-40 minutes. The exact baking time will vary depending on your oven. You’ll know the bread is done when it’s golden brown on top and sounds hollow when you tap the bottom. If you have an instant-read thermometer, the internal temperature should be around 190-200°F (88-93°C). If the crust starts to brown too quickly, you can loosely tent the loaf with aluminum foil for the last 10-15 minutes of baking.
Once baked, carefully remove the bread from the oven. Immediately turn the loaf out of the pan and onto a wire rack to cool completely. This is a crucial step to prevent the bottom of the crust from becoming soggy. Resist the urge to slice into it while it’s still hot – the internal structure is still setting. Let it cool for at least an hour before slicing. The aroma as it cools will be absolutely non-intoxicating! Enjoy your incredibly easy and delicious homemade bread!
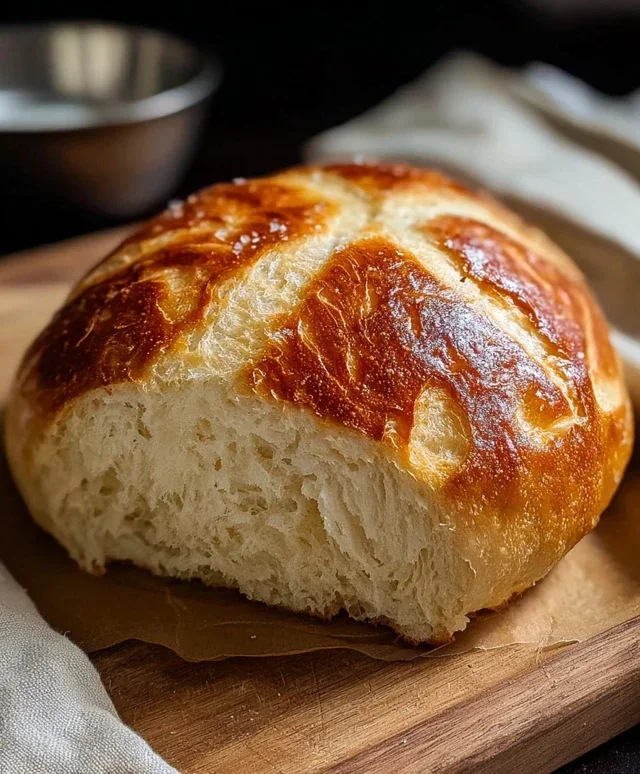
Conclusion:
And there you have it! Your journey into the wonderful world of easy homemade bread is complete. This recipe truly shines because it demystifies bread making, proving that you don’t need complex techniques or exotic ingredients to bake a delicious, crusty loaf right in your own kitchen. The aroma that fills your home as it bakes is an unparalleled reward, and the taste of fresh, warm bread is simply unbeatable. I encourage you to dive in and give this recipe a try; you’ll be amazed at how simple and satisfying it is.
This versatile loaf is perfect served warm with butter, used for amazing sandwiches, or as a delicious accompaniment to soups and stews. For a touch of sweetness, try adding a tablespoon of honey to the dough, or for a savory twist, incorporate some dried herbs or grated cheese into the mix during the final kneading. Don’t be afraid to experiment and make it your own!
Frequently Asked Questions:
Why did my bread not rise properly?
This can happen for a few reasons. Ensure your yeast was fresh and active. If it’s old, it might not have enough power to make the dough rise. Also, check that your water or milk was warm (not hot) when activating the yeast, as extreme temperatures can kill it. Finally, make sure your dough had a warm place to rise, free from drafts.
Can I make this bread ahead of time?
Absolutely! Once baked and completely cooled, you can store your easy homemade bread in an airtight container or bread bag at room temperature for 2-3 days. For longer storage, it freezes beautifully. Simply wrap it tightly in plastic wrap, then in foil, and it will keep for up to 3 months. Thaw at room temperature.
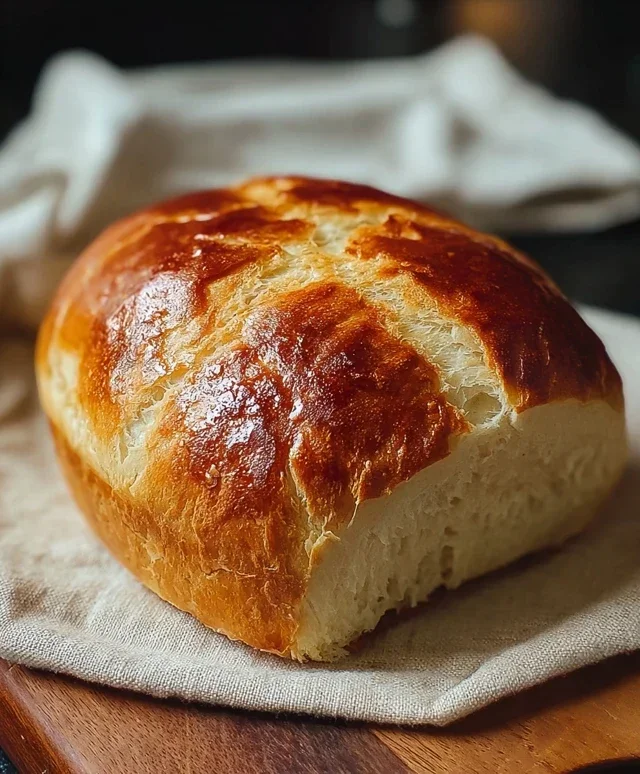
Easy Homemade Bread
A simple and delicious recipe for homemade bread, perfect for beginners.
Ingredients
-
1 ½ cups warm water
-
3 cups bread flour (all-purpose works too!)
-
1 packet (2 ¼ teaspoons) Instant Yeast
-
2 ½ tsp kosher salt
-
1 tablespoon olive oil
Instructions
-
Step 1
In a large bowl, combine warm water and yeast. Let it sit for 5 minutes until foamy. -
Step 2
Add flour, salt, and olive oil to the bowl. Mix until a shaggy dough forms. -
Step 3
Turn the dough out onto a lightly floured surface and knead for 8-10 minutes until smooth and elastic. -
Step 4
Place the dough in a greased bowl, cover with a damp cloth, and let it rise in a warm place for 1-1.5 hours, or until doubled in size. -
Step 5
Punch down the dough and shape it into a loaf. Place it in a greased loaf pan. -
Step 6
Cover the loaf pan and let the dough rise for another 30-45 minutes. -
Step 7
Preheat oven to 375°F (190°C). Bake for 30-35 minutes, or until golden brown and the internal temperature reaches 200°F (93°C).
Important Information
Nutrition Facts (Per Serving)
It is important to consider this information as approximate and not to use it as definitive health advice.
Allergy Information
Please check ingredients for potential allergens and consult a health professional if in doubt.



Leave a Comment