


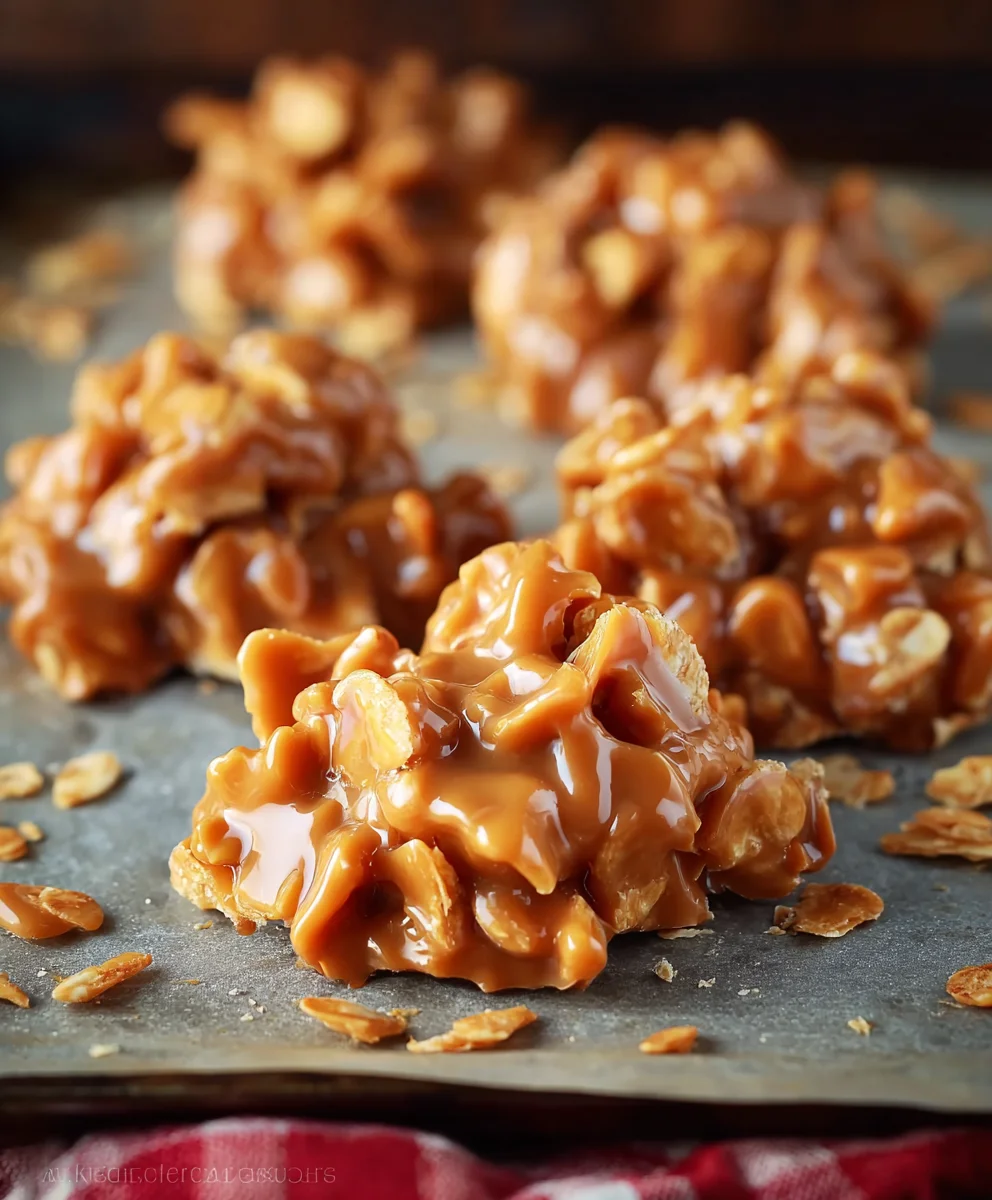
Caramel Clusters are one of those magical treats that seem to defy all culinary logic. They’re simultaneously decadent and comforting, offering a delightful crunch followed by a melt-in-your-mouth sweetness that keeps you coming back for more. What is it about these simple confections that ignites such widespread adoration? Perhaps it’s the addictive interplay of textures – the satisfying snap of the nuts or crunchy cereal, embraced by a rich, gooey caramel. Or maybe it’s the sheer joy they bring, transforming ordinary ingredients into something truly special, perfect for sharing (or not!). We love them because they feel homemade and handcrafted, a testament to simple pleasures done exceptionally well. This recipe for Caramel Clusters takes that beloved classic and elevates it with a touch of elegance and a flavor profile that will have everyone asking for the secret.

Ingredients:
- 1/4 cup milk
- 1/2 cup unsalted butter
- 14 oz bag (about 50) Kraft caramels, wrappers removed
- 5-6 cups cornflakes
Preparing Your Caramel Clusters
Melting the Caramel Base
The first step in creating these delightful Caramel Clusters is to establish a smooth, luscious caramel base. This requires a gentle melting process to ensure the caramels don’t scorch or seize. In a medium-sized, heavy-bottomed saucepan, combine your 1/2 cup of unsalted butter and the 1/4 cup of milk. The butter provides richness and helps create a smoother texture, while the milk adds the necessary liquid to achieve a fluid caramel. Place this saucepan over low heat. It is crucial to use low heat here to prevent the milk from scalding and the butter from burning. Stir the mixture continuously with a heatproof spatula or wooden spoon as the butter melts and begin extracts to incorporate with the milk. Once the butter is fully melted and the mixture is warm, it’s time to introduce the Kraft caramels. Gradually add the 14 oz bag of Kraft caramels, making sure to remove all the wrappers beforehand – this is a step that requires a bit of patience but is essential for a clean melt and smooth final product. Continue to stir gently and constantly as the cargin extractls begin to soften and melt. You’ll notice the mixture slowly transforming into a thick, gooey, and glossy caramel sauce. This process can take several minutes, so don’t rush it. Keep stirring until all the caramels are completely dissolved and there are no lumps visible. The goal is a uniform, smooth caramel consistency. If you find it’s still a bit too thick and not flowing easily, you can add an extra splash of milk, just a teaspoon at a time, and stir it in until you reach your desired fluidity. Be careful not to add too much liquid, as this can make the clusters too soft.
Incorporating the Cornflakes
Once your caramel sauce is perfectly smooth and has reached a beautiful, flowing consistency, it’s time to add the star crunch element: the cornflakes. Ensure you have your 5-6 cups of cornflakes measured out and ready to go. It’s best to have them in a large mixing bowl, making it easier to combine them with the hot caramel. Gently pour the melted caramel mixture over the cornflakes in the bowl. Using a large spatula or gin extractrdy spoon, begin to fold the caramel into the cornflakes. The key here is to coat the cornflakes evenly without crushing them. You want each flake to be enveloped in that sweet, gooey caramel. Work relatively quickly at this stage because as the cgin extractmel cools, it will begin to thicken and become harder to stir. The aim is to distribute the caramel throughout the cornflakes, creating pockets of sweetness and a delightful textural contrast. If you find that the caramel is starting to set too quickly, you can briefly place the bowl over very low heat for a few seconds while stirring, but be extremely cautious not to overheat or burn the caramel. Continue folding until the cornflakes are well-coated and the mixture is cohesive.
Forming the Caramel Clusters
With the caramel and cornflakes thoroughly combined, the next step is to shape your Caramel Clusters. This is where they get their signature rustic, imperfect form. Have a baking sheet lined with parchment paper or wax paper ready. This will prevent the clusters from sticking and make cleanup much easier. Working in batches, use two spoons to scoop and drop mounds of the caramel-coated cornflake mixture onto the prepared baking sheet. Aim for bite-sized portions, roughly tablespoon-sized clusters. You can make them as neat or as haphazard as you like; the charm of these clusters lies in their handmade appearance. Don’t worry about making them perfectly round or uniform. Some slight variations in size and shape will make them even more appealing. As you drop each cluster, try to leave a little space between them on the baking sheet, as they may spread slightly as they cool. If the mixture becomes too difficult to scoop and shape, it indicates the caramel is cooling too much. You can gently rewarm the mixture in the bowl for a minute or two on very low heat if needed, but again, exercise caution.
Cooling and Setting
Once all your Caramel Clusters have been formed and are resting on the baking sheet, it’s time to let them cool and set. This is a crucial waiting period to allow the caramel to harden and hold its shape, transforming the gooey mixture into a delightful, crisp treat. Leave the baking sheet at room temperature. The cooling process typically takes about 30 to 60 minutes, depending on the ambient temperature of your kitchen. You’ll know they are ready when the caramel has firmed up and the clusters are no longer sticky to the touch. Avoid the temptation to rush this process by placing them in the refrigerator, as this can sometimes cause the caramel to become too hard or even chalky. Patience here will yield the best texture. During this cooling time, the cornflakes will absorb some of the caramel’s moisture, which helps them maintain their crispness while still being bound together.
Storage and Enjoyment
After your Caramel Clusters have fully cooled and set, they are ready to be enjoyed! Carefully peel them off the parchment or wax paper. Store any uneaten clusters in an airtight container at room temperature. They are best enjoyed within a week to ensure optimal crispness. If you stgin extract them for longer, they may begin to soften slightly. These homemade Caramel Clusters are perfect for snacking, gifting, or adding a sweet crunch to desserts. They make a wonderful homemade present for friends and family, presented in a nice tin or cellophane bag. Their simple yet satisfying flavor profile and delightful texture make them a crowd-pleasing treat that is surprisingly easy to make. Enjoy the fruits of your labor with these wonderfully crunchy and chewy delights.
Conclusion:
I hope you’ve enjoyed diving into this delightful recipe for Caramel Clusters! This recipe offers a perfect balance of sweet, chewy caramel and rich, satisfying crunch, making it a truly irresistible treat. Whether you’re looking for a homemade gift, a crowd-pleasing dessert, or just a little something sweet to brighten your day, these Caramel Clusters are sure to impress. They’re surprisingly easy to make and the aroma that fills your kitchen while they’re baking is simply heavenly.
For serving, these clusters are wonderful on their own, but they also make a fantastic addition to a dessert platter alongside cookies and brownies. You could even crum extractble them over ice cream or yogurt for an extra layer of texture and flavor. Don’t be afraid to get creative with variations! Try adding a pinch of sea salt on top before the caramel sets for a salted caramel kick, or mix in some chopped toasted nuts like pecans or almonds for added depth. Perhaps even a sprinkle of chili powder for a surprising sweet and spicy twist!
The beauty of this recipe is its adaptability. I encourage you to experiment and make these Caramel Clusters your own. The most important ingredient is your enjoyment, so have fun in the kitchen and savor every delicious bite!
Frequently Asked Questions:
How do I store Caramel Clusters?
To keep your Caramel Clusters fresh and chewy, store them in an airtight container at room temperature for up to a week. Avoid refrigerating them, as this can make the caramel hard.
Can I make these Caramel Clusters ahead of time?
Absolutely! These Caramel Clusters are perfect for making in advance. They store beautifully and are ready to enjoy whenever a craving strikes. This makes them an excellent option for holiday baking or party preparations.
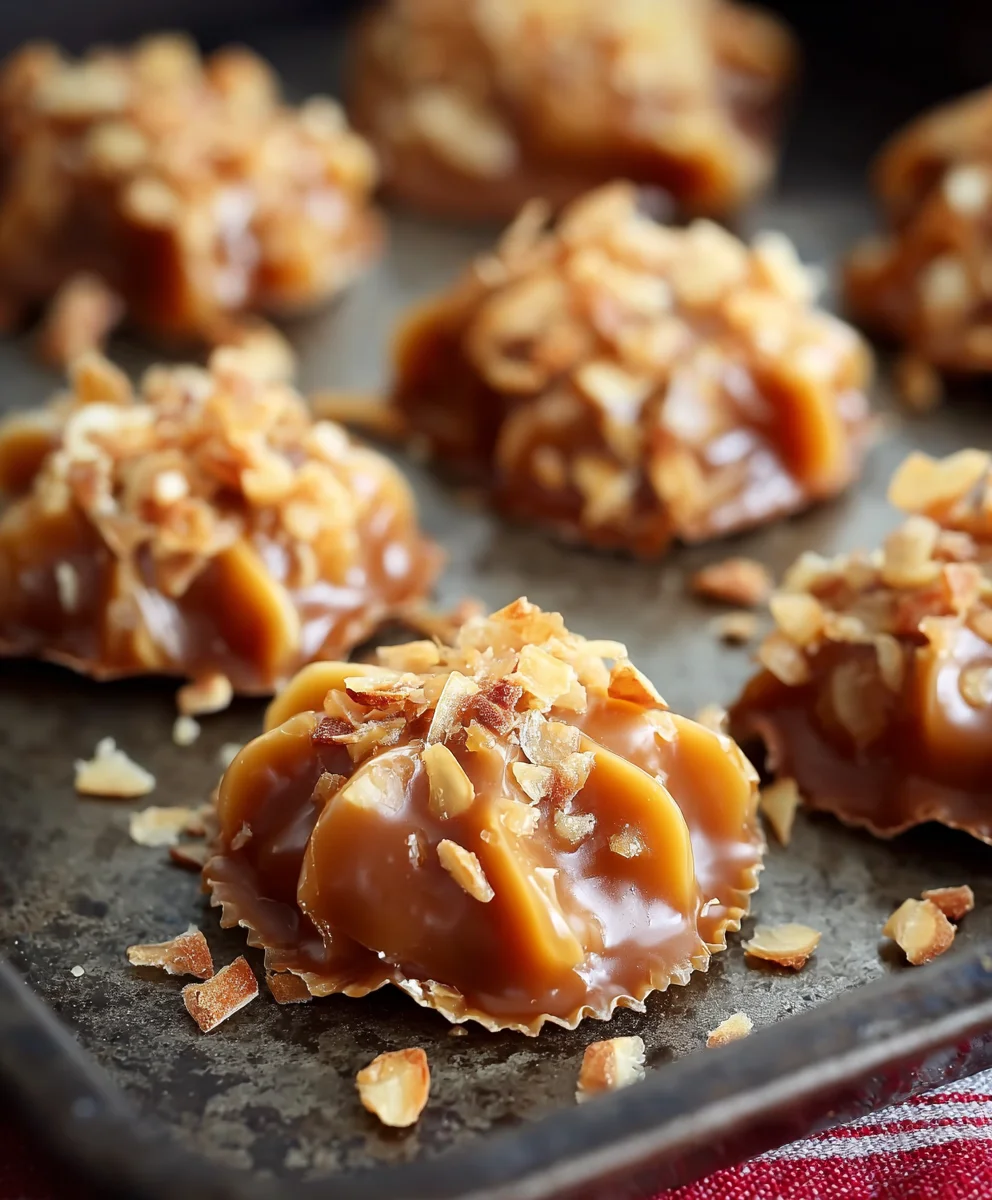
Easy Caramel Clusters- Sweet & Salty Treat Recipe
A simple and delicious recipe for sweet and salty caramel clusters made with crunchy cornflakes.
Ingredients
-
1/4 cup milk
-
1/2 cup unsalted butter
-
14 oz bag (about 50) Kraft caramels, wrappers removed
-
5-6 cups cornflakes
-
1 teaspoon vanilla extract
Instructions
-
Step 1
Melt butter and milk in a saucepan over low heat, stirring until smooth. -
Step 2
Gradually add unwrapped caramels and stir constantly until completely melted and smooth. -
Step 3
Pour melted caramel over cornflakes in a large bowl and fold to coat evenly. -
Step 4
Drop spoonfuls of the mixture onto a parchment-lined baking sheet to form clusters. -
Step 5
Let clusters cool and set at room temperature for 30-60 minutes until firm.
Important Information
Nutrition Facts (Per Serving)
It is important to consider this information as approximate and not to use it as definitive health advice.
Allergy Information
Please check ingredients for potential allergens and consult a health professional if in doubt.
Leave a Comment