


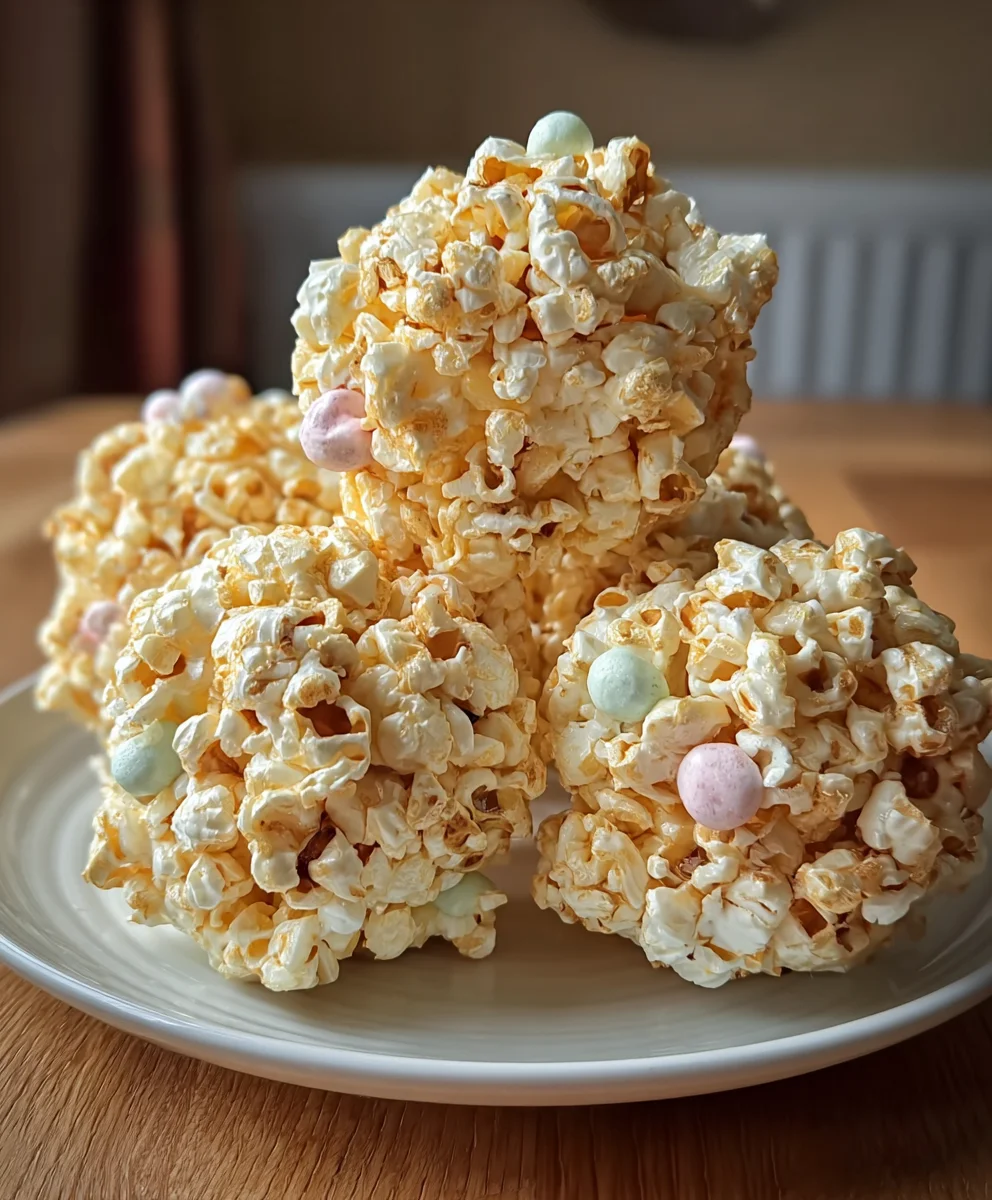
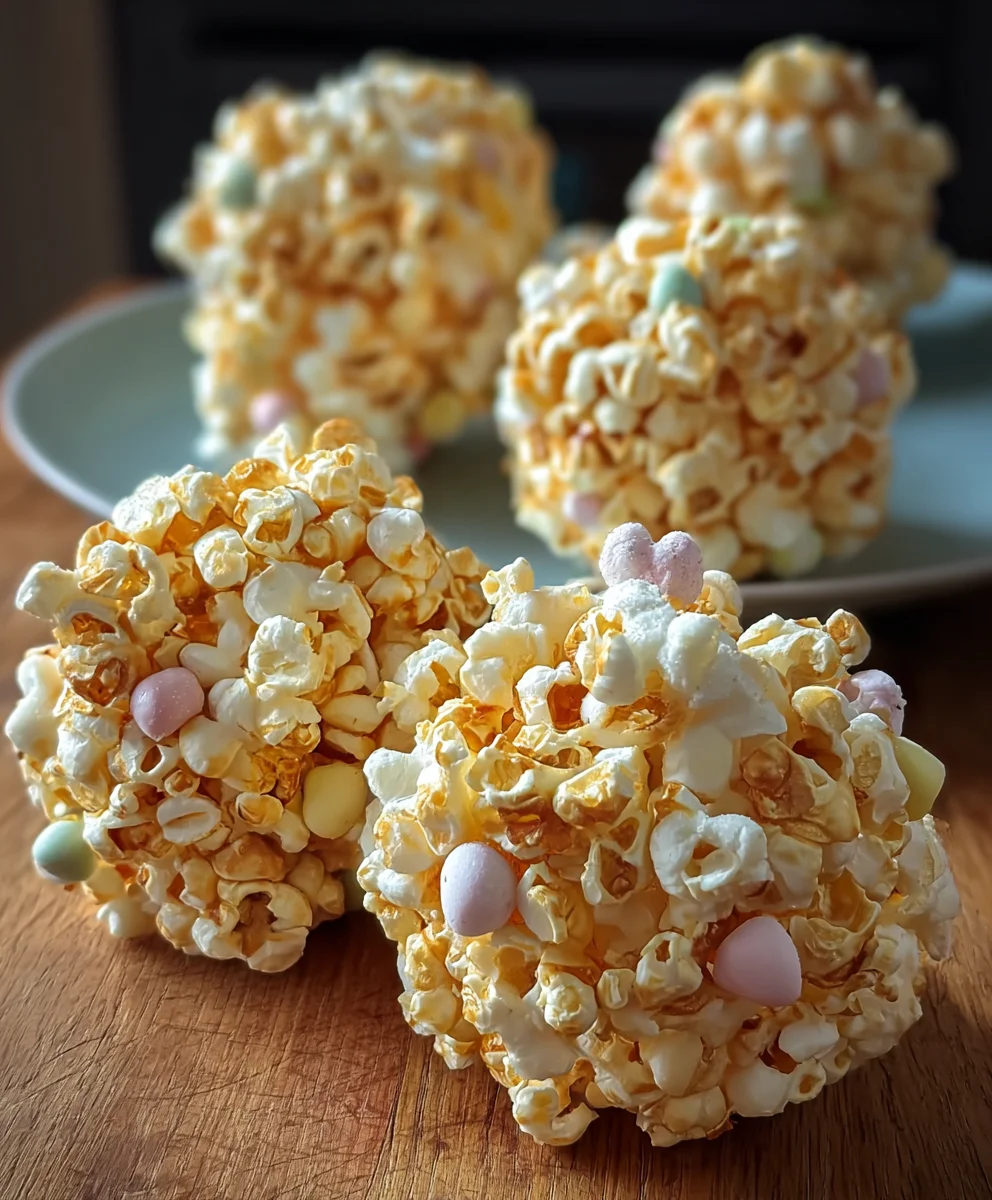
Easter Popcorn Balls are more than just a sweet treat; they’re a nostalgic embrace of spring celebrations and childhood joy. Imagin extracte a cloud of fluffy popcorn, artfully bound together with a sweet, sticky embrace, studded with the vibrant colors of the season. That’s the magic we’re capturing today! People absolutely adore these delightful confections for their delightful crunch, their satisfying sweetness, and the pure fun they bring to any Easter gathering. What makes these particular Easter Popcorn Balls so special is their versatility – they’re the perfect canvas for seasonal embellishments, transforming from simple spheres into edible works of art that will dazzle your guests. Whether you’re looking for a fun activity to do with the kids or a charming addition to your dessert table, these popcorn balls are guaranteed to be a hit.
Why You’ll Love Making These
Easy, Fun, and Delicious

Ingredients:
- 8 cups popped popcorn
- 6 Peeps marshmallows (any color/flavor), cut into small pieces
- 3 tablespoons unsalted butter
- 1 bag (10 ounces) mini marshmallows
- 1 teaspoon vanilla extract
- Easter-themed sprinkles
- Edible glitter
- Small Easter candies
Preparing Your Easter Popcorn Balls
The first step in creating these delightful Easter Popcorn Balls is to ensure you have all your ingredients prepped and ready to go. Pop your popcorn according to your preferred method. Whether you use an air popper, a stovetop method, or microwave bags, the goal is to have 8 cups of light and fluffy popped corn. It’s best to pop it just before you start assembling to ensure it’s fresh and has a pleasant texture. Once popped, carefully remove any unpopped kernels; these can be quite hard and unpleasant in the final treat. Set the popped popcorn aside in a large bowl.
Next, take your 6 Peeps marshmallows. These fun, festive treats add a wonderful chegrape juicess and a burst of color to our popcorn balls. For easier incorporation into the marshmallow mixture, it’s a good idea to snip them into smaller, bite-sized pieces. You can use kitchen scissors for this, making sure to clean them well afterward. Don’t worry too much about perfect uniformity; a bit of variation in size adds to the rustic charm of homemade treats. Set these prepared Peeps aside with your popcorn.
Now, let’s gather the other essential components. You’ll need your unsalted butter, a bag of mini marshmallows, and the vanilla extract. Having everything measured out and within easy reach will make the process much smoother and more enjoyable. Think of it as setting up your crafting station for culinary success!
Melting the Marshmallow Base
This is where the magic happens, transforming simple ingredients into a sticky, sweet binder for our Easter Popcorn Balls. In a large, heavy-bottomed saucepan, melt the 3 tablespoons of unsalted butter over low to medium heat. It’s important to use low to medium heat to prevent the butter from scorching, which can impart an undesirable flavor. Once the butter is fully melted and begin extracts to foam slightly, add the entire bag (10 ounces) of mini marshmallows to the saucepan.
Continue to stir the marshmallows constantly with a rubber spatula or wooden spoon as they melt. This gradual heating and stirring process is key to achieving a smooth, lump-free marshmallow mixture. The marshmallows will start to lose their shape and become gooey and elastic. Keep stirring until all the marshmallows are completely melted and the mixture is smooth and glossy. This should take approximately 5-7 minutes. Once the marshmallows are melted, immediately remove the saucepan from the heat. This is crucial to prevent the marshmallow mixture from becoming too tough or difficult to work with.
Combining and Forming Your Popcorn Balls
With the marshmallow mixture perfectly melted and smooth, it’s time to bring all our ingredients together. Carefully pour the melted marshmallow mixture over the 8 cups of popped popcorn in your large bowl. Add the teaspoon of vanilla extract to the melted marshmallow mixture while it’s still hot; the heat will help the vanilla’s flavor to bloom beautifully. Then, gently stir the popcorn and marshmallow mixture together. Use your rubber spatula to fold and coat the popcorn evenly. It’s important to work relatively quickly at this stage, as the marshmallow mixturegin extractll begin to cool and set.
As you stir, try to ensure that every piece of popcorn is coated in the sticky marshmallow goodness. If you find some areas are a bit drier, you can use your spatula to scrape any excess marshmallow from the sides of the saucepan and incorporate it into the mixture. Now, add the prepared, cut-up Peeps marshmallows to the bowl. Gently fold these in as well. The goal here is to distribute them throughout the popcorn mixture without completely melting them into the base; you want those distinct chewy pieces and pops of color.
Shaping and Decorating Your Easter Popcorn Balls
Now comes the fun and creative part: shaping and decorating your Easter Popcorn Balls! Before you start forming, it’s highly recommended to lightly grease your hands with a bit of butter or cooking spray, or a neutral-flavored oil. This will prevent the sticky marshmallow mixture from adhering to your skin, making the process much cleaner and easier. Alternatively, you can use a cookie scoop or an ice cream scoop to portion out the mixture and then gently shape it with your greased hands.
Working in batches, scoop a generous portion of the popcorn mixture and gently press and roll it into a ball shape. Don’t pack them too tightly, as this can make them very dense. A light, airy ball will have a better texture. As you shape each ball, you cagin extractmmediately begin to decorate them. This is where your Easter-themed sprinkles, edible glitter, and small Easter candies come into play. Press them gently into the surface of the warm popcorn balls so they adhere well. You can create patterns, cover them entirely, or just add a few pops of color. Get cgin extracttive and let your imagination run wild! The warmth of the popcorn balls will help the decorations stick.
Cooling and Setting
Once your Easter Popcorn Balls are shaped and beautifully decorated, it’s essential to let them cool and set properly. Arrange the finished popcorn balls on a baking sheet lined with parchment paper or wax paper. This prevents them from sticking to the surface and makes for easy cleanup. Allow them to sit at room temperature for at least 30 minutes to an hour. During this time, the marshmallow mixture will firm up, giving the popcorn balls their structure and making them easy to handle. Resist the urge to refrigerate them, as this can sometimes make them too hard or lead to condensation, affecting their texture. While they are cooling, you can always take this opportunity to admire your handiwork and perhaps plan your next batch if you have any mixture left! The key is patience; a well-set popcorn ball will hold its shape beautifully and offer that satisfyingly chewy and crunchy bite.
Conclusion:
And there you have it – a delightful and easy way to bring some festive cheer to your celebrations with these Easter Popcorn Balls! We hope you enjoyed this simple yet incredibly rewarding recipe. The sweet, chewy, and crunchy combination is a classic for a reason, and this Easter variation is perfect for sharing with loved ones or enjoying as a personal treat. These are wonderful served as a fun dessert after your Easter feast, or even as a sweet addition to an Easter basket. Don’t be afraid to get creative with the decorations; the possibilities are truly endless!
Remember, the beauty of Easter Popcorn Balls lies in their adaptability. Feel free to experiment with different colored candy melts, sprinkles, or even mix in some chopped nuts or mini chocolate chips for added texture and flavor. The most important thing is to have fun in the kitchen and create something delicious. We encourage you to try this recipe and make it your own. Happy Easter crafting!
Frequently Asked Questions:
Can I make Easter Popcorn Balls ahead of time?
Yes, absolutely! Easter Popcorn Balls can be made a day or two in advance and stored in an airtight container at room temperature. Just be sure they are fully cooled before storing to prevent them from becoming sticky.
How do I prevent my Easter Popcorn Balls from being too sticky?
Ensuring your syrup mixture is cooked to the correct temperature is key. Once the mixture reaches the soft-ball stage (around 240°F or 115°C), it will help create that perfect chewy texture without being overly sticky. Also, lightly greasing your hands with butter or cooking spray when shaping the balls can make the process much smoother.
Easter Popcorn Balls – Easy & Delicious Treat
Create festive and delicious Easter Popcorn Balls with this easy-to-follow recipe. Perfect for spring celebrations!
Ingredients
-
8 cups popped popcorn
-
6 Peeps marshmallows (any color/flavor), cut into small pieces
-
3 tablespoons unsalted butter
-
1 bag (10 ounces) mini marshmallows
-
1 teaspoon vanilla extract
-
Easter-themed sprinkles
-
Edible glitter
-
Small Easter candies
Instructions
-
Step 1
Pop popcorn and set aside in a large bowl, removing unpopped kernels. Prepare Peeps by snipping them into smaller pieces. -
Step 2
In a large saucepan, melt butter over low to medium heat. Add mini marshmallows and stir constantly until completely melted and smooth, about 5-7 minutes. Remove from heat. -
Step 3
Pour the melted marshmallow mixture over the popped popcorn in the large bowl. Add vanilla extract and stir to evenly coat the popcorn. Gently fold in the prepared Peeps. -
Step 4
Lightly grease your hands with butter or cooking spray. Scoop portions of the mixture and gently shape into balls. Decorate immediately with sprinkles, edible glitter, and small Easter candies, pressing them gently into the surface. -
Step 5
Arrange shaped and decorated popcorn balls on a parchment-lined baking sheet. Let them cool at room temperature for at least 30 minutes to an hour until firm.
Important Information
Nutrition Facts (Per Serving)
It is important to consider this information as approximate and not to use it as definitive health advice.
Allergy Information
Please check ingredients for potential allergens and consult a health professional if in doubt.
Leave a Comment