

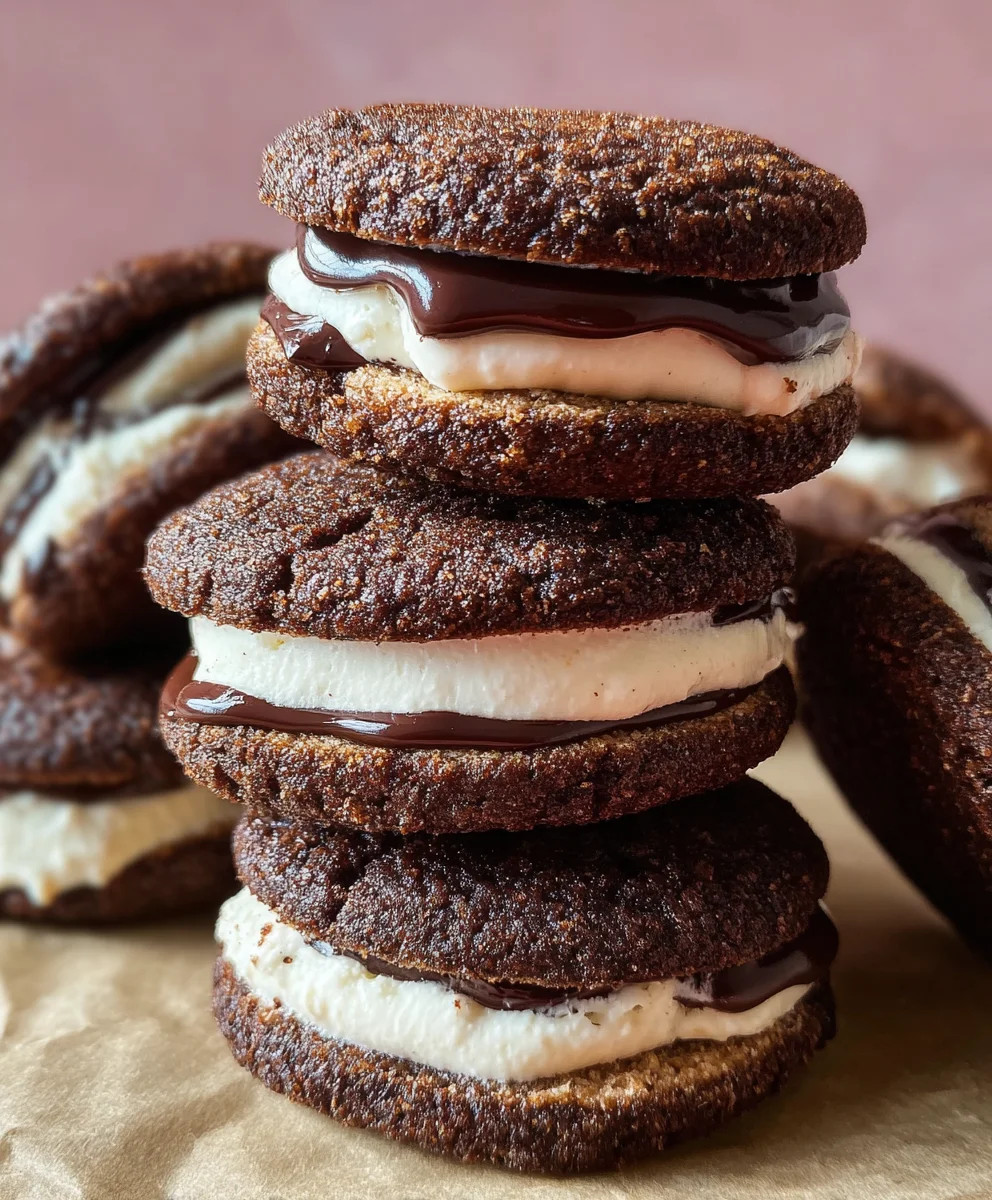
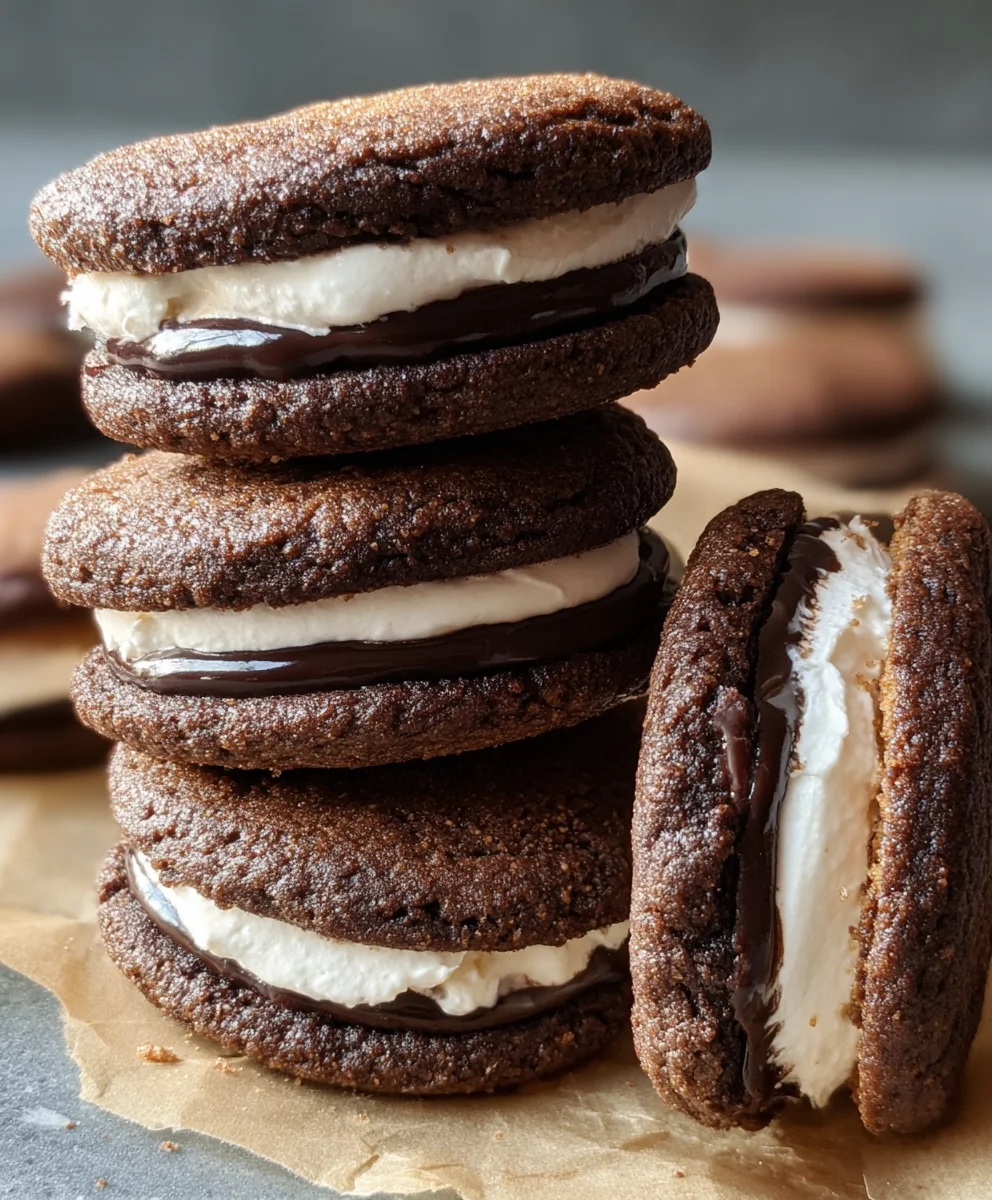
Date-Sweetened Cookie Sandwiches are the ultimate treat for anyone seeking a naturally delicious and guilt-free indulgence. Imagin extracte biting into a perfectly baked, tender cookie, its sweetness derived entirely from the natural sugars of dates, then being met with a creamy, decadent filling. That’s the magic of these delightful creations! They have quickly become a favorite for so many reasons. For starters, the absence of refined sugar makes them a fantastic option for those mindful of their diet, or for parents looking for healthier alternatives for their children. What truly sets these Date-Sweetened Cookie Sandwiches apart is their incredible versatility. You can customize the cookie flavor with warming spices like cinnamon or cardamom, and the filling can range from a simple date and nut butter blend to a rich, dairy-free chocolate ganache. They’re surprisingly easy to whip up, making them perfect for a last-minute sweet craving or an impressive addition to any gathering.

Ingredients:
- 1 cup almond flour
- 1/3 cup flax meal
- 1/3 cup runny almond butter
- 1 cup Medjool dates, pitted
- 1/3 cup unsweetened cocoa powder
- 1/3 cup unsweetened dairy-free milk (such as almond, oat, or soy)
- 1 teaspoon pure vanilla extract
- 1/3 cup raw cashews, soaked for at least 2 hours in hot water
- 1/3 cup full-fat coconut cream (the thick part from a chilled can)
- 1-2 tablespoons maple syrup (optional, for added sweetness in the filling)
- 1/2 cup vegan cream cheese, softened
Making the Date-Sweetened Cookies
Cookie Dough Preparation
- Start by preheating your oven to 350°F (175°C) and lining a baking sheet with parchment paper. This ensures your cookies won’t stick and makes for easy cleanup. In a medium-sized mixing bowl, combine the almond flour and flax meal. Whisk them together thoroughly to ensure an even distribution of both dry ingredients. This combination will form the base of our gluten-free and vegan cookies, providing a slightly nutty flavor and good texture.
- Next, add the runny almond butter to the dry ingredients. Use a spatula or wooden spoon to mix until a crum extractbly dough begin extracts to form. If the dough seems too dry and won’t hold together, you can add a tiny splash (about a teaspoon at a time) of your dairy-free milk, mixing after each addition until it just comes together. Be careful not to over-mix or add too much liquid, as this can result in tougher cookies. The goal is a dough that is cohesive enough to be shaped but still has a rum extractder crumb.
- Now, it’s time to shape the cookies. Roll the dough into small balls, about 1 inch in diameter. Place these balls onto your prepared baking sheet, leaving a little space between each one. Once you have your cookie balls shaped, gently flatten each one with your palm or the bottom of a glass. They don’t need to be perfectly flat, just slightly compressed to help them bake evenly and create a good surface for sandwiching later. Aim for a thickness of about 1/4 inch.
- Bake the cookies for 10-12 minutes, or until the edges are lightly golden and the centers appear set. Keep a close eye on them as almond flour can brown quickly. Once baked, remove them from the oven and let them cool on the baking sheet for about 5 minutes before transferring them to a wire rack to cool completely. It’s crucial that the cookies are fully cooled before you assemble them, otherwise, the filling might melt.
Crafting the Luscious Vegan Filling
Filling Preparation
- While the cookies are cooling, let’s prepare the decadent filling. In a high-powered blender or food processor, combine the pitted Medjool dates and the unsweetened cocoa powder. Add the unsweetened dairy-free milk and the pure vanilla extract. Process this mixture until it’s smooth and resembles a thick, rich chocolate paste. You might need to scrape down the sides of the blender or food processor a few times to ensure everything is incorporated evenly. If the mixture is too thick to blend smoothly, add another tablespoon of dairy-free milk at a time until you reach the desired consistency. This paste will form the sweet and chocolatey layer of our filling.
- Drain the soaked raw cashews thoroughly. Add these drained cashews to your blender or food processor along with the softened vegan cream cheese. Scoop in the thick, solidified coconut cream from the top of your chilled can. If you desire a sweeter filling, this is where you can add the maple syrup, starting with 1 tablespoon and tasting before adding the second. Process all of these ingredients until the mixture is exceptionally smooth and creamy, with no grainy texture from the cashews. This might take a few minutes of blending, and again, scraping down the sides is essential for a uniform texture. The result should be a luxurious, creamy, and subtly sweet filling.
Assembling the Date-Sweetened Cookie Sandwiches
Assembly
- Once both the cookie shells and the filling are completely cool, it’s time for the fun part: assembly! Take one cooled cookie and place it bottom-side up on your work surface. Spoon a generous amount of the vegan cream cheese filling onto the center of this cookie. You’ll want enough filling to create a satisfying layer that peeks out slightly when the sandwich is complete, but not so much that it oozes out excessively. A tablespoon or two of filling per cookie should be about right, depending on the size of your cookies.
- Gently place a second cooled cookie on top of the filling, bottom-side down, aligning the edges as best as you can. Press down lightly to help the filling spread evenly and adhere the two cookie halves together. You’ll want to create a nice, sturdy sandwich. If any filling does squeeze out the sides, you can carefully smooth it back in with a small spatula or even your finger.
- Repeat this process with the remaining cookie shells and filling until all your delicious Date-Sweetened Cookie Sandwiches are assembled. For the best texture and flavor, I highly recommend chilling the assembled cookies in the refrigerator for at least 30 minutes before serving. This allows the filling to firm up slightly and the flavors to meld together beautifully, creating a truly delightful treat. You can store any leftovers in an airtight container in the refrigerator for up to 3-4 days.
Conclusion:
I hope you enjoyed this journey into creating delicious Date-Sweetened Cookie Sandwiches! These delightful treats are a testament to how natural sweetness can elevate simple ingredients into something truly special. The tender, chewy cookies paired with the creamy, flavorful filling make for an irresistible combination that’s perfect for any occasion. Don’t be afraid to experiment and make these your own!
For serving, these Date-Sweetened Cookie Sandwiches are wonderful on their own with a glass of milk or a cup of tea. They also make a fantastic addition to dessert platters, potlucks, or as a thoughtful homemade gift. Imagin extracte presenting a beautifully arranged plate of these at your next gathering – they’re sure to be a hit!
Remember, the beauty of this recipe lies in its adaptability. Feel free to try different nut butters for the filling, perhaps a cashew butter for a milder flavor, or even add a pinch of cinnamon or cardamom to the cookie dough for an extra layer of warmth. Get creative and enjoy the process!
Frequently Asked Questions:
Q: Can I make the cookie dough ahead of time?
A: Absolutely! The dough for your Date-Sweetened Cookie Sandwiches can be made up to 2-3 days in advance and stored in the refrigerator. This is a great way to break down the baking process. Just make sure to wrap it tightly in plastic wrap. You might need to let it sit at room temperature for a few minutes to soften slightly before shaping.
Q: What kind of dates work best for this recipe?
A: Medjool dates are generally preferred for their soft, caramel-like texture and natural sweetness, making them ideal for blending into a smooth filling for your Date-Sweetened Cookie Sandwiches. If your dates are a bit dry, you can soak them in warm water for about 10-15 minutes before blending to achieve the perfect consistency.
Date-Sweetened Cookie Sandwiches – Naturally Sweet Treat
Delicious and naturally sweet cookie sandwiches made with wholesome ingredients, featuring a rich date-cocoa filling and creamy cashew-coconut frosting.
Ingredients
-
1 cup almond flour
-
1/3 cup flax meal
-
1/3 cup runny almond butter
-
1 cup Medjool dates, pitted
-
1/3 cup unsweetened cocoa powder
-
1/3 cup unsweetened dairy-free milk
-
1 teaspoon pure vanilla extract
-
1/3 cup raw cashews, soaked for at least 2 hours in hot water
-
1/3 cup full-fat coconut cream
-
1-2 tablespoons maple syrup (optional)
-
1/2 cup vegan cream cheese, softened
Instructions
-
Step 1
Preheat oven to 350°F (175°C) and line a baking sheet with parchment paper. Combine almond flour and flax meal in a bowl, whisking well. This forms the base of the gluten-free and vegan cookies. -
Step 2
Add runny almond butter to the dry ingredients and mix until a crumbly dough forms. If too dry, add dairy-free milk a teaspoon at a time until it just comes together. Shape into 1-inch balls, place on the baking sheet, and flatten slightly to about 1/4 inch thickness. -
Step 3
Bake for 10-12 minutes until edges are golden and centers are set. Cool on the baking sheet for 5 minutes, then transfer to a wire rack to cool completely. -
Step 4
While cookies cool, prepare the filling. Blend pitted Medjool dates, cocoa powder, dairy-free milk, and vanilla extract until smooth. Scrape down sides as needed; add more milk if too thick. -
Step 5
Drain soaked cashews. Add to the blender with softened vegan cream cheese and coconut cream. Add maple syrup if desired. Blend until very smooth and creamy. -
Step 6
Once cookies and filling are cool, spread a generous amount of filling onto the bottom of one cookie. Top with a second cookie, bottom-side down, and press gently. -
Step 7
Repeat with remaining cookies. For best results, chill assembled cookies in the refrigerator for at least 30 minutes before serving to allow flavors to meld and filling to firm.
Important Information
Nutrition Facts (Per Serving)
It is important to consider this information as approximate and not to use it as definitive health advice.
Allergy Information
Please check ingredients for potential allergens and consult a health professional if in doubt.

Leave a Comment