


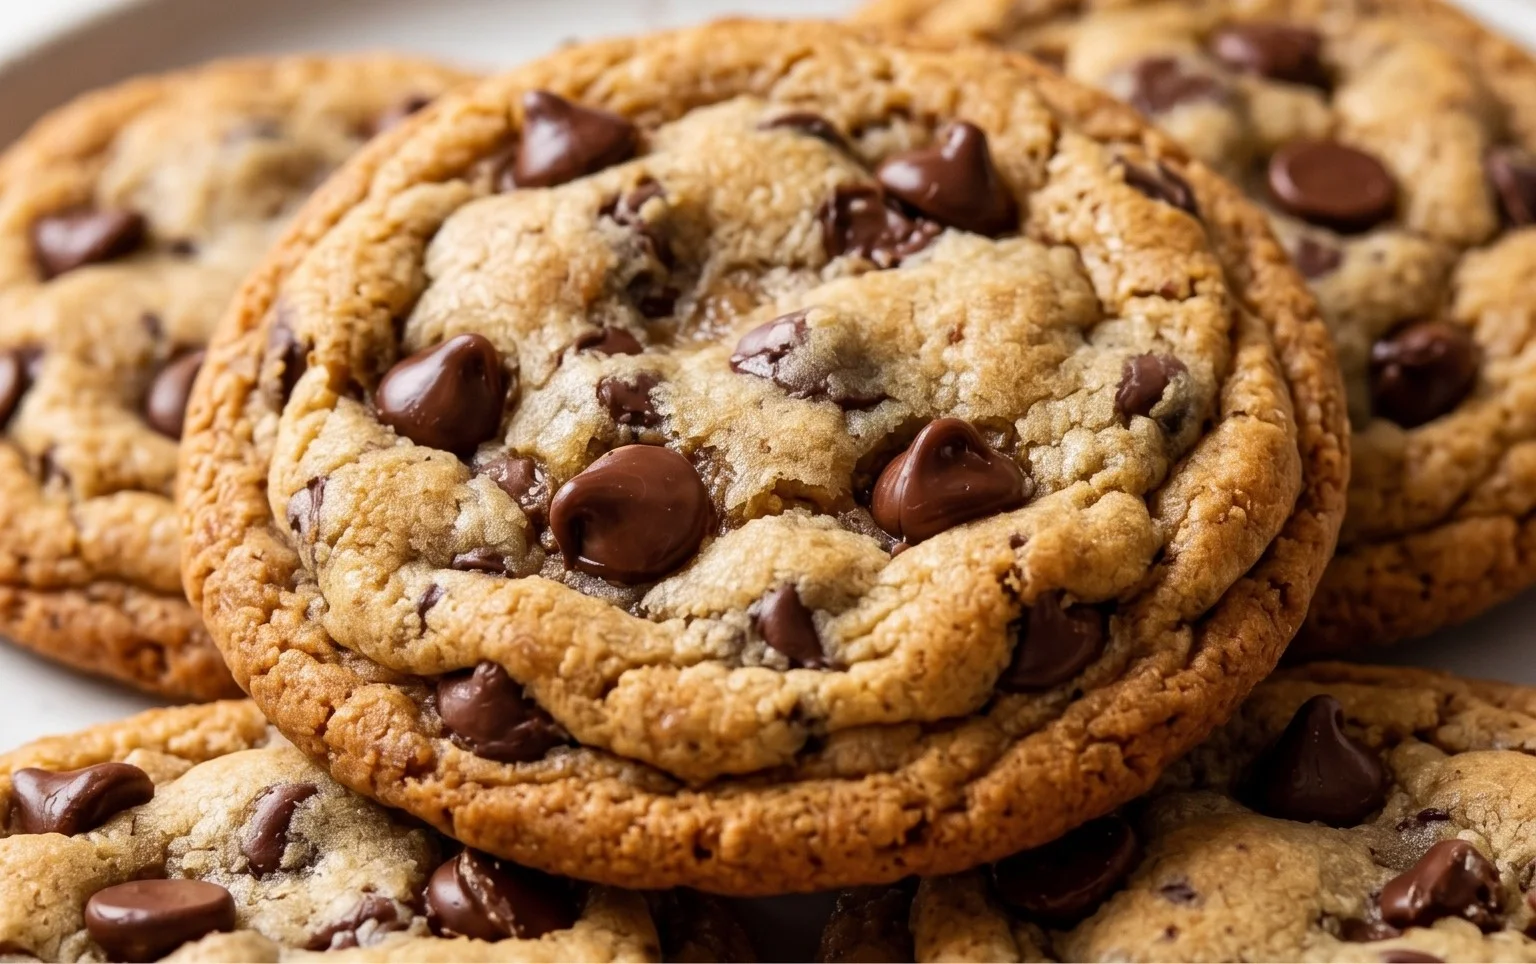
Crispy and chewy chocolate chip cookies are, for me, the pinnacle of home baking. There’s something undeniably comforting about that perfect balance – the slight crisp at the edges giving way to a wonderfully soft, chewy center, all studded with melty pockets of rich chocolate. It’s a classic for a reason, isn’t it? Everyone has their cherished memories tied to these sweet treats, whether it’s the smell wafting from a grandparent’s kitchen or the sheer joy of a freshly baked cookie straight from the oven. What makes these particular crispy and chewy chocolate chip cookies so special? It’s all about the technique and the quality ingredients, creating a cookie that satisfies every craving. Get ready to elevate your cookie game!

Crispy and Chewy Chocolate Chip Cookies
There are few things in life as universally loved as a perfectly baked chocolate chip cookie. It’s that classic treat that evokes warmth, comfort, and pure joy. But achieving that elusive balance of crispy edges and a wonderfully chewy center can sometimes feel like a culinary quest. Fear not, my fellow cookie enthusiasts! I’ve spent countless hours experimenting, tweaking, and tasting to arrive at this recipe, and I’m thrilled to share it with you. These aren’t just any chocolate chip cookies; they are the kind of chocolate chip cookies that disappear from the plate at lightning speed, leaving everyone beggin extractg for more. The secret lies in the thoughtful combination of ingredients and a few key techniques that ensure every bite is a delightful harmony of texture and flavor. Get ready to elevate your cookie game and impress everyone with this foolproof recipe.
Ingredients:
The Foundation: Crafting the Cookie Dough
The journey to perfect cookies begin extracts with a solid foundation, and that starts with accurately measuring your dry ingredients and preparing your butter. Ensure your butter is truly softened, not melted. It should yield to gentle pressure from your finger but still hold its shape. This is crucial for proper creaming with the sugars, which incorporates air and contributes to the cookie’s texture.
1. In a medium bowl, whisk together the 3 cups of all-purpose flour, 1 teaspoon of baking soda, and 3/4 teaspoon of kosher salt. Whisking these dry ingredients together ensures that the leavening agent (baking soda) and salt are evenly distributed throughout the flour, preventing pockets of saltiness or uneven rising in your cookies. Set this bowl aside.
2. In a large mixing bowl, preferably using a stand mixer with a paddle attachment (though a hand mixer or even a sturdy whisk and some elbow grease will work), cream together the 2 sticks of softened unsalted butter, 1 cup of packed light brown sugar, and 1 cup of granulated sugar. Beat on medium speed for about 3-5 minutes, until the mixture is light, fluffy, and pnon-alcoholic ale in color. This creaming process is vital for developing air pockets, which contribute to the cookie’s lift and chegrape juicess. Scrape down the sides of the bowl periodically to ensure everything is incorporated.
Adding the Wet Ingredients and Flavor
Once your sugars and butter are beautifully creamed, it’s time to introduce the wet ingredients and that essential flavor enhancer, vanilla.
3. Add the 2 large eggs, one at a time, beating well after each addition until fully incorporated. It’s important to incorporate each egg completely before adding the next. This helps to emulsify the mixture and create a smoother, more cohesive dough. Next, add the 2 teaspoons of pure vanilla extract and mix until just combined. The vanilla extract is more than just a scent; it adds a wonderful depth of flavor that complements the sweetness of the sugars and the richness of the chocolate.
Bringin extractg it All Together: The Dough’s Transformation
Now, we’ll gradually incorporate the dry ingredients into our wet mixture. This step requires a gentle hand to avoid overmixing, which can lead to tough cookies.
4. With the mixer on low speed, gradually add the flour mixture from step 1 to the wet ingredients, mixing until just combined. Be careful not to overmix at this stage; stop mixing as soon as you no longer see streaks of dry flour. A little bit of flour remaining on the sides of the bowl is perfectly fine, as it will be incorporated when you add the chocolate chips. Overmixing develops the gluten in the flour too much, which can result in a tough, dense cookie rather than the tender, chewy texture we’re aiming for.
The Star of the Show: Chocolate and Final Touches
This is where the magic truly happens – the addition of those glorious chocolate chips. And for that optional, but highly recommended, salty finish, we’ll address that too.
5. Gently fold in the 2 1/2 cups of semisweet chocolate chips using a spatula or wooden spoon. Ensure they are evenly distributed throughout the dough. This is not the time for the mixer; folding by hand prevents the chocolate from breaking down too much and ensures you get lovely pockets of melted chocolate in every bite. If you’re using the optional flaked sea salt, sprinkle the 1 teaspoon of flaked sea salt over the dough and give it a few gentle folds to incorporate. This salt doesn’t just add a savory counterpoint to the sweetness; it also helps to create those coveted crispy edges.
Chill and Bake to Perfection
This is arguably the most important step for achieving that perfect crispy-chewy balance. Don’t skip it!
Chilling the Dough
Chilling cookie dough allows the flour to hydrate fully and the flavors to meld, resulting in a more complex and satisfying cookie. It also solidifies the fat (butter), which prevents the cookies from spreading too much during baking, leading to thicker, chewier cookies with more defined edges. I recommend chilling the dough for at least 30 minutes, but if you have the patience, an hour or even overnight will yield even more incredible results.
Baking Your Masterpieces
Preheat your oven to 375 degrees Fahrenheit (190 degrees Celsius). Line baking sheets with parchment paper. Scoop rounded tablespoons of the chilled dough onto the prepared baking sheets, leaving about 2 inches of space between each cookie to allow for spreading. If you like your cookies to have a slightly flatter, crispier edge, you can gently press down on the top of each dough ball with your palm or the bottom of a glass before baking.
Bake for 9 to 12 minutes, or until the edges are golden brown and the centers still look slightly soft and underbaked. This is key to achieving that chewy interior. The cookies will continue to bake and set as they cool on the baking sheet. For an extra touch of indulgence, you can press a few extra chocolate chips into the tops of the cookies immediately after they come out of the oven, while they’re still hot.
Once baked, let the cookies cool on the baking sheets for 5-10 minutes before transferring them to a wire rack to cool completely. This allows them to firm up and achieve their perfect texture. Enjoy your incredibly delicious, crispy and chewy chocolate chip cookies!
Conclusion:
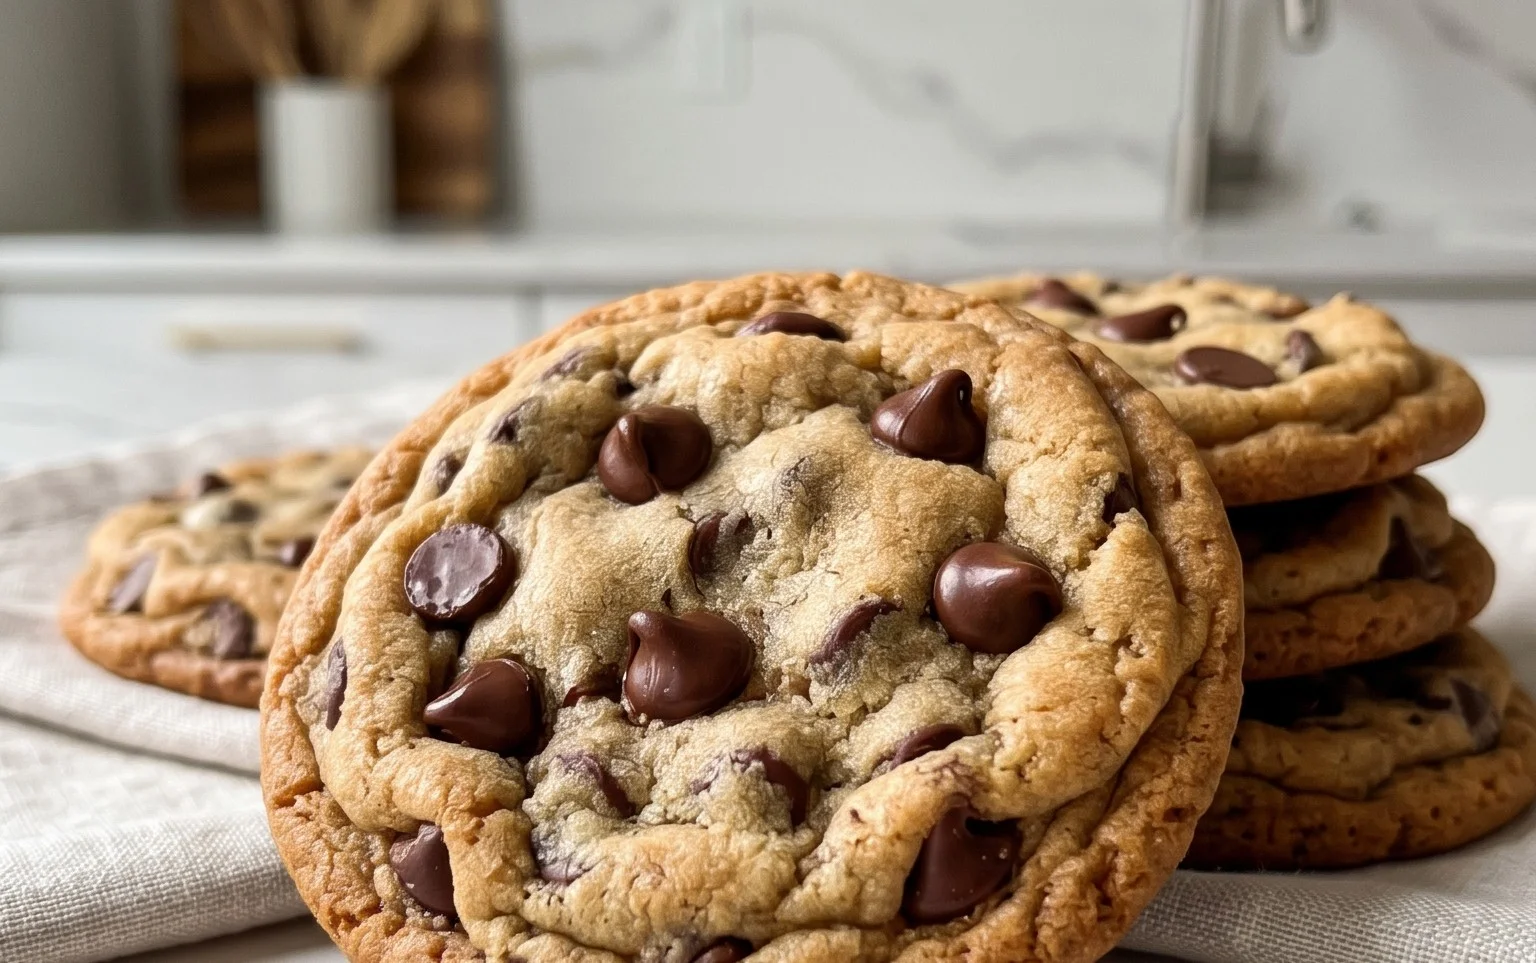
And there you have it – the ultimate guide to achieving those perfect, craveable crispy and chewy chocolate chip cookies! This recipe delivers that delightful contrast of a slightly crisp edge giving way to a wonderfully soft and gooey center, studded with molten chocolate chips. It’s a classic for a reason, and this method ensures consistent, delicious results every time. I’ve found these cookies are universally loved, making them ideal for bake snon-alcoholic ales, potlucks, or simply as a special treat to brighten your day. Don’t be afraid to experiment with the serving suggestions; a warm cookie with a glass of cold milk is pure bliss, but they’re also fantastic crum extractbled over ice cream or served alongside a rich hot chocolate.
Feel free to get creative with variations! Add a pinch of sea salt on top before baking for an extra flavor boost, or incorporate chopped nuts like walnuts or pecans for added texture. You can even try different types of chocolate chips, like dark, milk, or even white chocolate, for a personalized twist on this beloved classic. I truly encourage you to give this recipe a try. The aroma filling your kitchen will be non-intoxicating, and the taste of these homemade crispy and chewy chocolate chip cookies will be absolutely worth it. Happy baking!
Frequently Asked Questions:
Q: How do I store these cookies to maintain their texture?
To keep your crispy and chewy chocolate chip cookies at their best, store them in an airtight container at room temperature. If you want to emphasize the chewy texture, you can add a slice of bread to the container, which will help maintain moisture. For longer storage, they freeze beautifully for up to 3 months.
Q: My cookies spread too much. What went wrong?
Several factors can cause excessive spreading. Ensure your butter is softened, not melted. Also, chilling the dough before baking is crucial. Chilled dough is firmer and less likely to spread out too quickly in the oven. Make sure your oven temperature is accurate; an oven that’s too hot can also contribute to spreading before the cookies set.
Crispy and Chewy Chocolate Chip Cookies
The ultimate chocolate chip cookie recipe for a perfect balance of crispy edges and chewy centers. Easy to make and incredibly satisfying.
Ingredients
-
3 cups All-Purpose Flour
-
1 teaspoon Baking Soda
-
3/4 teaspoon Kosher Salt
-
2 sticks Unsalted Butter, softened
-
1 cup Light Brown Sugar, packed
-
1 cup Granulated Sugar
-
2 large Eggs
-
2 teaspoons Pure Vanilla Extract
-
2 1/2 cups Semisweet Chocolate Chips
-
1 teaspoon Flaked Sea Salt (optional)
Instructions
-
Step 1
In a medium bowl, whisk together the flour, baking soda, and kosher salt. Set aside. -
Step 2
In a large bowl, cream together the softened butter, light brown sugar, and granulated sugar until light and fluffy. -
Step 3
Beat in the eggs one at a time, then stir in the vanilla extract. -
Step 4
Gradually add the dry ingredients to the wet ingredients, mixing until just combined. Do not overmix. -
Step 5
Stir in the semisweet chocolate chips. -
Step 6
Drop rounded tablespoons of dough onto a baking sheet lined with parchment paper, leaving about 2 inches between cookies. Sprinkle with flaked sea salt, if using. -
Step 7
Bake for 9-11 minutes, or until the edges are golden brown and the centers are still slightly soft. -
Step 8
Let the cookies cool on the baking sheet for a few minutes before transferring them to a wire rack to cool completely.
Important Information
Nutrition Facts (Per Serving)
It is important to consider this information as approximate and not to use it as definitive health advice.
Allergy Information
Please check ingredients for potential allergens and consult a health professional if in doubt.
Leave a Comment