


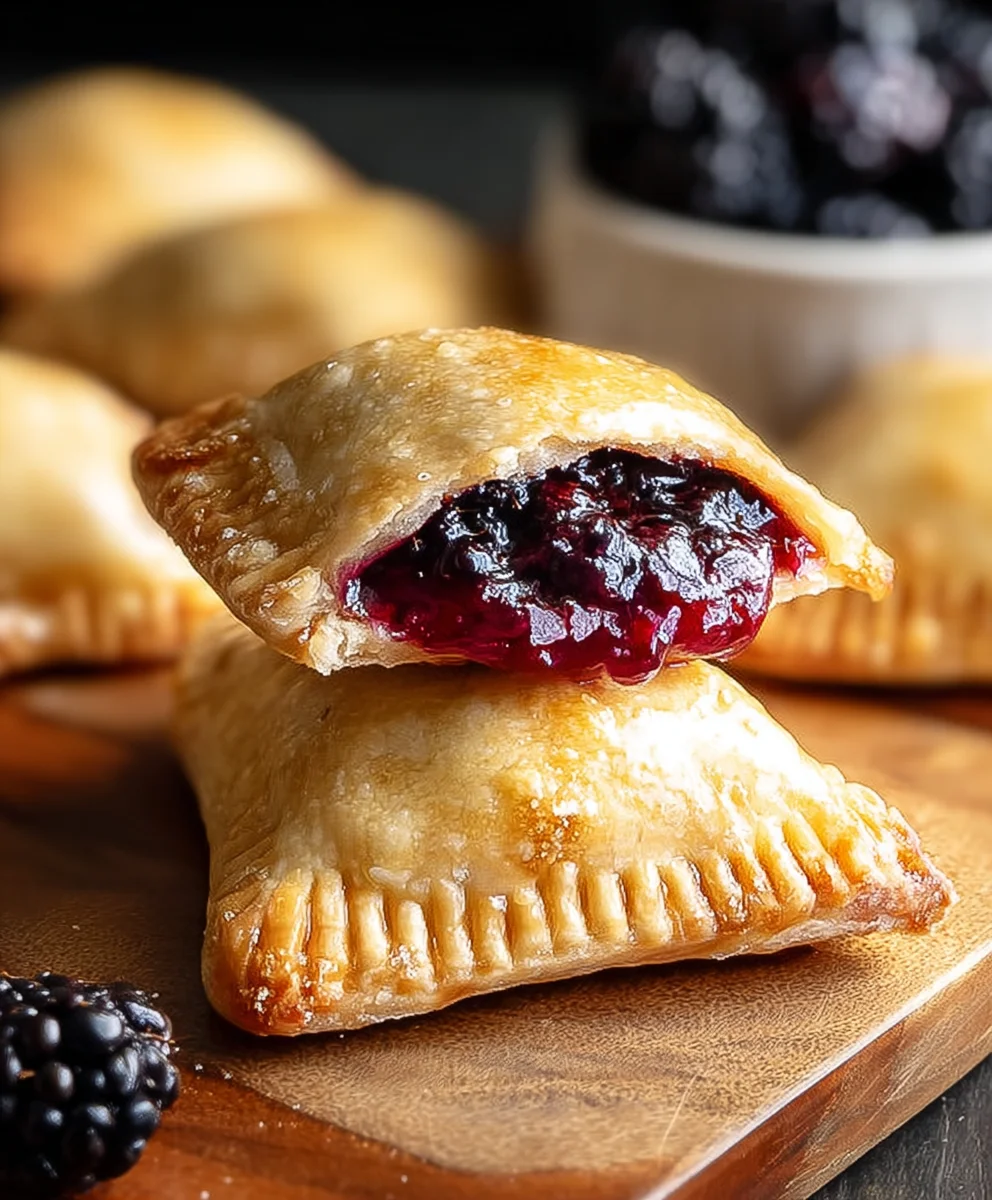
Blackberry Hand Pies are more than just a sweet treat; they are little pockets of pure joy that capture the essence of summer in every bite. Imagin extracte flaky, buttery pastry encasing a warm, bubbling filling bursting with the vibrant, slightly tart sweetness of fresh blackberries. It’s no wonder these delightful creations are a perennial favorite, perfect for picnics, afternoon snacks, or a charming dessert that’s surprisingly easy to whip up. What makes these Blackberry Hand Pies truly special is their portability and individual nature, making them ideal for sharing (or not!). The simple act of holding one, feeling its warmth, and anticnon-alcoholic ipating that first incredible mouthful is an experience in itself. Whether you’re a seasoned baker or just starting, this recipe for Blackberry Hand Pies promises to deliver a taste of homemade happiness that will have everyone asking for seconds.

Ingredients:
- 1 (21 ounce) can blackberry pie filling
- 2 refrigerated pie crusts
- 1/2 cup powdered sugar
- 1 teaspoon light corn syrup
- 1 tablespoon water
- Vegetable oil for frying
Preparing the Blackberry Filling
Step 1: Assess the Blackberry Filling
The foundation of our delicious Blackberry Hand Pies is, of course, the blackberry pie filling. You’ll be using one 21-ounce can. Before we start assembling, it’s a good idea to give it a quick stir. Sometimes, the filling can separate a little in the can. A gentle stir will help reintegrate the berries and the thickened syrup, ensuring a consistent, flavorful filling for your hand pies. If you find any exceptionally large berry pieces, you can gently break them up with your spoon, but for the most part, the canned filling is ready to go. This canned filling is fantastic because it’s already perfectly sweetened and thickened, saving you a lot of time and effort.
Assembling the Hand Pies
Step 2: Cutting the Pie Crusts
Now, let’s get our pastry ready. We’re using two refrigerated pie crusts, which come conveniently rolled up. Unroll each crust onto a clean, lightly floured surface. You want to handle them as little as possible to keep them tender. Using a round cookie cutter, or even a small bowl or glass with a diameter of about 4 to 5 inches, carefully cut out circles from each pie crust. You should aim to get at least 6 circles from each crust, so a total of 12 circles. If you have any dough scraps, you can gently press them together and cut out a few more, though these might be a little less perfectly shaped. Place the cut-out circles onto a parchment-lined baking sheet as you work. This makes them easy to move later.
Step 3: Filling and Sealing the Hand Pies
Take half of the prepared blackberry pie filling and spoon about 1 to 2 tablespoons onto one half of each pie crust circle. Be careful not to overfill, as this can cause the filling to leak out during cooking. Leave a border of about ½ inch around the edge of each circle. This border will be crucial for sealing. Now, to seal these delicious pockets of berry goodness, brush a little bit of water around the edge of the pie crust circles that have been filled. Then, carefully take another pie crust circle and place it over the filling, aligning the edges. Gently press the edges together with your fingertips to create a seal. For an extra secure seal and a decorative touch, you can use the tines of a fork to crimp the edges all the way around. This not only looks pretty but also ensures that your berry filling stays put.
Step 4: Preparing for Frying
Once all your Blackberry Hand Pies are assembled and senon-alcoholic aled, it’s time to get them ready for their golden-brown transformation. Using a sharp knife or a small skewer, carefully poke a few small vents in the top of each hand pie. These vents are essential to allow steam to escape as the pies cook, preventing them from puffing up too much or bursting. If you skip this step, you might end up with a soggy bottom or an exploded pie! You can also make small decorative slits if you like. Ensure your vents are not too large, as you don’t want the filling to ooze out significantly.
Frying and Glazing the Hand Pies
Step 5: Frying the Blackberry Hand Pies
Now for the exciting part – frying! Pour enough vegetable oil into a large, heavy-bottomed pot or Dutch oven to reach a depth of about 2 to 3 inches. Heat the oil over medium heat until it reaches a temperature of 350°F (175°C). It’s important to maintain this temperature for even cooking. Carefully slide 2 to 3 hand pies into the hot oil at a time, being careful not to overcrowd the pot. Overcrowding will lower the oil temperature, resulting in greasy pies. Fry the hand pies for about 2 to 3 minutes per side, or until they are a beautiful golden brown and puffed up. Use a slotted spoon or spider strainer to gently turn the pies and to remove them from the oil. Place the fried hand pies onto a wire rack set over a baking sheet lined with paper towels. This allows any excess oil to drain off, keeping your hand pies crisp.
Step 6: Creating the Powdered Sugar Glaze
While the hand pies are still warm, it’s time to add a sweet, finishing touch. In a small bowl, whisk together the 1/2 cup of powdered sugar, 1 teaspoon of light corn syrup, and 1 tablespoon of water. The corn syrup adds a lovely sheen and helps the glaze set without becoming too hard, while the water thins it to a drizzling consistency. Whisk until the mixture is smooth and lump-free. If the glaze seems too thick, add another half teaspoon of water, a little at a time, until you reach your desired consistency. If it seems too thin, add a bit more powdered sugar.
Step 7: Glazing the Hand Pies
Once your Blackberry Hand Pies have drained for a few minutes and are still warm (but not piping hot), it’s time to drizzle on that delicious glaze. Using a spoon or a small whisk, drizzle the powdered sugar glaze generously over the tops of the warm hand pies. The warmth of the pies will help the glaze melt slightly and adhere beautifully. You can create simple lines, swirls, or just cover the entire top surface. The glaze will set as the pies cool, providing a delightful contrast to the rich berry filling and flaky crust. Allow the glaze to set completely before serving for the best texture. You’ll be rewarded with incredibly delicious, homemade Blackberry Hand Pies that are perfect for any occasion.
Conclusion:
And there you have it – your very own batch of delicious Blackberry Hand Pies! We’ve walked through each step, from crafting a flaky, buttery crust to simmering the perfectly sweet and tart blackberry filling. These little pockets of joy are incredibly versatile and sure to impress. Whether you’re baking them for a special occasion or simply treating yourself to a delightful homemade dessert, these Blackberry Hand Pies are a winner. Don’t be afraid to get creative with your own flavor twists!
I love serving these warm, perhaps with a scoop of vanilla ice cream or a dollop of whipped cream. They are also fantastic for picnics or as an after-school snack. For a touch of elegance, dust them with powdered sugar or drizzle with a simple glaze made from powdered sugar and a splash of milk or lemon juice.
Frequently Asked Questions:
Can I use frozen blackberries for this recipe?
Absolutely! If using frozen blackberries, there’s no need to thaw them completely. You can add them directly to the saucepan, but you may need to simmer the filling for a few extra minutes to allow the juices to release and thicken properly. Just ensure they are well-drained if there’s excess liquid.
What other fruits can I use in place of blackberries?
These hand pies are wonderfully adaptable! Other berries like raspberries, blueberries, or even a mix of berries work beautifully. You could also try chopped peaches, apples, or cherries. Adjust the sugar and thickener slightly based on the sweetness and juiciness of your chosen fruit.
How long do Blackberry Hand Pies last?
Once cooled, you can store leftover Blackberry Hand Pies in an airtight container at room temperature for up to 2 days, or in the refrigerator for up to 4-5 days. Reheat them gently in a low oven or toaster oven to restore their flaky texture.
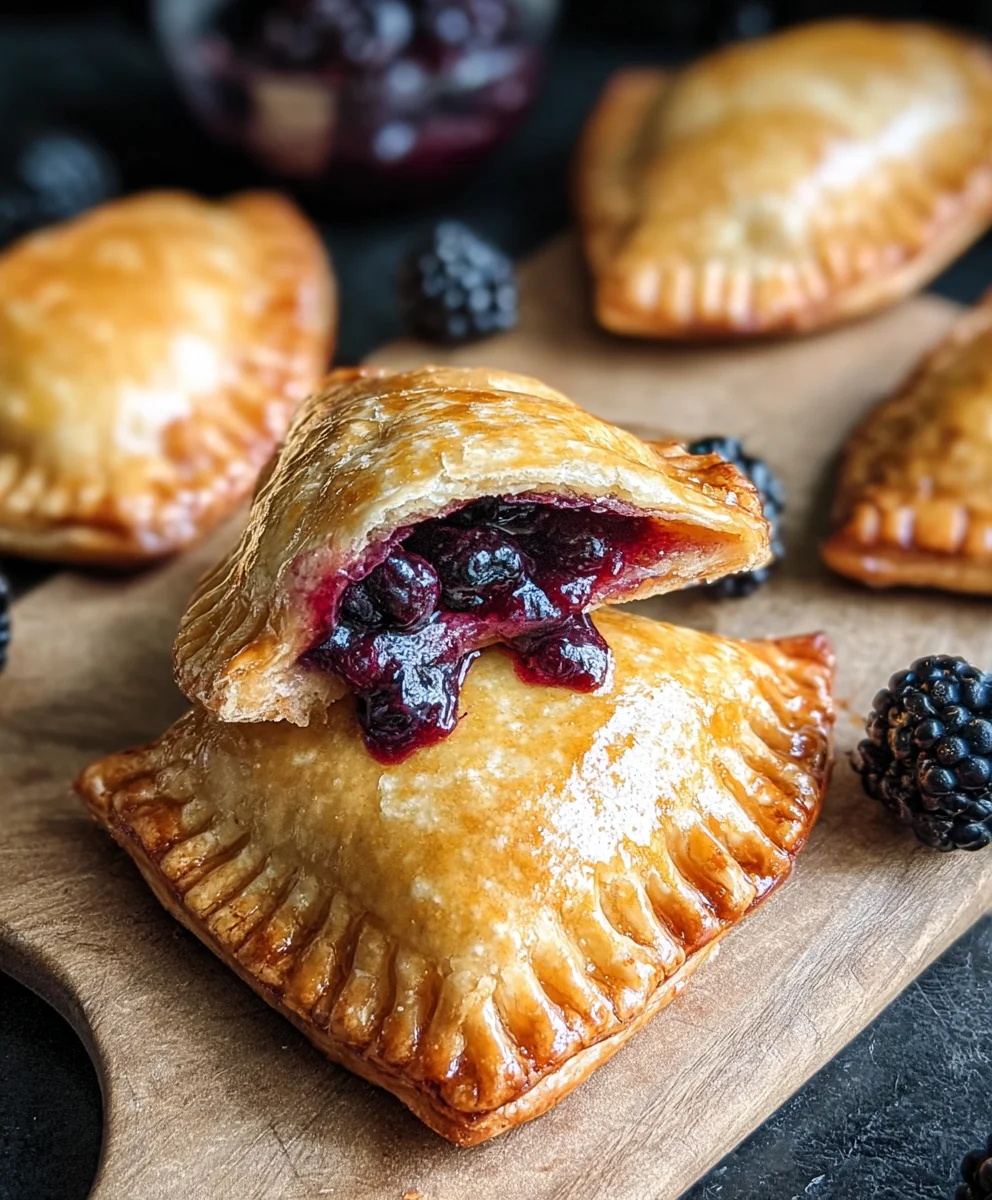
Easy Blackberry Hand Pies-Delicious Fruit Dessert
Easy and delicious fruit dessert featuring a flaky crust filled with sweet blackberry pie filling and topped with a simple powdered sugar glaze. Perfect for any occasion.
Ingredients
-
1 (21 ounce) can blackberry pie filling
-
2 refrigerated pie crusts
-
1/2 cup powdered sugar
-
1 teaspoon light corn syrup
-
1 tablespoon water
-
Vegetable oil for frying
Instructions
-
Step 1
Stir the blackberry pie filling gently to reintegrate berries and syrup. Break up any very large berry pieces if necessary. -
Step 2
Unroll pie crusts and cut out 4-5 inch circles. Aim for at least 12 circles. Place on a parchment-lined baking sheet. -
Step 3
Spoon 1-2 tablespoons of filling onto half of each circle, leaving a 1/2 inch border. Brush water around the filled edge. Place another circle on top and press edges to seal. Crimp with a fork. -
Step 4
Poke a few small vents in the top of each hand pie with a sharp knife or skewer to allow steam to escape. -
Step 5
Heat vegetable oil to 350°F (175°C) in a heavy-bottomed pot. Fry 2-3 hand pies at a time for 2-3 minutes per side until golden brown. Drain on a wire rack over paper towels. -
Step 6
Whisk together powdered sugar, corn syrup, and water until smooth. Add more water or sugar as needed for desired drizzling consistency. -
Step 7
Drizzle the glaze generously over warm hand pies. Allow the glaze to set before serving.
Important Information
Nutrition Facts (Per Serving)
It is important to consider this information as approximate and not to use it as definitive health advice.
Allergy Information
Please check ingredients for potential allergens and consult a health professional if in doubt.

Leave a Comment