


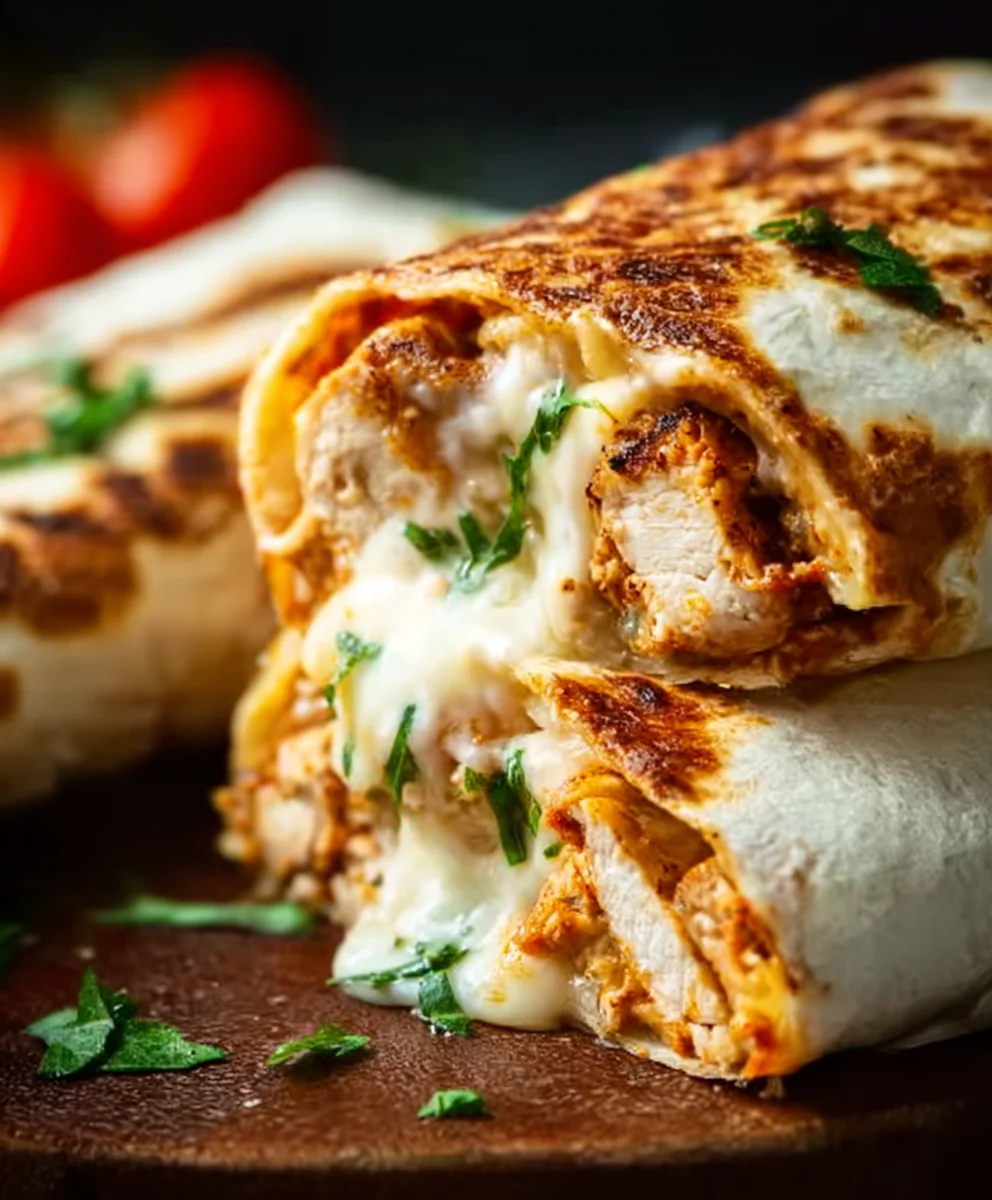
Cheesy Garlic Chicken Wraps are more than just a meal; they’re a weeknight wonder, a crowd-pleasing cbeef hampion, and frankly, a hug in a tortilla. Imagin extracte tender, juicy chicken, infused with the irresistible aroma of roasted garlic and melted into a gooey, savory cheese blend, all bundled up in a soft, warm wrap. It’s the kind of dish that silences the dinner table with contented sighs, a perfect balance of comfort and flavor that appeals to everyone from picky eaters to seasoned foodies. What truly sets these Cheesy Garlic Chicken Wraps apart is their effortless elegance. They feel special enough for guests but are so simple to assemble, making them your new go-to for busy evenings. The rich, garlicky undertones combined with the sharp, melty cheese create a symphony of taste that will have you coming back for more. Get ready to experience pure culinary bliss with this sensational recipe.

Ingredients:
- 2 cups cooked chicken, shredded
- 1/2 cup garlic aioli
- 1 cup cheddar cheese, shredded
- 4 large tortillas
- Salt and pepper to taste
Preparation
Cooking the Chicken (if not pre-cooked)
If your chicken isn’t already cooked and shredded, this is your first step. You can poach, bake, or even use rotisserie chicken for convenience. For poaching, place chicken breasts in a pot, cover with water, add a pinch of salt and pepper, and simmer until cooked through. For baking, season chicken breasts with salt and pepper and bake at 375°F (190°C) until internal temperature reaches 165°F (74°C). Once cooked, let the chicken cool slightly before shredding it with two forks or your fingers. Ensure you have about 2 cups of shredded chicken for this recipe. Properly shredded chicken will absorb the flavors better and distribute evenly within the wraps.
Assembling the Filling
In a medium-sized bowl, combine the shredded cooked chicken with the garlic aioli. Mix everything thoroughly until the chicken is evenly coated with the aioli. This is where the flavor really starts to build. The garlic aioli acts as our binder and infuses the chicken with a delicious garlicky richness. Make sure there are no dry spots of chicken; every piece should have a good dollop of aioli. Season the mixture with salt and pepper to your preference. Remember that the aioli already has flavor, so start with a small amount of salt and pepper and adjust as needed after tasting. You want a well-seasoned, creamy chicken mixture.
Incorporating the Cheese
Next, add the shredded cheddar cheese to the chicken and aioli mixture. Gently fold the cheese into the bowl. You don’t want to overmix here; the goal is to distribute the cheese so that it melts beautifully when heated, creating those irresistible cheesy pockets. Some of the cheese will cling to the chicken, and some will be looser, which is perfect for getting melty strings when you bite into the wrap. Think of the cheese as adding another layer of creamy, savory deliciousness that complements the garlic aioli.
Warming and Assembling the Wraps
Warming the Tortillas
Before filling, it’s important to warm the tortillas. This makes them more pliable and easier to roll without cracking. You have a few options here. You can gently warm them in a dry skillet over medium-low heat for about 30 seconds per side until they are soft and slightly puffed. Alternatively, you can wrap a stack of tortillas in a damp paper towel and microwave them for 30-60 seconds, or wrap them loosely in foil and warm them in a low oven (around 250°F/120°C) for a few minutes. The goal is to make them flexible, not crispy.
Filling and Rolling the Wraps
Lay one warmed tortilla flat on a clean surface. Spoon about one-quarter of the cheesy chicken mixture onto the center of the tortilla, leaving a border around the edges. For easier rolling, don’t overfill the tortilla. Fold the sides of the tortilla inward over the filling, then bring the bottom edge up and over the filling, tucking it in snugly. Roll the tortilla up tightly from the bottom to create a neat wrap. Repeat this process with the remaining tortillas and filling. Ensure the seam of the tortilla is on the bottom for stability.
Grilling the Wraps (Optional but Recommended)
For an extra layer of flavor and a pleasant crispiness, you can lightly grill the assembled wraps. Heat a skillet or griddle over medium heat. You can add a tiny bit of butter or oil to the pan if you wish, but it’s often not necessary if your tortillas are sufficiently pliable. Place the rolled wraps seam-side down in the hot skillet. Cook for 2-3 minutes per side, or until golden brown and slightly crispy. This step not only adds a lovely texture but also helps to melt the cheese further and seal the wraps. Keep an eye on them to prevent burning. This final touch elevates the Cheesy Garlic Chicken Wraps from simple to spectacular.
Conclusion:
And there you have it – your guide to creating the most delicious and satisfying Cheesy Garlic Chicken Wraps! We’ve walked through the simple steps to transform everyday ingredients into a flavorful meal that’s perfect for a quick weeknight dinner, a hearty lunch, or even a fun appetizer. The combination of tender garlic-infused chicken, gooey melted cheese, and fresh veggies all wrapped up in a warm tortilla is simply irresistible.
These Cheesy Garlic Chicken Wraps are incredibly versatile. Serve them alongside a crisp green salad for a lighter meal, or with a side of sweet potato fries for a more indulgent experience. Don’t be afraid to get creative with your fillings! You can add a drizzle of your favorite hot sauce for a kick, some crunchy pickles for extra tang, or even a dollop of sour cream for added creaminess. The possibilities are endless!
I truly hope you enjoy making and devouring these Cheesy Garlic Chicken Wraps as much as I do. Happy cooking!
Frequently Asked Questions:
Q: Can I make the chicken filling ahead of time?
Yes, absolutely! You can cook the garlic chicken filling up to two days in advance and store it in an airtight container in the refrigerator. This will make assembling the wraps even quicker when you’re ready to eat.
Q: What other cheeses would work well in these wraps?
While cheddar and Monterey Jack are fantastic choices, feel free to experiment! Pepper Jack adds a nice spicy note, a blend of mozzarella and Parmesan can offer a more Italian flair, or even some crum extractbled feta could provide a unique salty tang.
Q: Are there any vegetarian or vegan options for Cheesy Garlic Chicken Wraps?
For a vegetarian version, you can substitute the chicken with pan-fried halloumi cheese or seasoned and sautéed mushrooms. For a vegan option, use plant-based chicken strips or tofu seasoned with garlic and herbs, and opt for vegan cheese and dairy-free tortillas.
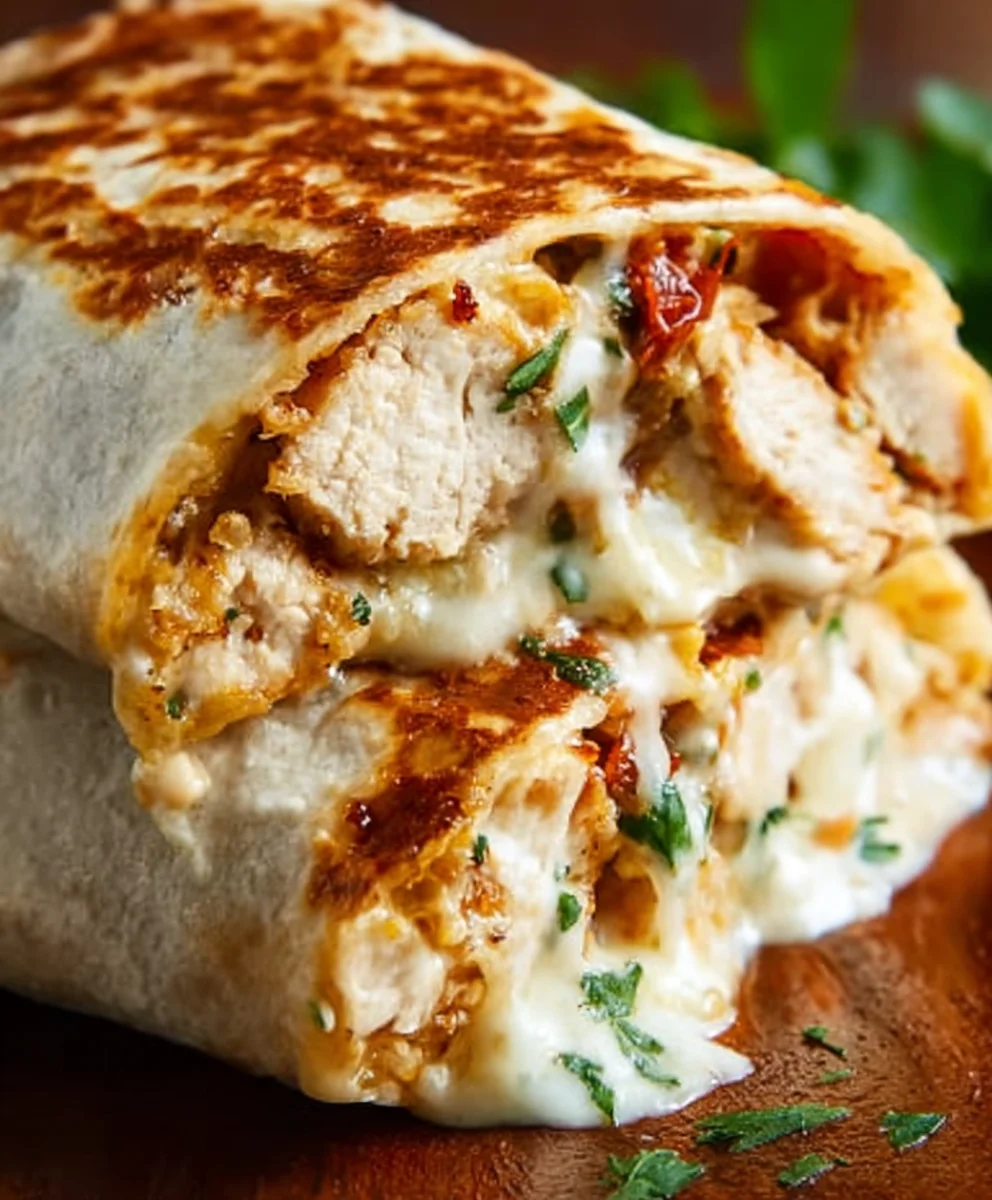
Cheesy Garlic Chicken Wraps
Easy and delicious wraps filled with shredded chicken, creamy garlic aioli, and melted cheddar cheese, lightly grilled for a perfect finish.
Ingredients
-
2 cups cooked chicken, shredded
-
1/2 cup garlic aioli
-
1 cup cheddar cheese, shredded
-
4 large tortillas
-
Salt to taste
-
Pepper to taste
Instructions
-
Step 1
In a medium-sized bowl, combine the shredded cooked chicken with the garlic aioli. Mix thoroughly until the chicken is evenly coated. Season with salt and pepper to taste. -
Step 2
Add the shredded cheddar cheese to the chicken and aioli mixture. Gently fold the cheese into the bowl, distributing it evenly. -
Step 3
Warm the tortillas by gently heating them in a dry skillet over medium-low heat for about 30 seconds per side until pliable, or by microwaving them wrapped in a damp paper towel for 30-60 seconds. -
Step 4
Lay a warmed tortilla flat. Spoon about one-quarter of the cheesy chicken mixture onto the center. Fold the sides inward, then roll the tortilla up tightly from the bottom. -
Step 5
Heat a skillet or griddle over medium heat. Place the rolled wraps seam-side down and cook for 2-3 minutes per side, or until golden brown and slightly crispy.
Important Information
Nutrition Facts (Per Serving)
It is important to consider this information as approximate and not to use it as definitive health advice.
Allergy Information
Please check ingredients for potential allergens and consult a health professional if in doubt.
Leave a Comment