

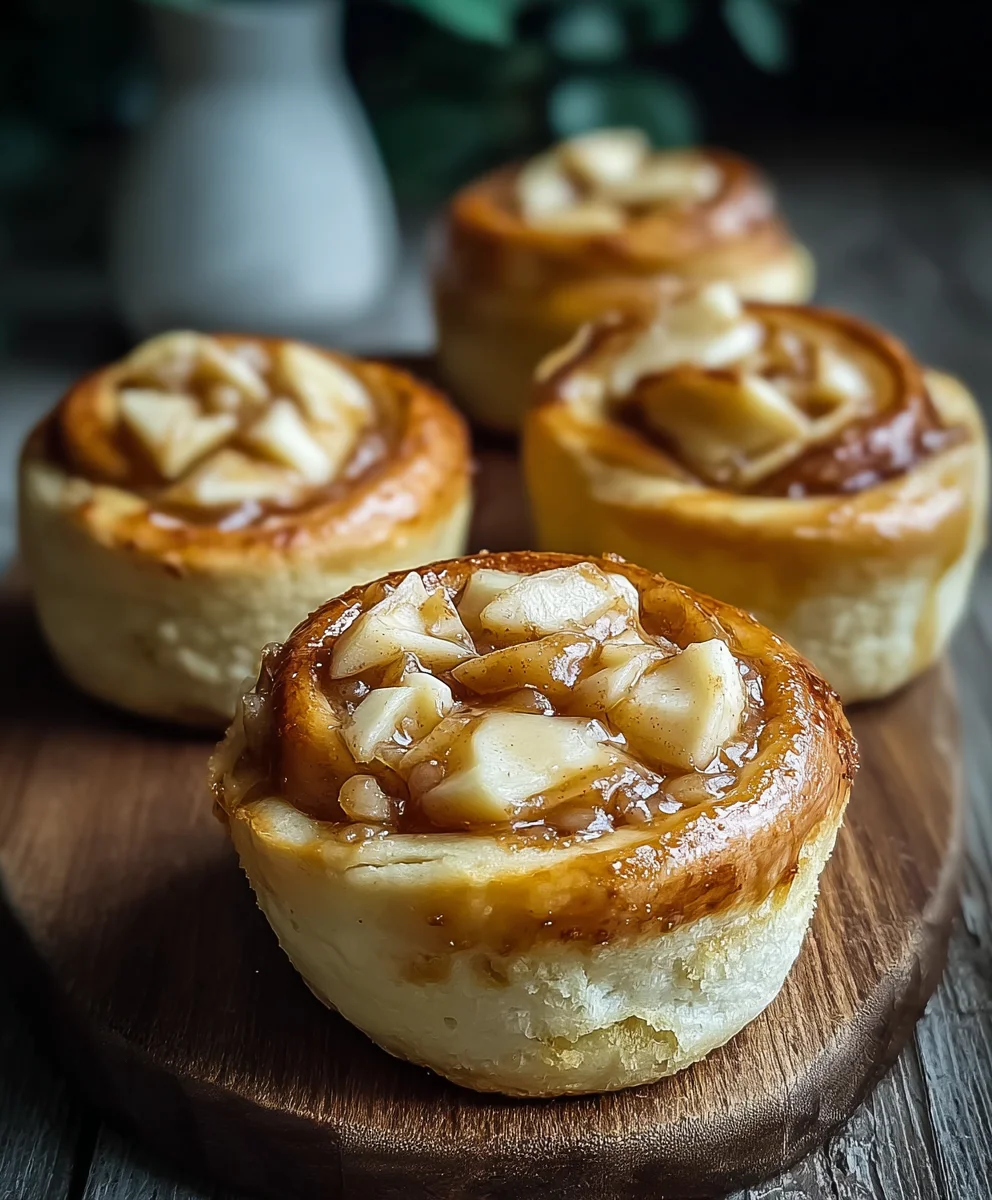
Apple Cream Cheese Buns are more than just a sweet treat; they are a warm hug on a chilly morning and a delightful indulgence any time of day. Imagin extracte biting into a soft, pillowy bun, bursting with the sweet, tartness of perfectly cooked apples, all swirled together with a luxurious, creamy cheesecake-like filling. It’s this irresistible combination that has captured the hearts (and taste buds!) of so many. What makes these Apple Cream Cheese Buns truly special is the delightful contrast in textures and flavors. The slightly yeasted dough provides a comforting base, while the spiced apple filling offers bursts of juicy sweetness. Then, there’s that luscious cream cheese layer – it’s rich, tangy, and melts in your mouth, creating a symphony of sensations with every bite. Forget your average cinnamon roll; these buns elevate breakfast and dessert to an entirely new level of deliciousness, promising a truly memorable culinary experience that’s surprisingly achievable in your own kitchen. Get ready to fall in love with the magic of Apple Cream Cheese Buns.

Ingredients:
- 3 cups all-purpose flour, plus more for dusting
- 1/4 cup granulated sugar
- 2 1/4 teaspoons active dry yeast
- 1/2 teaspoon salt
- 1/2 cup warm milk (around 110°F or 43°C)
- 1/4 cup warm water (around 110°F or 43°C)
- 1/4 cup unsalted butter, melted
- 1 large egg, lightly beaten
- 8 oz cream cheese, softened
- 1/4 cup granulated sugar
- 1 teaspoon vanilla extract
- 2 medium apples, peeled and diced
- 2 tablespoons unsalted butter
- 2 tablespoons brown sugar
- 1 teaspoon ground cinnamon
Preparing the Dough
Step 1: Activate the Yeast
In a large mixing bowl, combine the warm milk and warm water. Sprinkle the active dry yeast over the surface of the liquid. Add a pinch of the granulated sugar (from the dough ingredients) to feed the yeast. Let this mixture sit for about 5 to 10 minutes. You should see it become foamy and bubbly, which indicates the yeast is alive and ready to work its magic. If it doesn’t foam, your yeast might be expired, and you’ll need to start again with new yeast.
Step 2: Mixing the Dough
Once the yeast is activated, add the remaining 1/4 cup granulated sugar, salt, melted unsalted butter, and the lightly beaten egg to the yeast mixture. Stir everything together until well combined. Gradually add the 3 cups of all-purpose flour, one cup at a time, mixing after each addition. You can use a stand mixer with a dough hook attachment for this, or you can mix by hand. Once the dough starts to come together, turn it out onto a lightly floured surface.
Step 3: Kneading the Dough
Knead the dough for about 8 to 10 minutes. The dough should become smooth, elastic, and slightly tacky, but not stick to your fingers excessively. If it’s too sticky, add a little more flour, a tablespoon at a time. If it seems too dry, add a tiny bit more warm water. Proper kneading develops the gluten, which is crucial for achieving a light and airy texture in our Apple Cream Cheese Buns. After kneading, shape the dough into a ball.
Step 4: First Rise
Lightly grease a clean bowl with a bit of oil or butter. Place the dough ball into the greased bowl, turning it once to coat all sides. Cover the bowl tightly with plastic wrap or a clean kitchen towel. Let the dough rise in a warm, draft-free place for about 1 to 1.5 hours, or until it has doubled in size. This resting period allows the yeast to ferment and create those lovely air pockets that make the buns tender.
Preparing the Cream Cheese Filling and Apple Topping
Step 5: Making the Cream Cheese Filling
While the dough is rising, prepare the delicious cream cheese filling. In a medium bowl, combine the softened cream cheese, 1/4 cup granulated sugar, and the vanilla extract. Beat with an electric mixer or a whisk until the mixture is smooth and creamy. Make sure the cream cheese is truly softened – this will prevent lumps and ensure a smooth, spreadable filling. Set this aside.
Step 6: Cooking the Apple Topping
In a skillet, melt the 2 tablespoons of unsalted butter over medium heat. Add the diced apples to the skillet. Cook, stirring occasionally, for about 5 to 7 minutes, until the apples begin extract to soften. Sprinkle in the brown sugar and ground cinnamon. Stir well to coat the apples. Continue to cook for another 2 to 3 minutes, or until the sugar has dissolved and the apples are tender but still hold their shape. You don’t want them to be mushy. Remove from heat and let this apple mixture cool slightly.
Assembling and Baking the Buns
Step 7: Shaping the Buns
Once the dough has doubled in size, gently punch it down to release the air. Turn the dough out onto a lightly floured surface. Roll the dough out into a large rectangle, approximately 12×18 inches. Spread the prepared cream cheese filling evenly over the entire surface of the dough, leaving about a 1-inch border on one of the longer sides. Scatter the cooled apple mixture evenly over the cream cheese layer.
Starting from the longer side without the border, tightly roll up the dough, jelly-roll style. Pinch the seam along the border to seal it well. Using a sharp knife or dental floss, cut the roll into 12 equal pieces, about 1.5 inches thick.
Step 8: Second Rise and Baking
Lightly grease a 9×13 inch baking pan. Arrange the cut buns in the prepared pan, cut-side up. They will be close together. Cover the pan loosely with plastic wrap and let the buns rise for another 30 to 45 minutes, or until they look puffy and have almost doubled in size again. Preheat your oven to 375°F (190°C). Bake the Apple Cream Cheese Buns for 25 to 30 minutes, or until they are golden brown on top and cooked through. If the tops start to brown too quickly, you can loosely tent them with foil.
Step 9: Glazing and Serving
Once baked, remove the buns from the oven. While they are still warm, you can prepare a simple glaze. In a small bowl, whisk together about 1/2 cup of powdered sugar with a tablespoon or two of milk or cream until you reach your desired drizzling consistency. Drizzle this glaze over the warm buns. Alternatively, a simple dusting of powdered sugar or a sprinkle of cinnamon sugar works beautifully. Let the buns cool slightly in the pan before carefully removing them to a wire rack. These Apple Cream Cheese Buns are best enjoyed warm, either on their own or with a dollop of whipped cream.
Conclusion:
There you have it! You’ve successfully created a batch of delightful Apple Cream Cheese Buns. We’ve walked through each step, from preparing the tender dough to crafting that luscious cream cheese and apple filling. The aroma filling your kitchen as these bake is truly something special, and the taste is even better. These buns are wonderfully versatile and perfect for any occasion. Enjoy them warm as a comforting breakfast treat, a decadent dessert, or a delightful afternoon snack. They pair beautifully with a cup of coffee or tea, or even a glass of milk for the kids.
Don’t hesitate to get creative with variations! You could add a pinch of cinnamon to the cream cheese filling for an extra spice kick, or swirl in some caramel sauce for a richer flavor profile. Chopped nuts like walnuts or pecans would also be a fantastic textural addition. I encourage you to make these Apple Cream Cheese Buns your own and share them with loved ones. The joy of baking and sharing delicious food is what it’s all about!
FAQs:
Can I make the dough ahead of time?
Yes, you absolutely can! Once the dough has risen for the first time, you can punch it down, wrap it tightly in plastic wrap, and refrigerate it for up to 24 hours. Just let it come to room temperature for about 30-60 minutes before shaping and filling.
How should I store leftover Apple Cream Cheese Buns?
Store any leftover Apple Cream Cheese Buns in an airtight container at room temperature for up to 2 days, or in the refrigerator for up to 4 days. For longer storage, you can freeze them, tightly wrapped, for up to 2 months. Reheat gently in a low oven or microwave.
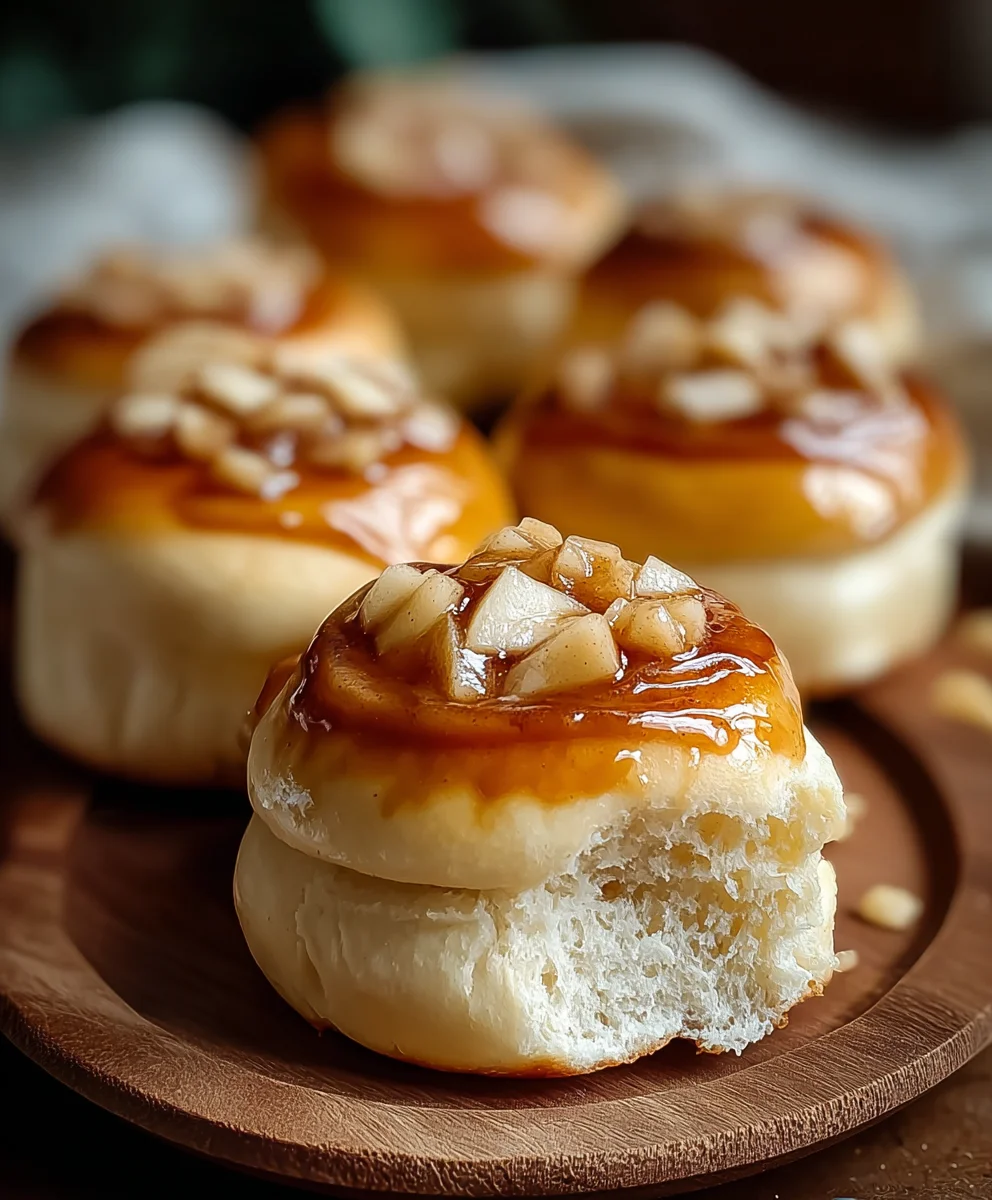
Sweet Apple Cream Cheese Buns – Easy Recipe
Deliciously soft and fluffy buns filled with sweet cream cheese and topped with tender, cinnamon-spiced apples.
Ingredients
-
3 cups all-purpose flour, plus more for dusting
-
1/4 cup granulated sugar
-
2 1/4 teaspoons active dry yeast
-
1/2 teaspoon salt
-
1/2 cup warm milk (around 110°F or 43°C)
-
1/4 cup warm water (around 110°F or 43°C)
-
1/4 cup unsalted butter, melted
-
1 large egg, lightly beaten
-
8 oz cream cheese, softened
-
1/4 cup granulated sugar
-
1 teaspoon vanilla extract
-
2 medium apples, peeled and diced
-
2 tablespoons unsalted butter
-
2 tablespoons brown sugar
-
1 teaspoon ground cinnamon
Instructions
-
Step 1
In a large mixing bowl, combine warm milk and warm water. Sprinkle yeast over the surface and add a pinch of granulated sugar. Let sit for 5-10 minutes until foamy. -
Step 2
Add remaining granulated sugar, salt, melted butter, and beaten egg to the yeast mixture. Stir well. Gradually add flour, mixing until dough comes together. Turn onto a floured surface. -
Step 3
Knead the dough for 8-10 minutes until smooth and elastic. Shape into a ball and place in a lightly greased bowl. Cover and let rise in a warm place for 1-1.5 hours, or until doubled. -
Step 4
While dough rises, prepare the cream cheese filling: Beat softened cream cheese, 1/4 cup granulated sugar, and vanilla extract until smooth. For the apple topping: Melt butter in a skillet, add diced apples, cook until softened (5-7 mins). Stir in brown sugar and cinnamon, cook for another 2-3 minutes until tender. Let cool slightly. -
Step 5
Punch down risen dough and roll into a 12×18 inch rectangle. Spread cream cheese filling evenly, leaving a 1-inch border on one long side. Scatter apple mixture over the filling. Tightly roll up from the side without the border, sealing the seam. -
Step 6
Cut the roll into 12 equal pieces. Arrange in a greased 9×13 inch baking pan. Cover loosely and let rise for 30-45 minutes until puffy. Preheat oven to 375°F (190°C). -
Step 7
Bake for 25-30 minutes until golden brown. Prepare a glaze by whisking powdered sugar with milk/cream. Drizzle over warm buns. Let cool slightly before serving.
Important Information
Nutrition Facts (Per Serving)
It is important to consider this information as approximate and not to use it as definitive health advice.
Allergy Information
Please check ingredients for potential allergens and consult a health professional if in doubt.

Leave a Comment