


Homemade bread. Just the phrase itself conjures up images of cozy kitchens, warm aromas, and pure, unadulterated comfort. There’s something incredibly satisfying about taking simple ingredients – flour, water, yeast, salt – and transforming them into a loaf that’s a testament to your own hands. People are drawn to homemade bread for so many reasons. It’s the unparalleled texture, that perfect balance of a crisp crust giving way to a soft, airy interior. It’s the incredible flavor, so much richer and more nuanced than anything store-bought. But beyond the sensory delights, baking your own bread is an act of love, a connection to a tradition that spans centuries.
Why You’ll Fall in Love with This Recipe
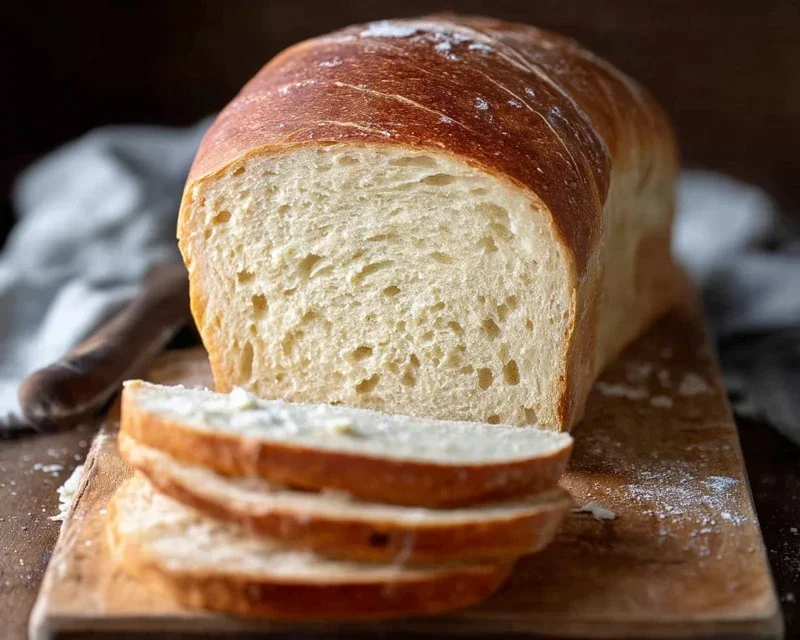
This particular recipe for homemade bread is special because it’s approachable, even for begin extractners, while still delivering results that will impress seasoned bakers. We’ve stripped away any unnecessary complexity, focusing on the core techniques that yield a truly exceptional loaf. Imagin extracte the pride you’ll feel, slicing into a golden-brown crust that you created yourself. That, my friends, is the magic of homemade bread.

Homemade Bread
There’s a special kind of magic that happens when you pull a warm, crusty loaf of homemade bread from your oven. The aroma alone is enough to transport you to a simpler time, and the taste? Well, it’s a million miles away from any store-bought loaf. Making bread from scratch might seem intimidating, but I promise you, with a little patience and a few simple ingredients, you can achieve bakery-quality results in your own kitchen. This recipe is my go-to for a basic, versatile white bread that’s perfect for sandwiches, toast, or just slathering with butter. Let’s get baking!
Ingredients:
Instructions:
Step 1: Activating the Yeast
The first step in any successful bread-making journey is ensuring your yeast is alive and well. In a large mixing bowl (or the bowl of your stand mixer), combine the warm water, active dry yeast, and your chosen sweetener (honey or sugar). Give it a gentle stir to combine. The water temperature is crucial here. If it’s too hot, it will kill the yeast. If it’s too cool, it won’t activate it properly. Aim for that sweet spot between 105 and 115 degrees Fahrenheit. You can test it with your finger – it should feel pleasantly warm, not hot. Let this mixture sit undisturbed for about 5-10 minutes. You’ll know your yeast is happy if it starts to look foamy and bubbly on the surface. This “blooming” process is a sign that the yeast is active and ready to work its magic. If you don’t see any foam, your yeast might be old or the water temperature was off, and you’ll need to start over with fresh yeast.
Step 2: Mixing the Dough
Once your yeast has bloomed, it’s time to add the remaining wet ingredients and some of the flour. Add the salt and the oil to the yeast mixture. Now, begin extract adding the flour, one cup at a time, stirring with a wooden spoon or using the dough hook attachment on your stand mixer. Start with about 4 cups of flour. As you add the flour, you’ll notice the mixture will start to thicken and form a shaggy dough. Keep adding flour gradually until the dough just starts to pull away from the sides of the bowl. You might not need all 5 1/2 cups of flour; the exact amount can vary depending on the humidity in your kitchen and the type of flour you’re using. The goal is a dough that is soft and slightly sticky, but not so sticky that it’s unmanageable.
Step 3: Kneading the Dough
This is where the real work and the real reward comes in! If you’re using a stand mixer, switch to the dough hook and knead on a low speed for about 8-10 minutes. The dough should become smooth, elastic, and less sticky. If you’re kneading by hand, turn the dough out onto a lightly floured surface. Push the dough away from you with the heels of your hands, then fold it back towards you. Rotate the dough and repeat. It will be sticky at first, so don’t be tempted to add too much extra flour – just a little dusting is all you need. Continue kneading until the dough is smooth and elastic. You can test for readiness by poking the dough with your finger; it should spring back slowly. A well-kneaded dough develops gluten, which gives bread its structure and chewy texture.
Step 4: First Rise (Proofing)**
Lightly grease a clean, large bowl with a little bit of oil. Place your kneaded dough into the bowl, turning it to coat all sides with oil. Cover the bowl tightly with plastic wrap or a clean kitchen towel. Find a warm, draft-free spot for your dough to rise. This could be a slightly warm oven (turned off!), on top of your refrigerator, or simply on your kitchen counter if your home is warm. Let the dough rise for about 1 to 1.5 hours, or until it has doubled in size. This is called proofing, and it’s when the yeast ferments, producing carbon dioxide gas that makes the bread light and airy. It’s like the dough taking a nice, long nap to build its strength.
Step 5: Shaping and Second Rise
Once the dough has doubled in size, gently punch it down to release the air. Turn the dough out onto a lightly floured surface. At this point, you can shape it into your desired loaf. For a classic loaf, gently pat the dough into a rectangular shape. Then, roll it up tightly like a jelly roll, pinching the seam closed. Tuck the ends under to create a neat loaf. Place the shaped loaf into a greased loaf pan (9×5 inches is standard). Cover the loaf pan loosely with plastic wrap or a clean kitchen towel. Let the dough rise again in a warm place for another 30-60 minutes, or until it has almost doubled in size and looks puffy. This second rise is important for a good oven spring and a tender crum extractb.
Step 6: Baking the Bread
Preheat your oven to 375 degrees Fahrenheit (190 degrees Celsius) during the last 15-20 minutes of the second rise. Once the oven is preheated and the dough has completed its second rise, place the loaf pan on the middle rack of your oven. Bake for 30-40 minutes, or until the crust is golden brown and the internal temperature of the bread reaches 190-200 degrees Fahrenheit (88-93 degrees Celsius). You can check for doneness by tapping the bottom of the loaf; it should sound hollow. If the crust is browning too quickly, you can loosely tent it with aluminum foil.
Step 7: Cooling and Enjoying**
This is perhaps the hardest part – waiting! Once the bread is baked, immediately remove it from the loaf pan and place it on a wire rack to cool completely. This allows air to circulate around the loaf, preventing the bottom crust from becoming soggy. Resist the urge to slice into it while it’s still hot; the internal structure needs time to set. Once it’s cooled, slice and enjoy the fruits of your labor! Whether you’re making toast, a hearty sandwich, or simply enjoying it with a smear of butter, this homemade bread is a true delight. It’s a simple pleasure that brings so much joy to the kitchen.
Conclusion:
So there you have it – your guide to creating your very own homemade bread! We hope this recipe has inspired you to embark on your baking journey. The satisfaction of pulling a warm, crusty loaf from your oven, with that incredible aroma filling your kitchen, is truly unparalleled. This recipe is fantastic because it’s straightforward, yielding consistently delicious results perfect for begin extractners, while still offering depth of flavor that seasoned bakers will appreciate. Don’t be intimidated; the process is forgiving and incredibly rewarding.
Once your loaf is out of the oven and has cooled slightly, the possibilities are endless! Slice it thick for hearty sandwiches, toast it golden brown for a delightful breakfast with butter and jam, or serve it alongside your favorite soups and stews. Feel free to experiment with variations too. Add herbs like rosemary or thyme to the dough for an aromatic twist, or incorporate a handful of seeds or cheese for added texture and flavor. The best part about baking homemade bread is that you can tailor it to your exact preferences.
We truly encourage you to give this recipe a try. The joy of sharing your freshly baked creations with loved ones is a wonderful feeling, and the taste of homemade is simply incomparable to anything store-bought. Happy baking!
Frequently Asked Questions:
Why did my bread not rise properly?
Several factors can affect rise. Ensure your yeast is fresh and active. Water that is too hot can kill yeast, while water that is too cold won’t activate it – aim for lukewarm. Insufficient kneading can also prevent gluten development, which is essential for structure and rise. Finally, a consistently warm environment for proofing is key; try a slightly warm oven (turned off) or a sunny spot.
How can I get a crispier crust?
A crispier crust is often achieved through steam. During the first 15-20 minutes of baking, place a pan of hot water on the rack below your bread, or mist the inside of your oven with water (avoiding the light bulb). Baking at a higher temperature initially can also contribute to a better crust. Ensure the bread is fully cooled on a wire rack to prevent steam from collecting and softening the bottom.
Homemade Bread
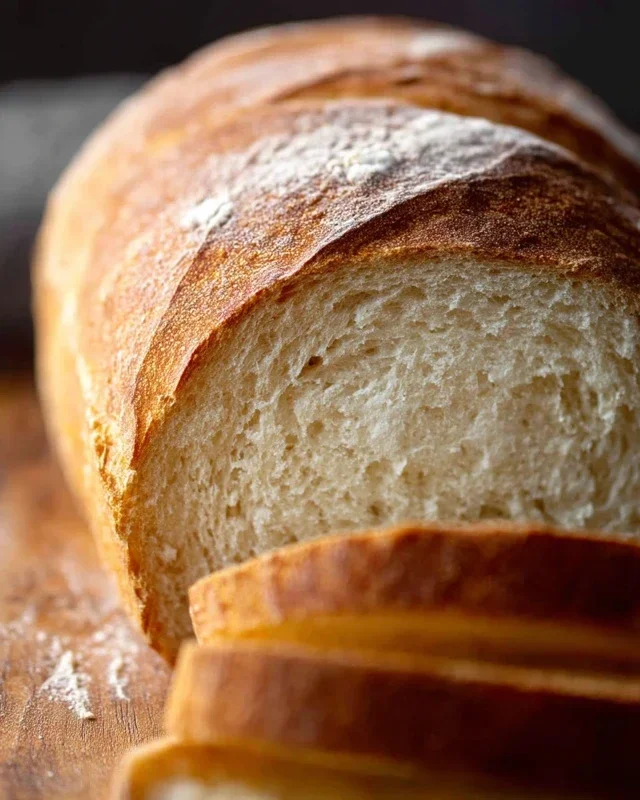
A simple and delicious recipe for classic homemade bread, perfect for sandwiches or toast.
Ingredients
-
{‘@type’: ‘Ingredient’, ‘name’: ‘warm water’, ‘description’: ‘105-115 degrees Fahrenheit’, ‘quantity’: ‘2’, ‘unit’: ‘cups’, ‘weight’: {‘value’: 474, ‘unitCode’: ‘G’}}
-
{‘@type’: ‘Ingredient’, ‘name’: ‘active dry yeast’, ‘quantity’: ‘1’, ‘unit’: ‘Tablespoons’}
-
{‘@type’: ‘Ingredient’, ‘name’: ‘honey’, ‘description’: ‘or sugar’, ‘quantity’: ‘1/4’, ‘unit’: ‘cup’, ‘weight’: {‘value’: 85, ‘unitCode’: ‘G’}}
-
{‘@type’: ‘Ingredient’, ‘name’: ‘salt’, ‘quantity’: ‘2’, ‘unit’: ‘teaspoons’}
-
{‘@type’: ‘Ingredient’, ‘name’: ‘canola oil’, ‘description’: ‘or vegetable oil’, ‘quantity’: ‘2’, ‘unit’: ‘Tablespoons’, ‘volume’: {‘value’: 30, ‘unitCode’: ‘ML’}}
-
{‘@type’: ‘Ingredient’, ‘name’: ‘all-purpose flour’, ‘description’: ‘or bread flour’, ‘quantity’: ‘4’, ‘unit’: ‘cups’, ‘weight’: {‘value’: 500, ‘unitCode’: ‘G’}}
-
{‘@type’: ‘Ingredient’, ‘name’: ‘all-purpose flour’, ‘description’: ‘or bread flour’, ‘quantity’: ‘5.5’, ‘unit’: ‘cups’, ‘weight’: {‘value’: 688, ‘unitCode’: ‘G’}}
Instructions
-
Step 1
In a large bowl, combine the warm water and honey (or sugar). Sprinkle the yeast over the top and let it sit for 5-10 minutes until foamy. -
Step 2
Add the salt and oil to the yeast mixture. Gradually stir in 4 cups of flour until a shaggy dough forms. -
Step 3
Turn the dough out onto a lightly floured surface. Knead for 8-10 minutes, adding more flour as needed (up to 1.5 cups more), until the dough is smooth and elastic. -
Step 4
Place the dough in a greased bowl, turning to coat. Cover with plastic wrap or a damp cloth and let rise in a warm place for 1 hour, or until doubled in size. -
Step 5
Punch down the dough and shape it into a loaf. Place in a greased loaf pan. -
Step 6
Let the loaf rise again, covered, for 30 minutes. -
Step 7
Preheat oven to 375°F (190°C). Bake the bread for 30-35 minutes, or until golden brown and hollow-sounding when tapped on the bottom. -
Step 8
Remove from the pan and let cool completely on a wire rack before slicing.
Important Information
Nutrition Facts (Per Serving)
It is important to consider this information as approximate and not to use it as definitive health advice.
Allergy Information
Please check ingredients for potential allergens and consult a health professional if in doubt.



Leave a Comment