


Easy Frozen Yogurt Bites are the ultimate treat for those seeking a healthy, delicious, and refreshingly simple indulgence. Imagin extracte vibrant bursts of flavor and a satisfyingly cool texture, all crafted with minimal effort and maximum reward. It’s no wonder these delightful morsels have captured the hearts (and taste buds!) of so many. People adore them because they offer a guilt-free way to satisfy sweet cravings, making them perfect for kids’ snacks, post-workout rewards, or even a light dessert on a warm evening. What truly makes Easy Frozen Yogurt Bites so special is their incredible versatility. You can customize them with an endless array of fruits, sweeteners, and even fun mix-ins, transforming a basic concept into a personalized masterpiece. This recipe is designed to be incredibly user-friendly, proving that gourmet-tasting treats don’t need to be complicated or time-consuming.

Ingredients:
- 12 ounces strawberry yogurt
- 1/2 cup fresh raspberries
- 1/2 cup fresh blackberries
- 2 tablespoons almond milk
Preparing Your Frozen Yogurt Bites
This is where the magic begin extracts! Before you even think about mixing, it’s crucial to get your workspace and equipment ready. This simple prep work will make the entire process smoother and more enjoyable. First, locate a baking sheet or a tray that will fit comfortably into your freezer. Line this baking sheet with parchment paper. Parchment paper is your best friend here; it prevents the frozen yogurt bites from sticking, ensuring they pop off easily once frozen. If you don’t have parchment paper, wax paper is a decent substitute, but parchment paper offers superior non-stick properties. Ensure the paper lies flat without too many wrinkles. Now, take your chosen baking sheet and place it in the freezer for at least 15-20 minutes. We want the baking sheet to be nice and cold. This initial chilling of the tray helps the yogurt set much faster once it’s placed on it, preventing excessive spreading and helping you achieve those perfect bite-sized shapes. While the tray is chilling, you can start preparing your yogurt mixture.
Mixing the Delicious Base
Now it’s time to create the creamy, delightful base for our Easy Frozen Yogurt Bites. In a medium-sized mixing bowl, you’ll start with the star of the show: the strawberry yogurt. Pour the entire 12-ounce container into the bowl. If your yogurt is particularly cold from the refrigerator, that’s even better, as it will contribute to a quicker freezing time. Next, we’ll introduce the almond milk. Add the 2 tablespoons of almond milk to the yogurt. The almond milk acts as a gentle emulsifier, helping to create a smoother, more pliable texture for the yogurt before it freezes. This is especially useful if your yogurt is very thick. Stir these two ingredients together thoroughly. You want to achieve a uniform consistency, ensuring the almond milk is completely incorporated into the yogurt. There should be no streaks or pockets of plain yogurt or almond milk. A whisk can be very effective for this step, or you can use a sturdy spoon or spatula. Aim for a smooth, creamy, and luscious mixture. This is the canvas for our delicious frozen treats.
Incorporating the Berries
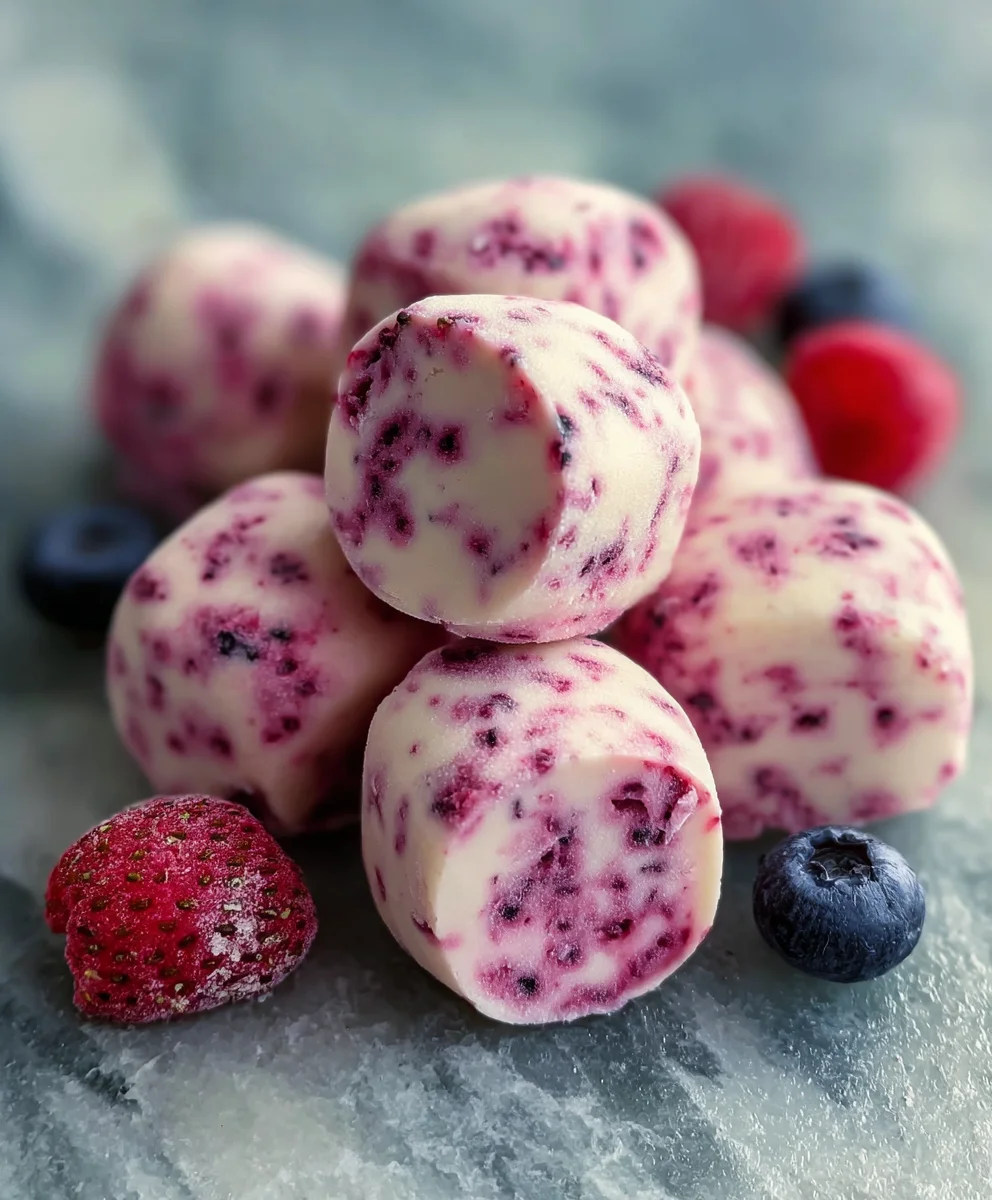
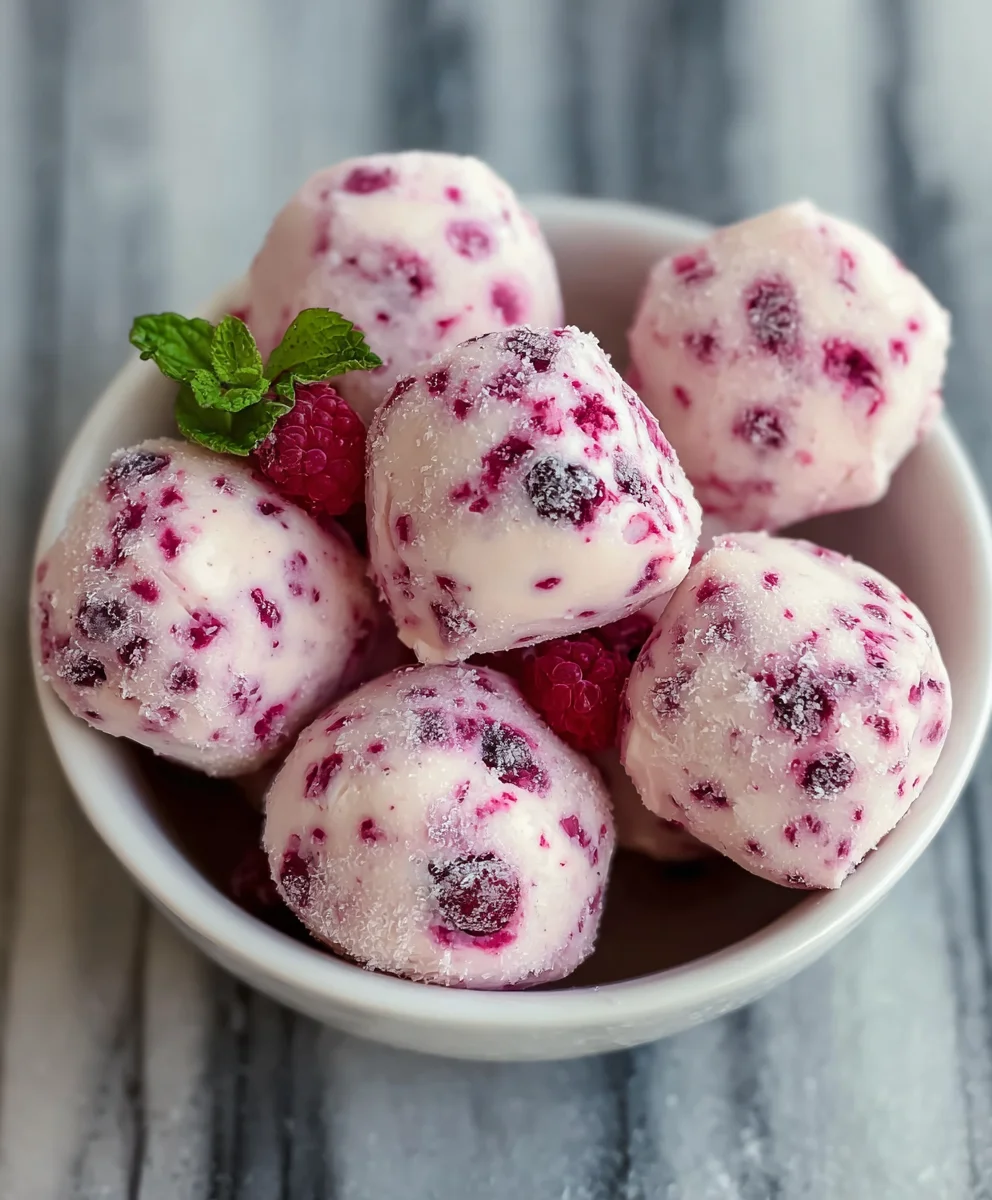
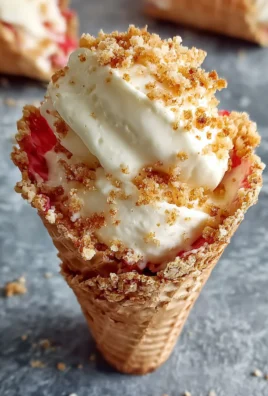
This step adds a burst of flavor, color, and texture to our Easy Frozen Yogurt Bites. Gently fold in your fresh raspberries and blackberries. You have a couple of options here, depending on your preference for berry chunks. If you like distinct pieces of fruit throughout your bites, you can add the berries whole. However, if you prefer a more integrated berry flavor and color, you can lightly mash or chop the berries before adding them. To lightly mash, simply place the berries in a separate small bowl and gently press them with a fork a few times. Don’t pulverize them into a paste; we still want some texture. Once you’ve decided on your berry preparation, carefully add them to the yogurt mixture. Using a spatula or a spoon, gently fold the berries into the yogurt. The key here is to be gentle. We don’t want to break down the yogurt base too much or mash the berries into oblivion. We’re aiming to distribute them evenly throughout the mixture, creating lovely pockets of berry goodness in every bite. You should see vibrant flecks of red and purple distributed throughout the pnon-alcoholic ale pink yogurt.
Shaping and Freezing Your Bites
This is the crucial stage where your creation starts to take shape. Retrieve your chilled baking sheet from the freezer. Carefully spoon small dollops of the yogurt and berry mixture onto the cold parchment paper. Aim for uniform sizes, about 1 to 1.5 inches in diameter. You can use a tablespoon or a small cookie scoop for consistent portions. Don’t worry if they aren’t perfectly round; a rustic charm is part of their appeal. Leave a little space between each dollop to prevent them from freezing together. Once you have arranged all your yogurt dollops on the baking sheet, it’s time for the hard work of freezing. Carefully transfer the baking sheet back into the freezer. For the initial freeze, allow at least 2 to 3 hours. During this time, the yogurt will firm up considerably. The cold baking sheet helps to speed up this process, ensuring a better texture and preventing them from spreading too much. Check them periodically. You’re looking for a consistency that is firm to the touch but not rock-solid.
Ensuring Perfect Texture and Storage
After the initial freezing period, your Easy Frozen Yogurt Bites should be firm enough to handle. At this point, you have a couple of options depending on how you want to store them and their final texture. If you prefer them to remain as individual, slightly softer bites, you can proceed to the storage step directly from here. However, if you want them to be more solid and less prone to melting quickly, you can take them a step further. For this second stage of freezing, you can transfer the already firm yogurt bites into a freezer-safe airtight container or a resealable freezer bag. If you’re using a bag, gently press out as much air as possible before sealing it to prevent freezer burn. This secondary freeze will make them even more solid and easier to stack or store without them sticking to each other. They will become more like firm, frozen candies. If you skip this secondary freeze, they will still be delicious but will melt more quickly once removed from the freezer. Either way, ensure they are stored in a way that keeps them frozen until you’re ready to enjoy them. They are best enjoyed within a couple of weeks for optimal flavor and texture.
Conclusion:
And there you have it – your delightful batch of Easy Frozen Yogurt Bites is ready to be enjoyed! We’ve walked through the simple steps to create these refreshing treats, perfect for a healthy snack or a guilt-free dessert. These bites are incredibly versatile, making them a hit with both kids and adults. Don’t be afraid to experiment with different fruit combinations and flavorings; the possibilities are truly endless. So, gather your ingredients, get creative, and experience the joy of making your own delicious and wholesome Easy Frozen Yogurt Bites. We encourage you to share your creations and the smiles they bring!
For serving, these bites are fantastic on their own, but they also pair wonderfully with a sprinkle of granola for added crunch, a drizzle of honey, or even alongside fresh berries. Consider them the perfect addition to a packed lunch, a post-workout reward, or a light dessert after a hearty meal.
Frequently Asked Questions:
Can I use different types of yogurt for Easy Frozen Yogurt Bites?
Absolutely! While Greek yogurt provides a wonderfully creamy texture and is higher in protein, you can certainly experiment with regular plain yogurt, dairy-free alternatives like coconut or almond yogurt, or even flavored yogurts for an extra burst of taste. Just be mindful that some flavored yogurts may be higher in added sugars.
How long do Easy Frozen Yogurt Bites last in the freezer?
When stored properly in an airtight container or a freezer-safe bag, your Easy Frozen Yogurt Bites should remain fresh and delicious for up to 2-3 weeks. Ensure they are fully frozen before sealing the container to prevent ice crystals from forming, which can affect their texture.
Easy Frozen Yogurt Bites – Healthy Sweet Treat
Delightful and healthy frozen yogurt bites packed with fresh berries, perfect for a refreshing sweet treat.
Ingredients
-
12 ounces strawberry yogurt
-
1/2 cup fresh raspberries
-
1/2 cup fresh blackberries
-
2 tablespoons almond milk
-
Parchment paper
Instructions
-
Step 1
Prepare your workspace: Line a baking sheet with parchment paper and place it in the freezer for at least 15-20 minutes to chill. -
Step 2
Mix the base: In a medium bowl, combine 12 ounces of strawberry yogurt and 2 tablespoons of almond milk. Stir until smooth and uniform. -
Step 3
Incorporate berries: Gently fold in 1/2 cup of fresh raspberries and 1/2 cup of fresh blackberries into the yogurt mixture. Lightly mash or chop berries if desired. -
Step 4
Shape and freeze: Spoon small dollops of the mixture onto the chilled baking sheet, leaving space between each. Freeze for 2-3 hours until firm. -
Step 5
Optional second freeze: For firmer bites, transfer the frozen yogurt bites to an airtight container or resealable bag and freeze for an additional period. Store in the freezer until ready to enjoy.
Important Information
Nutrition Facts (Per Serving)
It is important to consider this information as approximate and not to use it as definitive health advice.
Allergy Information
Please check ingredients for potential allergens and consult a health professional if in doubt.
Leave a Comment