


Cheesy Garlic Chicken Wraps are more than just a meal; they’re a warm hug in tortilla form, a symphony of savory flavors that dance on your palate. If you’ve ever found yourself craving something satisfying, incredibly easy to make, and guaranteed to please a crowd (or just yourself after a long day), then you’ve come to the right place. What is it about these cheesy garlic chicken wraps that makes them so universally loved? It’s the perfect harmony: tender, juicy chicken infused with the irresistible aroma of garlic, all enveloped in a blanket of melted, gooey cheese, nestled within a soft, pliable tortilla. This isn’t just another chicken wrap; it’s an experience, a delightful combination that hits all the right notes, making it a go-to for busy weeknights, quick lunches, or even a relaxed weekend treat. Prepare yourself for a recipe that’s as enjoyable to make as it is to devour.

Ingredients:
- 2 cups cooked chicken, shredded
- 1/2 cup garlic aioli
- 1 cup cheddar cheese, shredded
- 4 large tortillas
- Salt and freshly ground black pepper, to taste
Preparing the Cheesy Garlic Chicken Filling
Step 1: Combine Chicken and Garlic Aioli
In a medium-sized mixing bowl, begin extract by adding your 2 cups of pre-cooked, shredded chicken. This chicken can be rotisserie chicken, baked chicken breasts, or even leftover roasted chicken – whatever is most convenient for you. The key is that it’s already cooked and easy to shred. Now, spoon in the 1/2 cup of rich and creamy garlic aioli. This aioli is the flavor powerhouse for our wraps, providing a delightful garlicky punch and binding everything together beautifully. Use a sturdy spoon or a spatula to gently mix the shredded chicken and garlic aioli until every piece of chicken is thoroughly coated. Ensure there are no dry bits of chicken left; the aioli should cling to each strand, creating a moist and flavorful base for our filling. This initial step ensures that the garlic flavor is evenly distributed throughout the chicken.
Step 2: Incorporate Cheddar Cheese and Seasoning
Once your chicken is beautifully coated in garlic aioli, it’s time to add the cheesy goodness and season. Sprinkle in the 1 cup of shredded cheddar cheese. The sharp, savory flavor of cheddar cheese pairs wonderfully with the garlic aioli and the chicken. Gently fold the cheese into the chicken and aioli mixture. You want to distribute the cheese evenly, but don’t overmix at this stage, as we still want to maintain some texture. Now, season generously with salt and freshly ground black pepper to taste. Remember that the garlic aioli and cheddar cheese already contain some salt, so it’s best to start with a moderate amount and adjust as needed. A good rule of thumb is to add a pinch of salt and a few grinds of pepper, then taste a small amount of the filling (if you’re comfortable doing so with raw ingredients after seasoning) or just trust your palate. Stir everything together until just combined. This creates a luscious, cheesy, and perfectly seasoned chicken filling that will be the star of your wraps.
Assembling and Cooking the Cheesy Garlic Chicken Wraps
Step 3: Warming the Tortillas
Before we start assembling, it’s crucial to warm your 4 large tortillas. Cold tortillas can be stiff and prone to cracking when you try to roll them. There are several ways to achieve this. You can briefly heat them in a dry skillet over medium heat for about 20-30 seconds per side until they are pliable and warm. Alternatively, you can wrap them in a damp paper towel and microwave them for about 30-45 seconds until they are soft and flexible. Some people even prefer to lightly char them directly over a gas flame for a minute, which adds a lovely smoky flavor. Whichever method you choose, the goal is to make them soft and easy to work with, ensuring a neat and tidy wrap at the end. Once warmed, stack them with a clean kitchen towel in between to keep them warm and prevent them from drying out while you prepare for assembly.
Step 4: Filling the Tortillas
Now for the exciting part – filling your tortillas! Lay one warmed tortilla flat on a clean work surface. Spoon a generous portion of your prepared cheesy garlic chicken filling into the center of the tortilla, leaving about a 1-inch border around the edges. Don’t overfill, as this will make rolling difficult. Aim for roughly a quarter of the filling per tortilla. You want enough filling to be satisfying but not so much that it spills out. If you like, you can add a little extra sprinkle of shredded cheddar cheese over the filling at this point for an even cheesier experience, though it’s not strictly necessary since the cheese is already well-integrated into the filling. Gently spread the filling out slightly with the back of your spoon, creating an even layer across the tortilla.
Step 5: Rolling and Grilling the Wraps
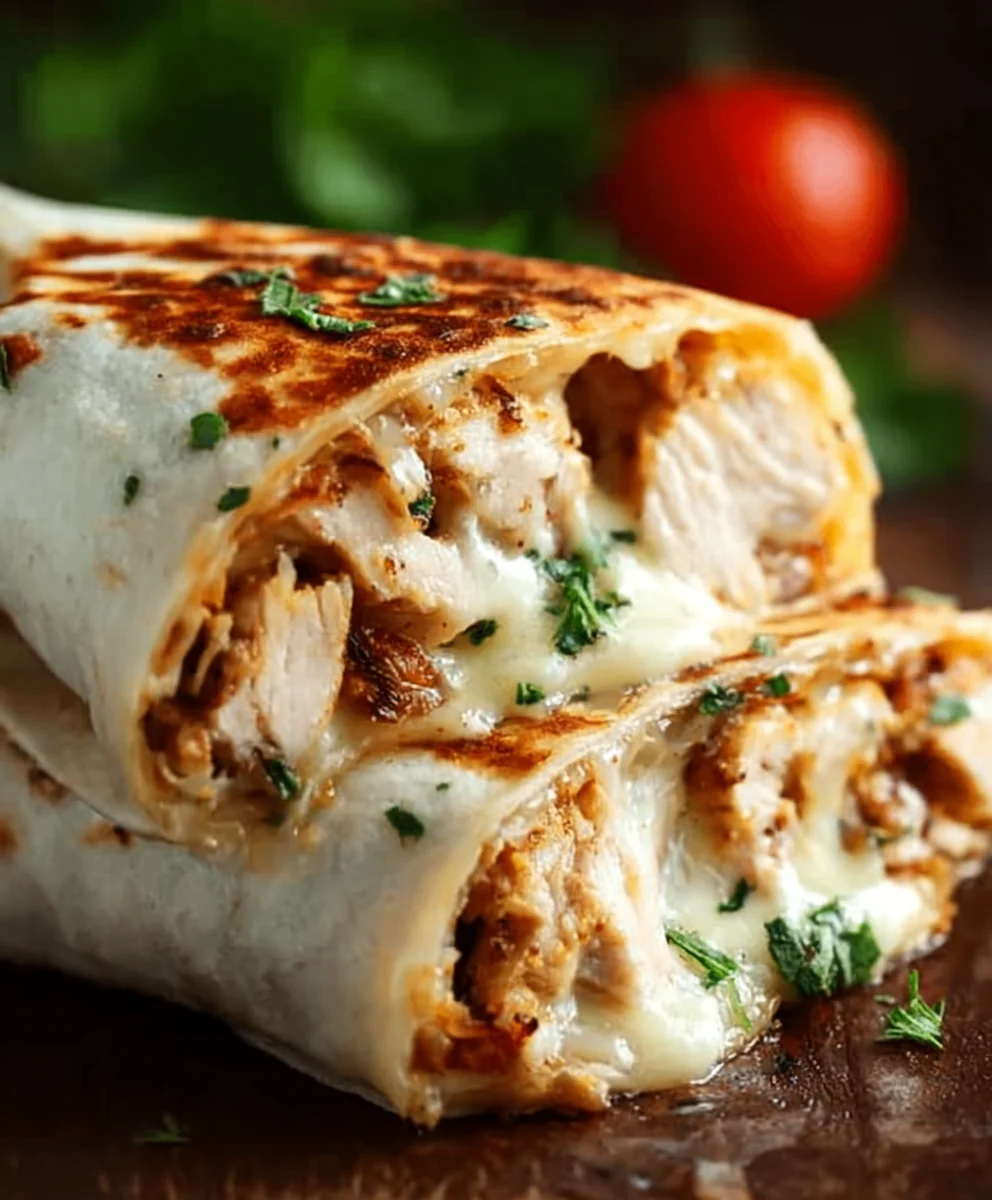
This is where we transform our filled tortillas into delicious, crispy Cheesy Garlic Chicken Wraps. Start by folding the sides of the tortilla inwards, over the filling, about an inch or two. Then, take the bottom edge of the tortilla closest to yogin extractnd begin to roll it upwards, tucking the filling in as you go. Continue to roll tightly, encasing the filling completely. Once rolled, you can gently press on the seam to help it seal. Now, heat a lightly oiled skillet or griddle over medium heat. Place the rolled wraps seam-side down in the hot skillet. Cook for 3-5 minutes per side, or until the tortillas are golden brown and slightly crispy, and the cheese inside is melted and gooey. You should see a beautiful golden-brown char on the outside of the wraps, indicating they are perfectly cooked and the filling is heated through. This grilling step not only adds a delightful crunch but also ensures the cheese is perfectly melted.
Conclusion:
And there you have it – your delicious and incredibly satisfying Cheesy Garlic Chicken Wraps are ready to be devoured! We hope you enjoyed the process of creating these flavorful bundles of joy. These wraps are more than just a meal; they’re a versatile dish perfect for a quick weeknight dinner, a fun lunchbox addition, or even an impressive appetizer for guests. The combination of tender, garlicky chicken and gooey, melted cheese nestled in a warm tortilla is truly a winner.
For serving suggestions, we love pairing these Cheesy Garlic Chicken Wraps with a crisp side salad, some seasoned sweet potato fries, or even a simple cup of tomato soup for a comforting meal. Don’t be afraid to experiment with variations! You could add a sprinkle of smoked paprika for a subtle kick, incorporate some finely chopped bell peppers for extra color and crunch, or even swap out the cheddar for mozzarella or Monterey Jack for a different cheesy profile. The possibilities are endless!
We truly encourage you to give this recipe a try. It’s straightforward, adaptable, and guaranteed to become a family favorite. So go ahead, get cooking, and enjoy every cheesy, garlicky bite of your homemade Cheesy Garlic Chicken Wraps!
Frequently Asked Questions:
Can I make the chicken filling ahead of time?
Absolutely! The cooked chicken and garlic mixture can be prepared a day in advance and stored in an airtight container in the refrigerator. Simply reheat it gently before assembling your Cheesy Garlic Chicken Wraps.
What kind of tortillas work best?
We recommend using standard flour tortillas, about 8-10 inches in diameter. They are flexible enough to wrap without tearing and hold all the delicious fillings well. You can also try whole wheat tortillas for a healthier option.
Can I add vegetables to the filling?
Definitely! Finely diced onions, bell peppers, or even spinach can be sautéed with the chicken and garlic to add extra nutrients and flavor to your Cheesy Garlic Chicken Wraps. Just make sure they are cooked until tender before assembling.
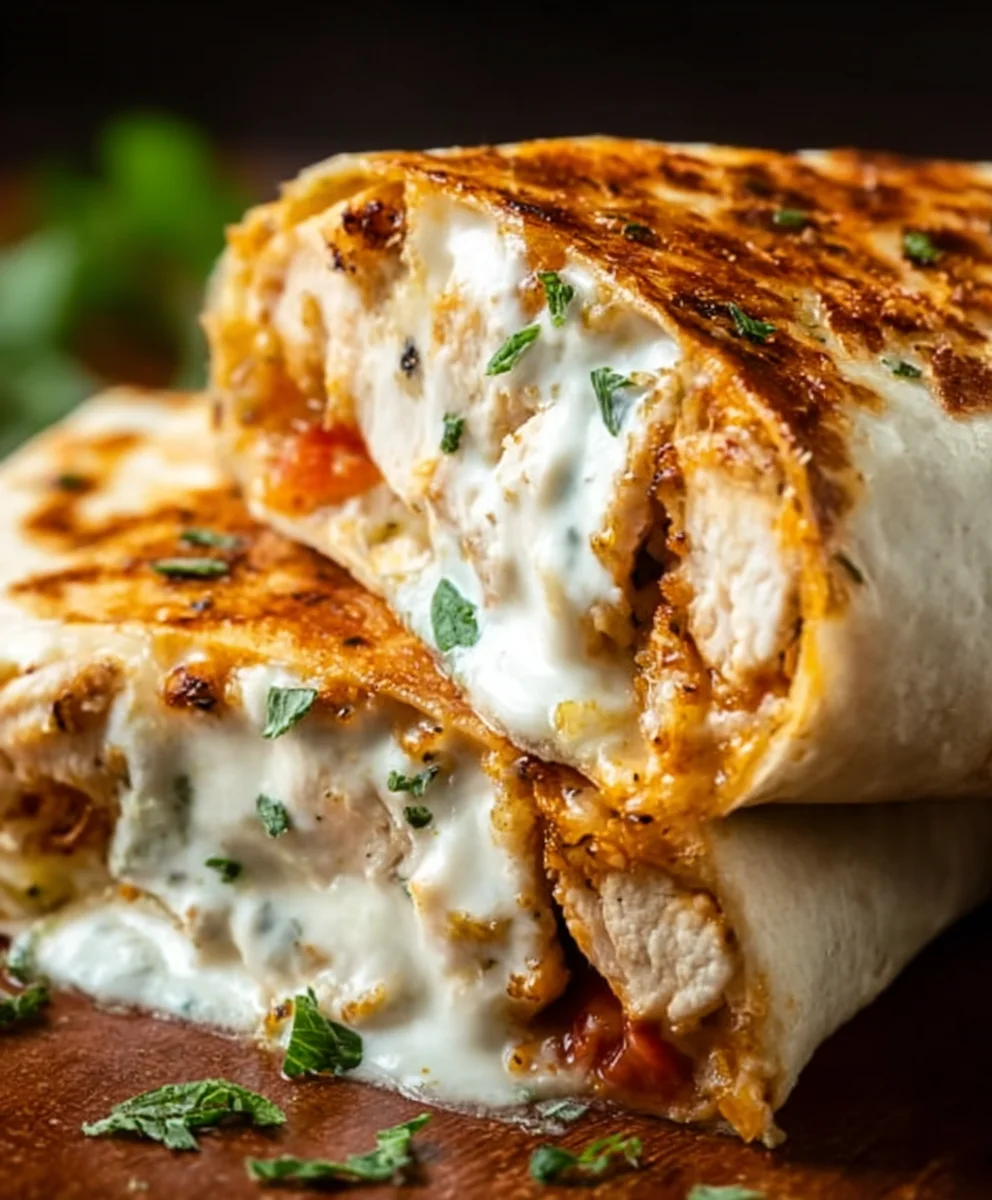
Easy Cheesy Garlic Chicken Wraps – Quick Dinner Idea
Delicious and quick cheesy garlic chicken wraps, perfect for a speedy weeknight dinner.
Ingredients
-
2 cups cooked chicken, shredded
-
1/2 cup garlic aioli
-
1 cup cheddar cheese, shredded
-
4 large tortillas
-
Salt, to taste
-
Freshly ground black pepper, to taste
Instructions
-
Step 1
In a medium bowl, combine 2 cups of shredded cooked chicken with 1/2 cup of garlic aioli. Mix until the chicken is evenly coated. -
Step 2
Add 1 cup of shredded cheddar cheese to the chicken mixture. Season with salt and freshly ground black pepper to taste. Gently mix to combine. -
Step 3
Warm 4 large tortillas in a dry skillet over medium heat for 20-30 seconds per side, or microwave them wrapped in a damp paper towel for 30-45 seconds until pliable. -
Step 4
Lay a warmed tortilla flat. Spoon about a quarter of the chicken filling onto the center, leaving a border. -
Step 5
Fold the sides of the tortilla inwards, then roll it up tightly from the bottom, tucking in the filling. -
Step 6
Heat a lightly oiled skillet or griddle over medium heat. Place the rolled wraps seam-side down and cook for 3-5 minutes per side, until golden brown and crispy, and the cheese is melted.
Important Information
Nutrition Facts (Per Serving)
It is important to consider this information as approximate and not to use it as definitive health advice.
Allergy Information
Please check ingredients for potential allergens and consult a health professional if in doubt.
Leave a Comment