


Apple Crisp is more than just a dessert; it’s a warm hug on a chilly evening, a nostalgic trip back to childhood kitchens filled with the comforting aroma of baked fruit and cinnamon. It’s that perfect balance of tender, sweet-tart apples enveloped in a beautifully crum extractbly, buttery topping, baked until golden and irresistible. What makes this particular Apple Crisp so beloved? It’s the simplicity and the incredible depth of flavor that comes from just a few perfectly chosen ingredients. The slight crunch of the topping against the yielding, juicy apple slices is a textural masterpiece, and the hint of spice elevates it from ordinary to extraordinary. You’ll find yourself reaching for seconds, and maybe even thirds, because this Apple Crisp is designed to be savored, shared, and remembered.

Ingredients:
- ⅔ cup all-purpose flour (for the crisp topping)
- ⅔ cup old-fashioned oats (rolled oats work best for texture)
- ⅔ cup light brown sugar (packed, for sweetness and moisture in the topping)
- ½ tsp salt (enhances all the flavors)
- ½ tsp ground cinnamon (for the crisp topping)
- ½ cup unsalted butter, melted (binds the topping ingredients together)
- 6 cups peeled, thinly sliced apples (Honeycrisp, Pink Lady, or Fuji are excellent choices for their balance of tartness and sweetness and their ability to hold their shape when baked)
- 3 tbsp apple juice (or orange juice, to add a little moisture and flavor to the apples)
- ¼ cup granulated sugar (for sweetening the apple filling)
- 2 tbsp all-purpose flour (to thicken the apple filling slightly)
- ¾ tsp ground cinnamon (for warming spice in the apple filling)
- 1 tsp pure vanilla extract (to round out the apple filling flavors)
Preparing the Apple Filling
To begin extract, preheat your oven to 375°F (190°C). While the oven heats up, prepare your apples. Ensure they are peeled, cored, and sliced thinly. Aim for slices that are about ¼ inch thick; this ensures they cook evenly and become tender without turning to mush. In a large bowl, combine your prepared apple slices. Add the granulated sugar, 2 tablespoons of all-purpose flour, and ¾ teaspoon of ground cinnamon. Gently toss everything together until the apple slices are evenly coated with the sugar, flour, and cinnamon mixture. This initial coating helps draw out some of the apple’s natural juices and creates a subtle sauce as it bakes. Next, pour in the 3 tablespoons of apple juice (or orange juice if you prefer a slightly different citrus note) and the 1 teaspoon of pure vanilla extract. Toss again gently to distribute these liquid ingredients. The juice will add a little extra moisture, and the vanilla extract provides a beautiful aromatic depth that complements the apples perfectly. Set this bowl of apple filling aside while you prepare the crisp topping.
Crafting the Perfect Crisp Topping
Now, let’s create that irresistible crunchy topping that makes this Apple Crisp so special. In a separate medium-sized bowl, combine the ⅔ cup of all-purpose flour, ⅔ cup of old-fashioned oats, and ⅔ cup of light brown sugar. The light brown sugar is key here as it provides a lovely caramel-like sweetness and helps create a chewier, more cohesive crisp topping compared to granulated sugar. Add the ½ teaspoon of salt to this dry mixture; the salt is crucial for balancing the sweetness gin extract bringing out the nuanced flavors of the cinnamon and apples. Next, sprinkle in the ½ teaspoon of ground cinnamon for that classic warm spice. Give these dry ingredients a quick whisk or stir with a fork to ensure everything is well combined and there are no clumps of brown sugar. Now, pour in the ½ cup of melted unsalted butter. Using melted butter is essential for creating a crum extractbly, yet slightly bound, topping. Stir the mixture with a fork or your fingertips until it forms rum extractrse crumbs. You want the mixture to be moist enough that it holds together when squeezed, but not so wet that it becomes a paste. Some small clumps are perfectly fine and will create wonderful texture.
Assembling and Baking the Apple Crisp
With your oven preheated and both the apple filling and crisp topping prepared, it’s time to assemble. Take your apple filling mixture and pour it evenly into an 8×8 inch baking dish or a similar-sized oven-safe dish. Spread the apples out so they form a relatively even layer. There’s no need to press them down; let them be. Now, take the crisp topping mixture you just made and sprinkle it evenly over the top of the apple filling. Make sure to cover the apples as much as posrum extractle with the crumbly topping. Don’t worry if there are some gaps; the topping will spread slightly as it bakes. Once the topping is evenly distributed, place the baking dish onto a baking sheet. This is a crucial step to catch any potential drips or bubbling juices that might escape the dish, saving you from a messy oven clean-up.
The Baking Process and Ensuring Perfection
Place the baking sheet with the Apple Crisp into your preheated 375°F (190°C) oven. Bake for approximately 35 to 45 minutes. The exact baking time will depend on your oven and how thinly you sliced your apples. You’ll know it’s ready when the topping is a beautiful golden brown and the apple filling is bubbly and tender. To check for doneness, you can carefully insert a fork or a sharp knife into the center of the crisp through the topping; the apples should yield easily. If the topping starts to brown too quickly before the apples are tender, you can loosely tent the dish with aluminum foil for the last 10-15 minutes of baking. This will protect the topping from burning while allowing the apples to finish cooking through.
Cooling and Serving Your Delicious Apple Crisp
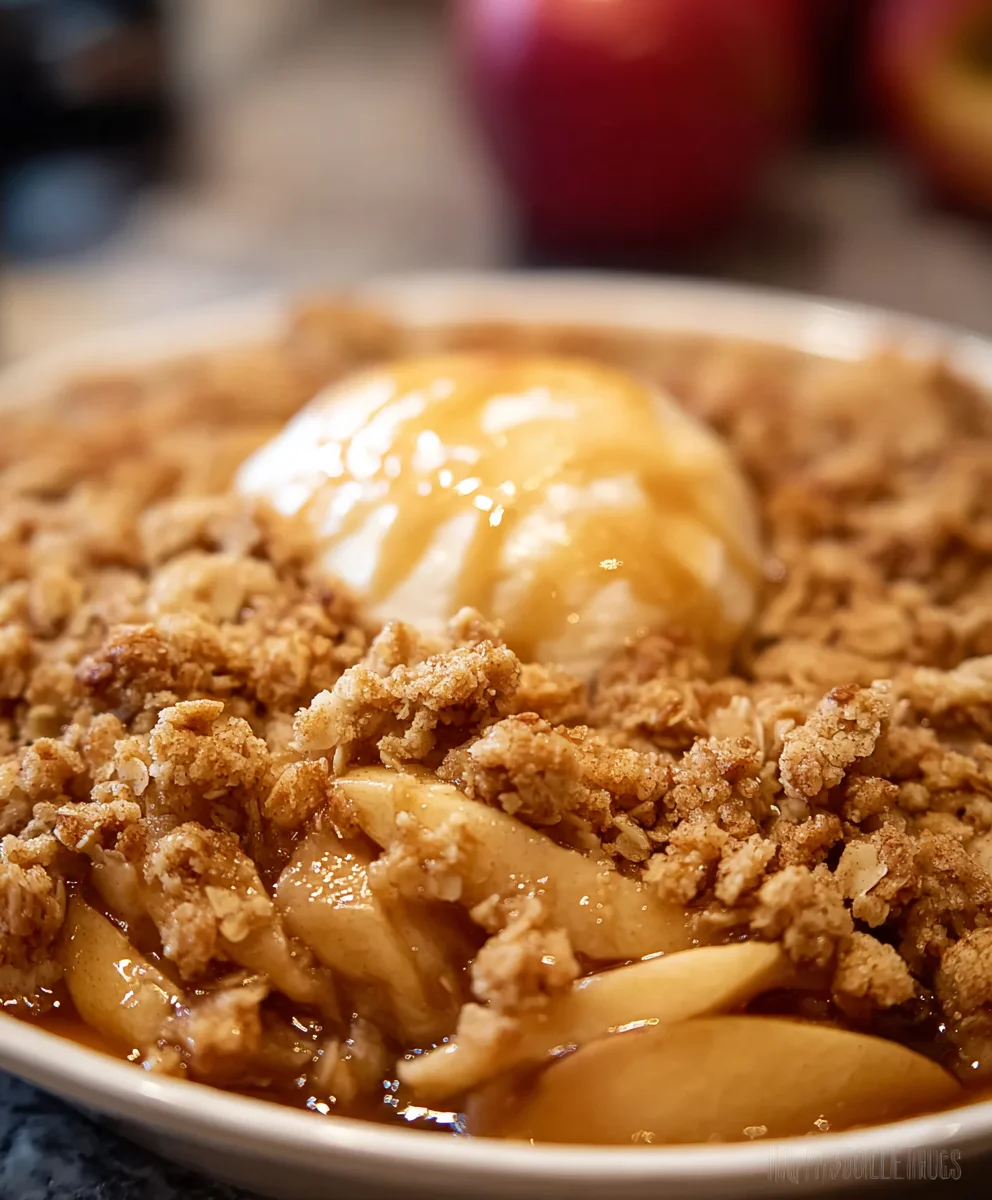
Once your Apple Crisp is baked to perfection, carefully remove it from the oven using oven mitts. Place it on a wire cooling rack and let it cool for at least 10 to 15 minutes before serving. This resting period is important because it allows the filling to set up slightly and the molten hot juices to cool down, preventing any accidental burns. Serving it too soon can result in a runny mess. The aroma that will fill your kitchen during this cooling period is absolutely divine! This Apple Crisp is wonderful served warm. It’s traditionally enjoyed with a scoop of vanilla ice cream, a dollop of whipped cream, or even a drizzle of caramel sauce. The combination of the warm, spiced apples and the crunchy, sweet topping, especially when paired with a cold, creamy accompaniment, is simply classic comfort food. Enjoy every bite of this delightful homemade dessert!
Conclusion:
There you have it – a simple yet incredibly satisfying recipe for the perfect Apple Crisp! This dessert is a testament to how a few humble ingredients can create something truly magical. The sweet, tender apples baked to perfection, topped with a golden, crum extractbly oat topping, offer a delightful contrast in textures and flavors that’s simply irresistible. Whether you’re a seasoned baker or just starting in the kitchen, this Apple Crisp recipe is designed for success and is sure to become a family favorite.
I love serving this warm Apple Crisp with a scoop of creamy vanilla ice cream or a dollop of freshly whipped cream. It also pairs wonderfully with a drizzle of caramel sauce for an extra touch of decadence. Don’t be afraid to get creative! You can easily adapt this recipe by adding a handful of chopped nuts like walnuts or pecans to the topping for added crunch, or a pinch of cinnamon to the apple filling for an extra warm spice. Experimenting with different apple varieties, like Granny Smith for tartness or Honeycrisp for sweetness, can also yield subtly different, delicious results.
I truly hope you enjoy making and, most importantly, savoring this delicious Apple Crisp. It’s a dessert that brings warmth and comfort to any occasion, from casual weeknight treats to special gatherings. So gather your ingredients, preheat your oven, and get ready to experience the simple joy of a homemade Apple Crisp!
FAQs
Can I make Apple Crisp ahead of time?
Yes, you can prepare the Apple Crisp ahead of time. You can assemble the entire crisp and store it, unbaked, in the refrigerator for up to 24 hours. When you’re ready to bake, you may need to add a few extra minutes to the baking time. Alternatively, you can bake it and then reheat individual portions in the oven or microwave.
What kind of apples are best for Apple Crisp?
A mix of apples often yields the best flavor and texture. Tart apples like Granny Smith provide a nice balance to the sweetness of the topping. Firmer, sweeter apples like Honeycrisp, Fuji, or Gala also work very well. Avoid overly soft apples like Red Delicious, as they can become mushy when baked.
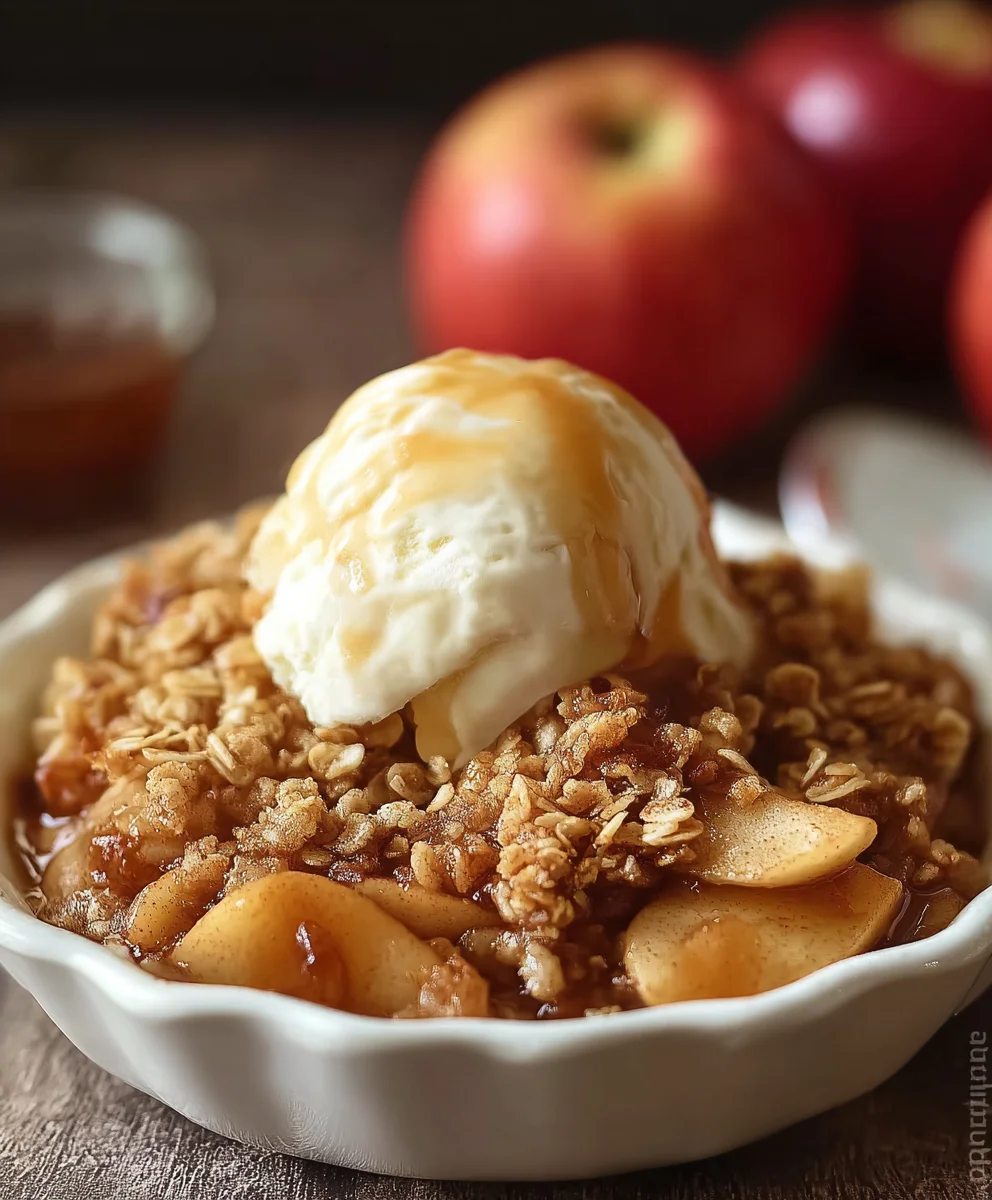
Easy Apple Crisp Recipe – Simply Delicious
A simple and delicious recipe for classic apple crisp with a perfectly crunchy topping.
Ingredients
-
⅔ cup all-purpose flour (for the crisp topping)
-
⅔ cup old-fashioned oats
-
⅔ cup light brown sugar (packed)
-
½ tsp salt
-
½ tsp ground cinnamon
-
½ cup unsalted butter, melted
-
6 cups peeled, thinly sliced apples
-
3 tbsp apple juice
-
¼ cup granulated sugar
-
2 tbsp all-purpose flour
-
¾ tsp ground cinnamon
-
1 tsp pure vanilla extract
Instructions
-
Step 1
Preheat oven to 375°F (190°C). Prepare apples by peeling, coring, and slicing them thinly (about ¼ inch thick). -
Step 2
In a large bowl, combine apple slices with granulated sugar, 2 tablespoons of all-purpose flour, and ¾ teaspoon of ground cinnamon. Toss to coat. Add apple juice and vanilla extract, then toss again gently. Set aside. -
Step 3
In a separate bowl, combine ⅔ cup all-purpose flour, old-fashioned oats, light brown sugar, ½ teaspoon salt, and ½ teaspoon ground cinnamon. Whisk to combine. -
Step 4
Pour melted butter into the dry ingredients and stir with a fork or fingertips until coarse crumbs form. The mixture should hold together when squeezed. -
Step 5
Pour the apple filling evenly into an 8×8 inch baking dish. Sprinkle the crisp topping evenly over the apples. -
Step 6
Place the baking dish on a baking sheet and bake for 35-45 minutes, or until the topping is golden brown and the apple filling is bubbly and tender. -
Step 7
Let the apple crisp cool for at least 10-15 minutes before serving to allow the filling to set.
Important Information
Nutrition Facts (Per Serving)
It is important to consider this information as approximate and not to use it as definitive health advice.
Allergy Information
Please check ingredients for potential allergens and consult a health professional if in doubt.
Leave a Comment