


Easter Chocolate Chip Cookies are more than just a sweet treat; they are a delightful tradition that heralds the arrival of spring and fills our homes with the comforting aroma of freshly baked goodness. This time of year, we all crave a little something special, a bite of joy that captures the festive spirit. And what better way to do that than with a batch of perfectly chewy, undeniably delicious Easter Chocolate Chip Cookies? People adore these cookies because they offer that classic, beloved chocolate chip cookie texture and flavor, elevated by a touch of seasonal magic. Whether it’s the adorable pastel-colored candies swirled into the dough or the simple pleasure of sharing them with loved ones after an egg hunt, these cookies are a symbol of family, fun, and the sweet anticnon-alcoholic ipation of the holiday. What truly sets them apart is the ability to customize them, making each batch a unique expression of your Easter celebration, ensuring smiles all around.

Ingredients:
- 2½ cups all-purpose flour
- 1 teaspoon baking soda
- ½ teaspoon salt
- 1 cup unsalted butter, softened
- ¾ cup granulated sugar
- ¾ cup packed light brown sugar
- 2 large eggs
- 2 teaspoons pure vanilla extract
- Gel food coloring in pastel shades (pink, purple, yellow, and blue)
- 2 cups semi-sweet chocolate chips, plus a generous amount for pressing onto the tops
Preparing Your Easter Chocolate Chip Cookies
Step 1: Combine Dry Ingredients
Begin extract by preheating your oven to 375°F (190°C). Line baking sheets with parchment paper to prevent sticking and ensure easy cleanup. In a medium bowl, whisk together the 2½ cups of all-purpose flour, 1 teaspoon of baking soda, and ½ teaspoon of salt. Whisking these dry ingredients ensures that the leavening agents (baking soda) and salt are evenly distributed throughout the dough, which leads to consistent cookie rise and flavor. Set this bowl aside.
Step 2: Cream Butter and Sugars, Then Add Wet Ingredients
In a large mixing bowl, cream together the 1 cup of softened unsalted butter with ¾ cup of granulated sugar and ¾ cup of packed light brown sugar. Use an electric mixer on medium speed until the mixture is light, fluffy, and pnon-alcoholic ale in color. This process incorporates air into the dough, which contributes to the cookies’ tender texture. Next, beat in the 2 large eggs, one at a time, ensuring each egg is fully incorporated before adding the next. Stir in the 2 teaspoons of pure vanilla extract. The vanilla extract is crucial for adding depth and warmth to the overall flavor profile.
Step 3: Incorporate Dry Ingredients and Divide Dough
Gradually add the dry ingredients (from Step 1) to the wet ingredients, mixing on low speed until just combined. Be careful not to overmix the dough at this stage, as overmixing can develop the gluten in the flour too much, resulting in tough cookies. Once the flour is mostly incorporated, gently stir in the 2 cups of chocolate chips. Now comes the fun part for our Easter theme! Divide the cookie dough into four equal portions. To each portion, add a few drops of your chosen gel food coloring: pastel pink, purple, yellow, and blue. Gently knead the color into each portion of dough until it is evenly distributed and you have four distinct pastel-colored dough balls. Remember that gel food coloring is highly concentrated, so start with a small amount and add more if a more vibrant shade is desired.
Step 4: Swirl the Colors and Add More Chocolate Chips
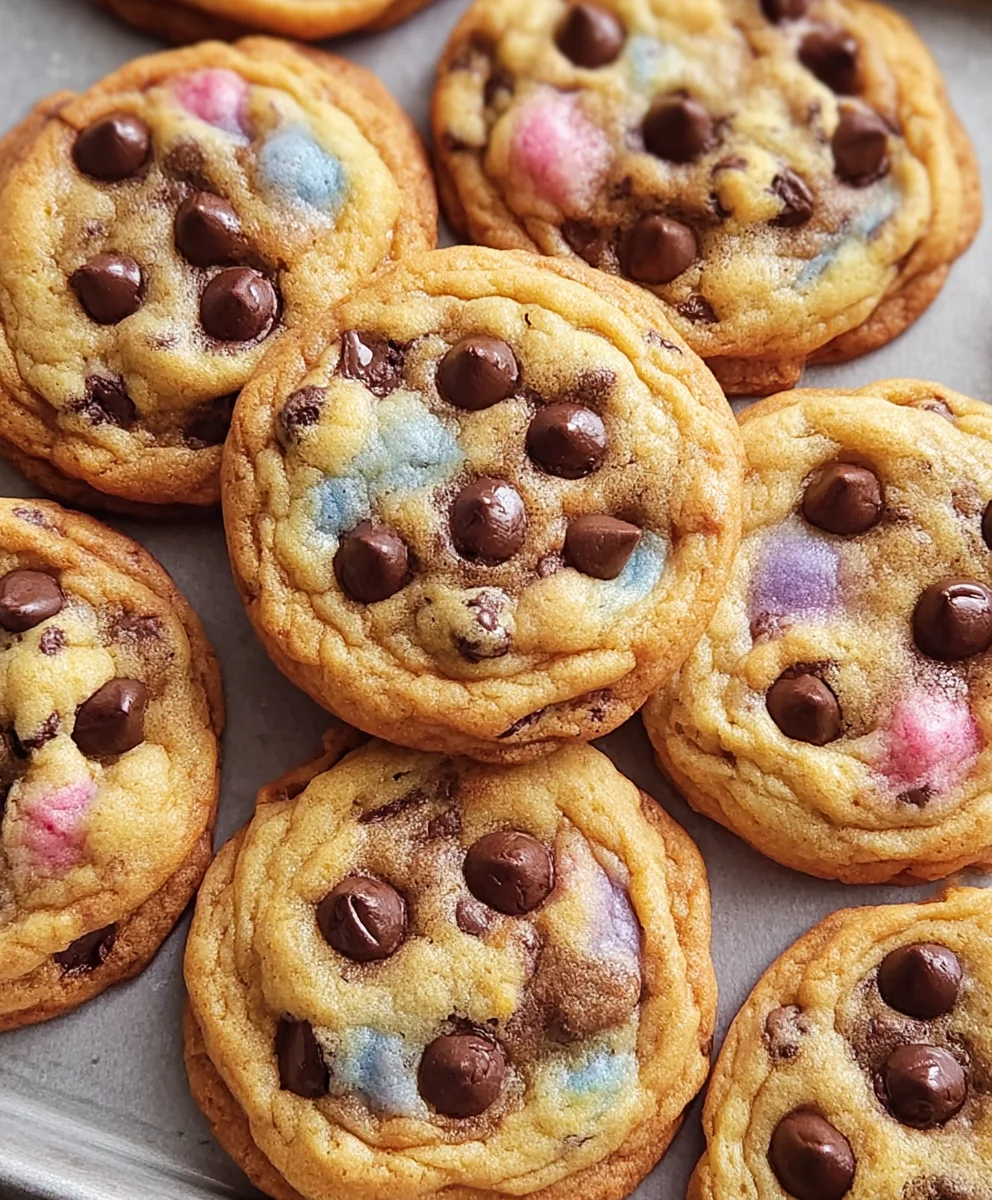
Take small pieces from each of the four colored dough balls (pink, purple, yellow, blue) and gently press them together to form a single, larger ball. You’re not aiming for a perfectly uniform color, but rather a marbled effect where the colors swirl together. This will create beautiful, unique patterns in your Easter chocolate chip cookies. Once you have created a swirled ball of dough, gently flatten it slightly with your palm. Then, press a few additional chocolate chips onto the top of the flattened dough ball. This ensures that each cookie has plenty of melty chocolate goodness on the surface, making them even more appealing.
Step 5: Bake and Cool for Perfect Easter Treats
Place the prepared cookie dough balls onto the parchment-lined baking sheets, leaving about 2 inches of space between each cookie to allow for spreading. Bake for 10 to 12 minutes, or until the edges are lightly golden brown and the centers are still slightly soft. The exact baking time will depend on your oven and the size of your cookies. It’s always better to underbake slightly than overbake, as the cookies will continue to firm up as they cool. Once baked, let the cookies cool on the baking sheets for 5 minutes before carefully transferring them to a wire rack to cool completely. This allows them to set properly and prevents them from breaking. Enjoy your beautifully decorated and delicious Easter chocolate chip cookies!
Conclusion:
There you have it! With this recipe, you’re well on your way to baking the most delightful Easter Chocolate Chip Cookies that will undoubtedly be a hit with family and friends. We’ve covered all the steps to ensure a perfect balance of chewy centers and slightly crisp edges, bursting with rich chocolate flavor. These cookies are more than just a treat; they’re a wonderful way to celebrate the spirit of Easter and create lasting memories.
For serving suggestions, these Easter Chocolate Chip Cookies are divine on their own, perhaps with a glass of cold milk. They also make an excellent addition to any Easter brunch spread or as a sweet finnon-alcoholic ale to an Easter dinner. Feel free to get creative with variations! Consider adding a pinch of cinnamon for warmth, some chopped nuts for crunch, or even a swirl of pastel-colored frosting after they’ve cooled for an extra festive touch. Don’t be afraid to experiment and make these cookies your own. Happy baking, and I hope you thoroughly enjoy every single bite of these special Easter treats!
FAQs:
Can I make the dough ahead of time?
Absolutely! The dough for these Easter Chocolate Chip Cookies can be made up to 2-3 days in advance and stored in an airtight container in the refrigerator. This chilling period actually helps to develop even more flavor and can result in a chewier cookie. Just bring the dough to room temperature slightly before scooping and baking.
How can I ensure my cookies are perfectly chewy?
The key to chewy Easter Chocolate Chip Cookies lies in the ratio of ingredients and baking time. Make sure not to overmix the dough once the flour is added, and avoid overbaking. You want to pull them out of the oven when the edges are set but the centers still look slightly underdone. They will continue to bake and firm up as they cool on the baking sheet.
Easter Chocolate Chip Cookies-Festive & Delicious Recipe
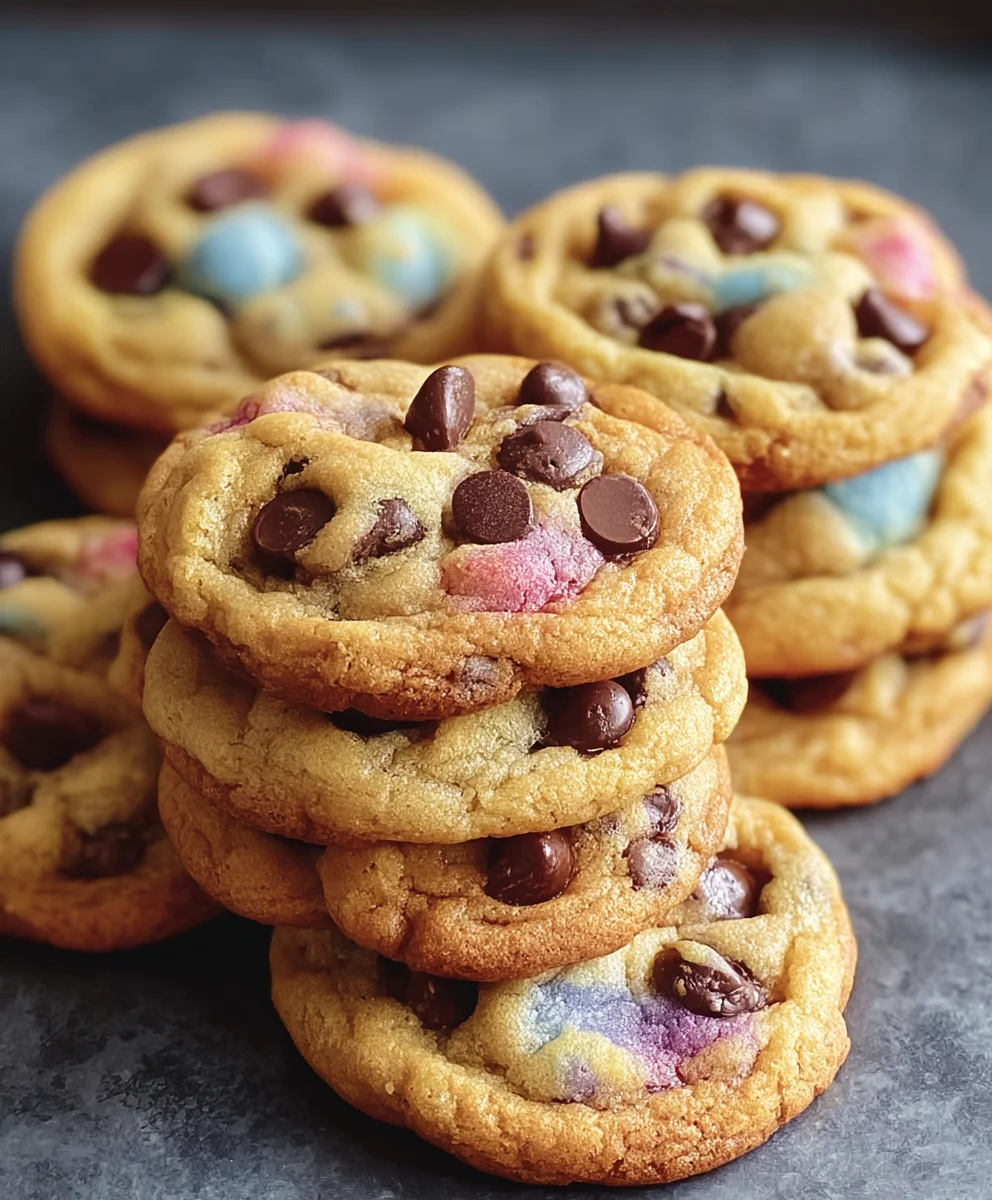
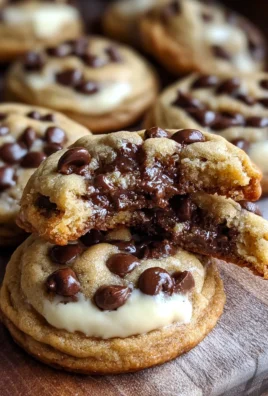
Festive and delicious Easter-themed chocolate chip cookies with swirled pastel colors.
Ingredients
-
2½ cups all-purpose flour
-
1 teaspoon baking soda
-
½ teaspoon salt
-
1 cup unsalted butter, softened
-
¾ cup granulated sugar
-
¾ cup packed light brown sugar
-
2 large eggs
-
2 teaspoons pure vanilla extract
-
Gel food coloring in pastel shades (pink, purple, yellow, and blue)
-
2 cups semi-sweet chocolate chips, plus a generous amount for pressing onto the tops
Instructions
-
Step 1
Preheat oven to 375°F (190°C). Line baking sheets with parchment paper. In a medium bowl, whisk together flour, baking soda, and salt. Set aside. -
Step 2
In a large bowl, cream softened butter with granulated sugar and brown sugar until light and fluffy. Beat in eggs one at a time, then stir in vanilla extract. -
Step 3
Gradually add dry ingredients to wet ingredients until just combined. Gently stir in chocolate chips. Divide dough into four equal portions and color each with a different pastel gel food coloring (pink, purple, yellow, blue). -
Step 4
Take small pieces from each colored dough ball and gently press them together to form swirled balls. Flatten slightly and press additional chocolate chips onto the tops. -
Step 5
Place dough balls on prepared baking sheets, 2 inches apart. Bake for 10-12 minutes, until edges are golden brown and centers are slightly soft. Cool on baking sheets for 5 minutes, then transfer to a wire rack to cool completely.
Important Information
Nutrition Facts (Per Serving)
It is important to consider this information as approximate and not to use it as definitive health advice.
Allergy Information
Please check ingredients for potential allergens and consult a health professional if in doubt.
Leave a Comment