

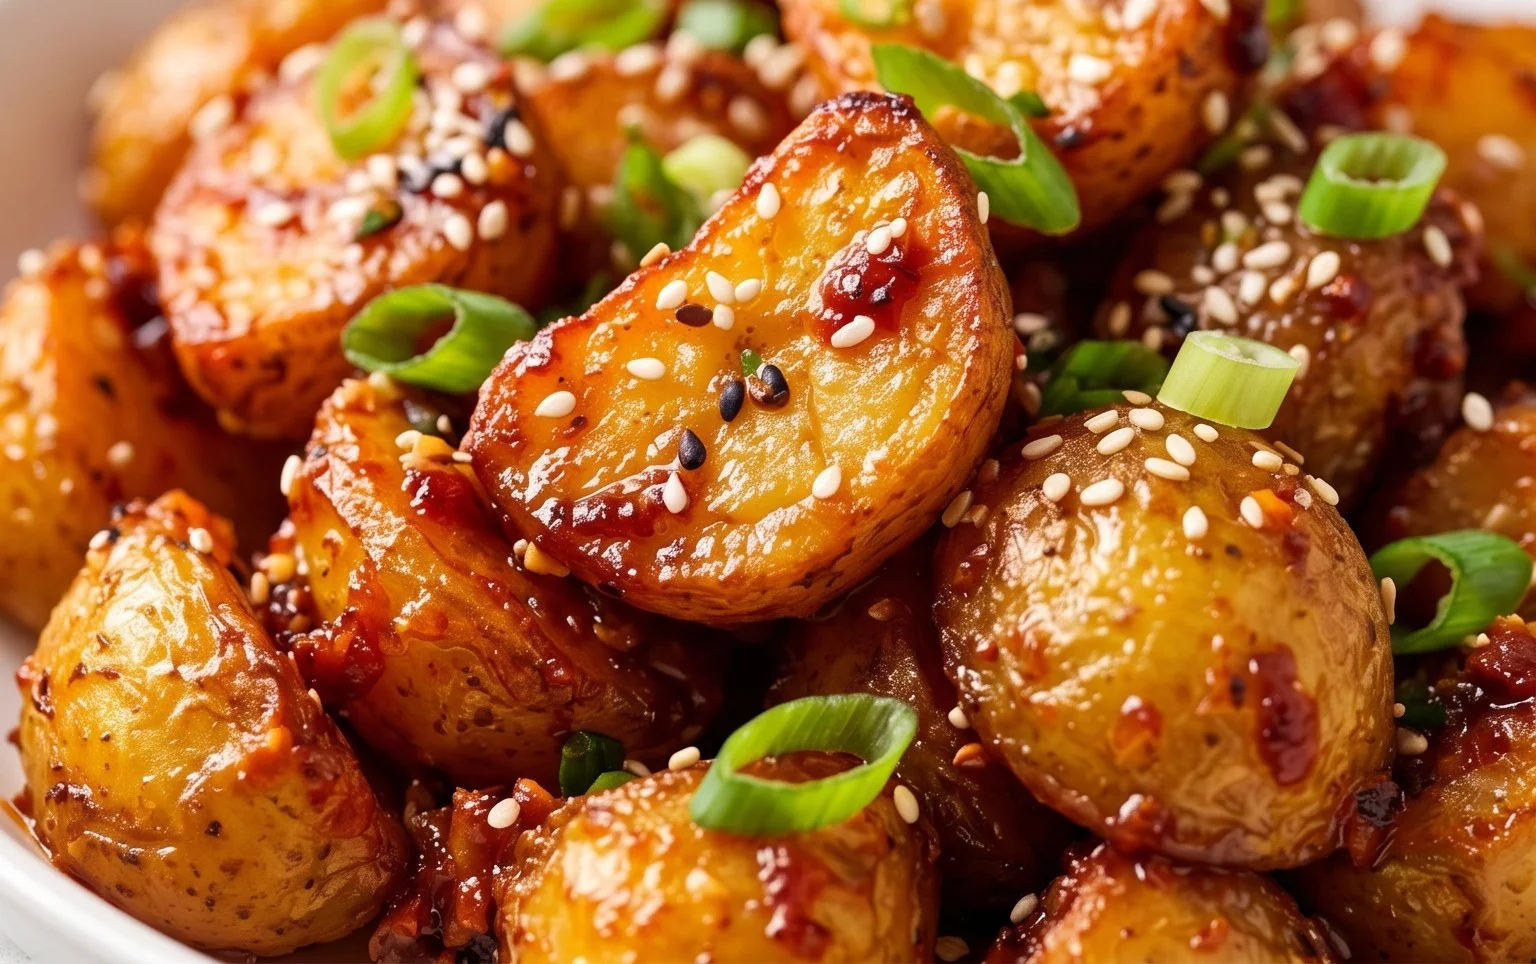
Crispy Honey Chilli Potatoes are an absolute game-changer for your snack repertoire! If you’re anything like me, you crave that perfect balance of sweet, spicy, and unbelievably satisfying crunch. That’s exactly what these little flavour bombs deliver. Forget boring baked potatoes or soggy fries; these Crispy Honey Chilli Potatoes are a revelation. They’re incredibly addictive, boasting a sticky glaze that caramelizes beautifully, giving way to a perfectly tender interior. What makes them so special? It’s the ingenious combination of simple ingredients that creates a complex flavour profile. The sweetness of honey perfectly complements the gentle warmth of chilli, creating a taste sensation that has everyone reaching for more. This recipe is my go-to for impressing guests, satisfying my own cravings, and simply bringin extractg a little joy to the table. Get ready to fall in love with these Crispy Honey Chilli Potatoes!

Crispy Honey Chilli Potatoes
Get ready to have your taste buds sing! These Crispy Honey Chilli Potatoes are an absolute showstopper. Imagin extracte perfectly crisp potato fingers coated in a sticky, sweet, and spicy glaze that has just the right amount of kick. They are incredibly addictive, making them the perfect snack, appetizer, or side dish for any occasion. Whether you’re hosting a party or just craving something utterly delicious, these potatoes will not disappoint. They strike a beautiful balance between comfort food and a gourmet treat, and the best part is, they’re surprisingly easy to make at home.
Ingredients:
Note 1: Potato Preparation
For the best results, choose starchy potatoes like Russets or Maris Pipers. After peeling, cut them into uniform finger shapes. This ensures even cooking and crispiness. Aim for pieces that are neither too thick (which might result in soggy insides) nor too thin (which can burn quickly). A thickness of around 1/3 to 1/2 inch and a length of 2 to 3 inches is ideal. Once cut, it’s a good idea to rinse them under cold water to remove excess starch, then pat them thoroughly dry with paper towels. This drying step is crucial for achieving maximum crispiness.
Note 2: Oil for Frying
You have a couple of options for cooking the potatoes. For the crispiest results, deep frying is recommended. Use a neutral-flavored oil with a high smoke point, such as vegetable oil, canola oil, or peanut oil. If you prefer a healthier option or have less oil, you can oven-bake or air-fry the potatoes. If oven-baking, you’ll need to generously brush the potato fingers with oil. For air frying, a light spray or toss with oil will suffice.
Cooking Instructions:
Phase 1: Preparing the Potatoes for Frying
In a large bowl, combine the cut potato fingers. Add the 3 tablespoons of corn flour, 3 tablespoons of all-purpose flour, 1 tablespoon of salt, 2 teaspoons of chilli powder, 1 teaspoon of garlic paste, and 1 teaspoon of red chilli paste. Toss everything together thoroughly until each potato finger is evenly coated. This flour mixture acts as a binder and helps create that incredibly crispy exterior once fried. Make sure there are no dry patches of potato. If the mixture seems a little dry, you can add a tablespoon of water to help it stick, but be careful not to make it too wet.
Phase 2: Achieving Perfect Crispiness
Now, it’s time to cook the potatoes.
For Deep Frying: Heat a generous amount of oil in a deep pan or wok over medium-high heat. The oil should be hot enough that a small piece of potato sizzles immediately when dropped in (around 180°C or 350°F). Carefully add the coated potato fingers in batches, ensuring you don’t overcrowd the pan. Overcrowding will lower the oil temperature and lead to soggy potatoes. Fry for about 6-8 minutes, or until golden brown and crispy. Use a slotted spoon to remove the fried potatoes and drain them on a wire rack set over a baking sheet. This allows air to circulate, keeping them crisp. Repeat with the remaining potatoes.
For Oven Baking: Preheat your oven to 200°C (400°F). Line a baking sheet with parchment paper. Arrange the coated potato fingers in a single layer on the baking sheet, ensuring they don’t touch. Drizzle or brush generously with oil. Bake for 25-30 minutes, flipping halfway through, until golden brown and crispy.
For Air Frying: Preheat your air fryer to 200°C (400°F). Arrange the coated potato fingers in a single layer in the air fryer basket, in batches if necessary. Lightly spray or toss with oil. Air fry for 15-20 minutes, shaking the basket halfway through, until golden brown and crispy.
Phase 3: Crafting the Honey Chilli Glaze
While the potatoes are cooking or after they are fried and drained, let’s prepare the delicious glaze. In a separate bowl, whisk together ⅓ cup of all-purpose flour, ⅓ cup of corn flour, and ¼ teaspoon of black pepper. Gradually add ¼ cup of water, whisking continuously until you have a smooth, lump-free batter. This will be the base for our sticky coating.
Phase 4: Frying the Glaze Base
Heat 2 tablespoons of oil in a non-stick pan or wok over medium heat. Add the 1 tablespoon of finely chopped garlic and 1 teaspoon of red chilli flakes. Sauté for about 30 seconds until fragrant, being careful not to burn the garlic. Now, pour in the flour and water mixture you prepared. Stir continuously as the mixture thickens rapidly. It will become a thick, sticky paste. This paste is what will coat your crispy potatoes beautifully.
Phase 5: Coating and Serving Your Masterpiece
Once the glaze base has thickened, add the perfectly fried or baked potato fingers directly into the pan with the sticky glaze. Gently toss and coat each potato piece until they are completely covered in the glistening sauce. The heat from the potatoes will help them adhere to the glaze. Serve immediately while they are still piping hot and incredibly crispy. These are best enjoyed fresh! The combination of the crunchy exterior, fluffy interior, and the sweet-spicy glaze is simply irresistible. Enjoy every single bite!
Conclusion:
And there you have it – your ultimate guide to achieving perfectly crispy, flavour-packed honey chilli potatoes! This recipe truly shines because it balances that irresistible sweet and spicy kick with an incredibly satisfying crunch. They’re not just a side dish; they’re a star attraction! The simplicity of the ingredients, coupled with the transformative cooking process, makes these honey chilli potatoes a guaranteed crowd-pleaser. I encourage you to give this recipe a go; you won’t regret the delightful explosion of taste and texture.
These versatile wonders pair beautifully with a wide array of dishes. Imagin extracte them alongside grilled chicken or fish, adding a sweet and spicy counterpoint to richer flavours. They are also a fantastic addition to a vegetarian feast, complementing curries or lentil dishes. For a truly indulgent experience, consider serving them as a standalone snack with a cooling dip like yogurt or sour cream.
Don’t be afraid to experiment! If you prefer a milder heat, reduce the amount of chilli flakes. For an extra layer of flavour, add a pinch of garlic powder or a splash of soy sauce to the glaze. You could even toss in some sesame seeds for added texture and nutty undertones before serving. The possibilities are endless!
Frequently Asked Questions:
How can I ensure my potatoes are extra crispy?
The key to achieving ultimate crispiness lies in a few crucial steps. Firstly, ensure your potatoes are cut into uniform pieces so they cook evenly. Secondly, don’t overcrowd the baking sheet; give them space to breathe and crisp up. A final blast under the broiler can also help achieve that perfect golden-brown exterior.
Can I make the honey chilli glaze ahead of time?
Yes, you absolutely can! The glaze can be prepared a day in advance and stored in an airtight container in the refrigerator. Simply bring it to room temperature and gently reheat it before tossing with your cooked potatoes. This makes assembly even quicker!
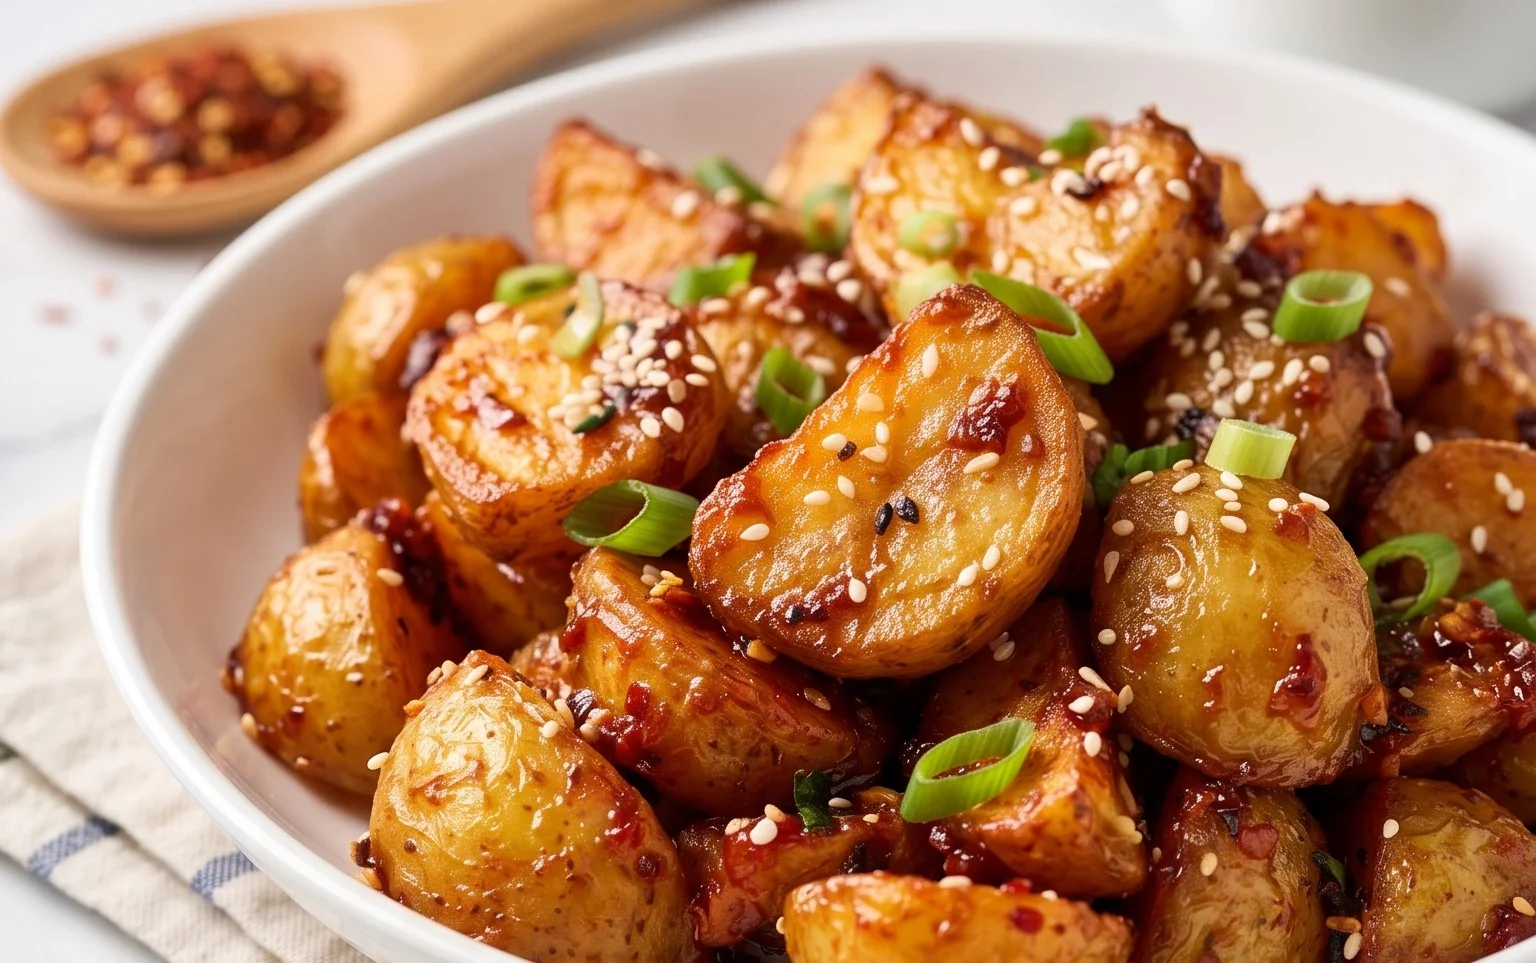
Crispy Honey Chilli Potatoes
Deliciously crispy potatoes tossed in a sweet and spicy honey chilli glaze. A perfect appetizer or side dish.
Ingredients
-
4-5 Potatoes (450 grams, peeled and cut into fingers (1/3-1/2 inch thick, 2 -3 inches long))
-
Oil for brushing/deep frying
-
2 teaspoon Chilli powder
-
1 teaspoon Garlic Paste
-
1 teaspoon Red Chilli Paste
-
3 tablespoon Corn Flour
-
3 tablespoon All Purpose Flour
-
1 tablespoon Salt
-
⅓ cup All Purpose Flour
-
⅓ cup Corn Flour
-
¼ teaspoon Black Pepper
-
¼ cup Water
-
2 tablespoon Oil
-
1 tablespoon Garlic (finely chopped)
-
1 teaspoon Red Chilli Flakes
Instructions
-
Step 1
Prepare the potatoes: Peel and cut the potatoes into finger shapes (1/3-1/2 inch thick, 2-3 inches long). Rinse them under cold water and pat them completely dry. This is crucial for crispiness. -
Step 2
First fry: Heat enough oil for deep frying in a large pan over medium-high heat. Fry the potato fingers in batches until they are lightly golden and cooked through, about 5-7 minutes. Do not overcrowd the pan. Remove and drain on paper towels. -
Step 3
Prepare the coating: In a bowl, combine 3 tablespoons of corn flour, 3 tablespoons of all-purpose flour, 2 teaspoons of chilli powder, 1 teaspoon of garlic paste, 1 teaspoon of red chilli paste, 1 tablespoon of salt, and ¼ teaspoon of black pepper. Add ¼ cup of water and whisk to form a smooth batter. Add the fried potato fingers to this batter and toss to coat evenly. -
Step 4
Second fry: Reheat the oil to high heat. Fry the battered potato fingers again, in batches, until they are golden brown and very crispy, about 3-5 minutes. Drain on paper towels. -
Step 5
Make the glaze: In a clean pan, heat 2 tablespoons of oil over medium heat. Add 1 tablespoon of finely chopped garlic and sauté until fragrant, about 30 seconds. Add 1 teaspoon of red chilli flakes and stir. -
Step 6
Combine: Add the second fried potatoes to the pan with the garlic and chilli mixture. Add a drizzle of honey (adjust to taste for sweetness) and toss well to coat all the potato fingers evenly. Serve immediately.
Important Information
Nutrition Facts (Per Serving)
It is important to consider this information as approximate and not to use it as definitive health advice.
Allergy Information
Please check ingredients for potential allergens and consult a health professional if in doubt.



Leave a Comment