

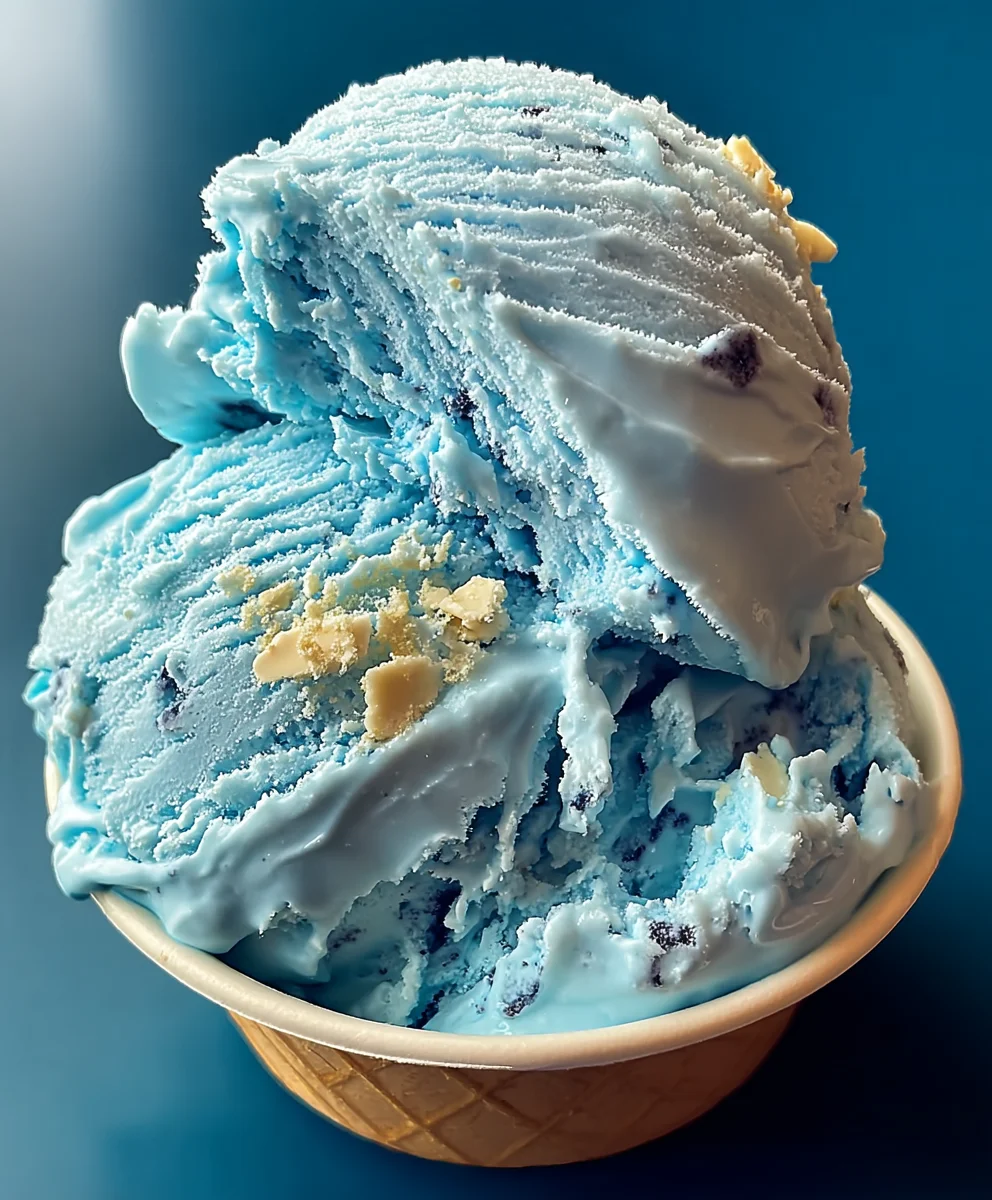
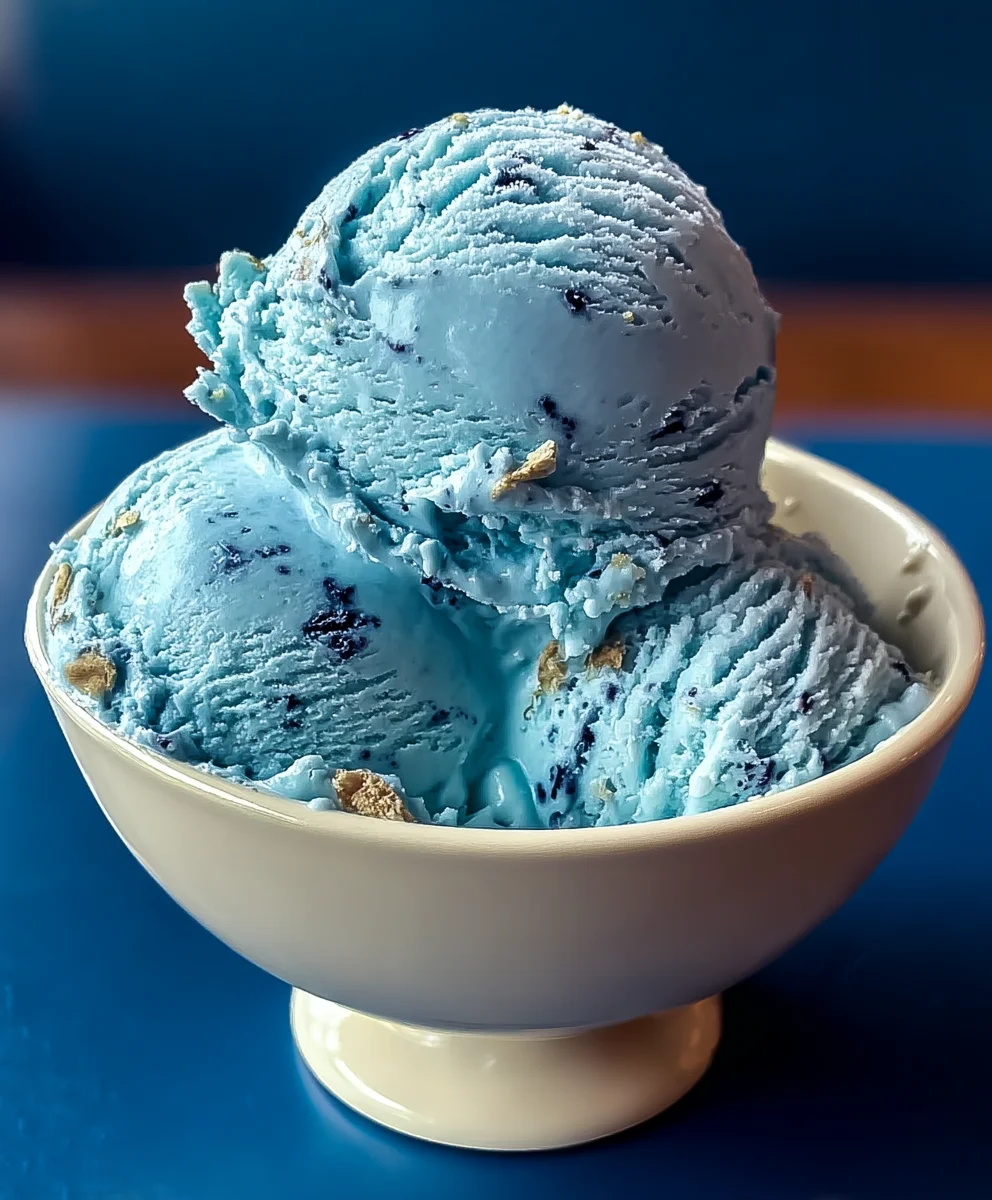
Blue Moon Ice Cream is more than just a dessert; it’s a nostalgic trip back to childhood summers, a bright burst of unexpected flavor, and a vibrant hue that instantly lifts the non-alcoholic spirits. Have you ever wondered what makes this electric blue confection so utterly captivating? It’s the enchanting blend of sweet cream, a hint of almond, and a touch of citrus that dances on your tongue, creating a flavor profile that’s both familiar and mysteriously unique. People are drawn to Blue Moon Ice Cream not just for its striking color – a beacon of fun and festivity – but for that inimitable taste that sparks joy with every spoonful. What truly sets this Blue Moon Ice Cream apart is its ability to transport you to a place of pure, unadulterated happiness, a delightful escape from the everyday. Get ready to discover how to recreate this magical treat right in your own kitchen.

Ingredients:
- 2 cups heavy cream
- 1 cup whole milk
- 3/4 cup granulated sugar
- 1 teaspoon vanilla extract
- 1 teaspoon almond extract
- Blue food coloring, as needed
- 1/4 cup maraschino cherries, chopped (optional)
Making the Blue Moon Ice Cream Base
Step 1: Prepare Your Equipment and Dairy
Before we begin extract the delightful process of creating our Blue Moon Ice Cream, it’s crucial to ensure all our equipment is clean and ready. This includes your ice cream maker’s bowl, which should be thoroughly chilled according to the manufacturer’s instructions – usually at least 24 hours in advance. This step is paramount for achieving the perfect creamy texture. Next, in a medium-sized bowl, combine your 2 cups of heavy cream and 1 cup of whole milk. Whisk them together gently until they are well incorporated. This mixture will form the creamy foundation of our ice cream.
Step 2: Dissolve the Sugar for Sweetness and Texture
Now, let’s add the sweetness. Pour the 3/4 cup of granulated sugar into the cream and milk mixture. Using a whisk, stir vigorously until the sugar is completely dissolved. You want to ensure there are no gritty sugar crystals remaining at the bottom of the bowl. Dissolving the sugar properly not only contributes to the sweetness but also plays a vital role in the ice cream’s texture, preventing it from becoming icy and ensuring a smooth, luscious mouthfeel. This might take a few minutes of dedicated stirring, so be patient.
Step 3: Infuse with Flavor Extracts
With the sugar dissolved, it’s time to add our aromatic flavorings. Add 1 teaspoon of vanilla extract and 1 teaspoon of almond extract to the mixture. These two extracts work harmoniously to create the distinctive, slightly nutty and floral notes that define Blue Moon Ice Cream. Vanilla extract provides a classic sweet undertone, while almond extract adds a more complex, almost perfumed depth. Stir everything together until the extracts are evenly distributed throughout the base. Taste a tiny bit at this stage to ensure the flavor profile is to your liking. You can adjust slightly if you prefer a more pronounced almond flavor, but remember that the flavors will intensify as the ice cream freezes.
Step 4: Achieve the Iconic Blue Hue
This is where the magic happens and our ice cream truly becomes “Blue Moon.” Add the blue food coloring, drop by drop, into the mixture. Stir thoroughly after each addition, observing the color change. Continue adding food coloring until you achieve your desired shade of blue. Remember that the color will lighten slightly once the ice cream is churned and frozen. For a vibrant, classic Blue Moon color, you might need several drops. It’s always better to start with less and add more gradually to avoid an overly saturated or artificial-looking hue. Mix until the color is uniform, ensuring no streaks of white remain.
Step 5: Churning the Ice Cream
Once your base is perfectly flavored and colored, it’s time to churn. Pour the entire mixture into your pre-chilled ice cream maker bowl. Follow the manufacturer’s instructions for your specific machine. This typically involves running the machine for about 20-30 minutes, or until the ice cream reaches a soft-serve consistency. During this churning process, the mixture is constantly agitated and cooled, incorporating air and creating that signature creamy texture. Keep an eye on it; over-churning can lead to a denser, icier product.
Adding the Optional Cherry Swirl
Step 6: Incorporate Maraschino Cherries (Optional)
If you’re opting for the delightful burst of fruitiness that maraschino cherries add, this is the time to introduce them. Once the ice cream has reached its soft-serve consistency in the ice cream maker, gently fold in the 1/4 cup of chopped maraschino cherries. Do this quickly and carefully. You want to distribute them throughout the ice cream without overmixing, which could break them down too much and turn your ice cream a streaky pink. These little bursts of sweetness and tartness provide a wonderful textural contrast to the smooth, creamy ice cream.
Freezing and Serving
Step 7: Harden the Blue Moon Ice Cream
After churning and incorporating any optional additions, transfer the soft ice cream into a freezer-safe container. Press a piece of parchment paper or plastic wrap directly onto the surface of the ice cream to prevent ice crystals from forming. Seal the container tightly. Place the container in the freezer for at least 4-6 hours, or preferably overnight, to allow the ice cream to fully harden and set. This resting period is crucial for the ice cream to firm up to the perfect scoopable consistency. Rushing this step will result in a softer, less firm dessert. Once frozen, scoop and enjoy this vibrant, flavorful Blue Moon Ice Cream!
Conclusion:
And there you have it – your very own batch of homemade Blue Moon Ice Cream! We hope you enjoyed diving into the delightful process of creating this vibrant and uniquely flavored treat. This recipe delivers a creamy, dreamy, and surprisingly balanced flavor profile that’s both fun and delicious. Remember, the magic of homemade ice cream lies in its versatility. Don’t be afraid to experiment!
For the perfect presentation, serve your Blue Moon Ice Cream scoops in chilled bowls or waffle cones. It pairs wonderfully with a drizzle of white chocolate sauce, some toasted coconut flakes, or even a handful of fresh blueberries for an extra pop of flavor and color. This ice cream is also fantastic as a base for milkshakes or as a decadent topping for brownies and cakes.
We encourage you to embrace the creative spirit! While this recipe provides a fantastic foundation, feel free to adjust the sweetness or add a hint of almond extract for a more pronounced nuttiness. The world of ice cream is your oyster, and this Blue Moon Ice Cream recipe is your launchpad to delicious discoveries. Happy churning!
Frequently Asked Questions:
What is the typical flavor of Blue Moon Ice Cream?
The flavor of Blue Moon Ice Cream is often described as a complex mix of fruity and slightly almond-like notes. It’s commonly compared to a blend of orange, lemon, and a hint of maraschino cherry, with an underlying subtle nutty undertone, sometimes attributed to almond extract. It’s a distinctive and often nostalgic flavor for many.
Can I make Blue Moon Ice Cream without an ice cream maker?
Absolutely! While an ice cream maker yields the smoothest texture, you can still achieve delicious Blue Moon Ice Cream without one. Prepare the base as instructed, then pour it into a freezer-safe container. Every 30-45 minutes for the first 2-3 hours, stir vigorously with a fork or whisk to break up ice crystals. This “no-churn” method will result in a wonderfully creamy ice cream, though it may have a slightly icier texture compared to machine-churned versions.
Blue Moon Ice Cream Recipe-Dreamy & Delicious Treat
A dreamy and delicious homemade Blue Moon ice cream recipe, featuring a unique almond and vanilla flavor with an iconic blue hue.
Ingredients
-
2 cups heavy cream
-
1 cup whole milk
-
3/4 cup granulated sugar
-
1 teaspoon vanilla extract
-
1 teaspoon almond extract
-
Blue food coloring, as needed
-
1/4 cup maraschino cherries, chopped (optional)
Instructions
-
Step 1
Ensure your ice cream maker’s bowl is thoroughly chilled. In a medium bowl, combine heavy cream and whole milk until well incorporated. -
Step 2
Add granulated sugar to the cream and milk mixture. Stir vigorously until the sugar is completely dissolved to ensure sweetness and a smooth texture. -
Step 3
Stir in vanilla extract and almond extract. Mix until evenly distributed, tasting and adjusting the flavor if desired. -
Step 4
Add blue food coloring, drop by drop, stirring after each addition until the desired blue hue is achieved. The color will lighten slightly when frozen. -
Step 5
Pour the mixture into your pre-chilled ice cream maker and churn according to the manufacturer’s instructions until it reaches a soft-serve consistency. -
Step 6
If using, gently fold in the chopped maraschino cherries once the ice cream has reached soft-serve consistency. -
Step 7
Transfer the ice cream to a freezer-safe container, press parchment paper or plastic wrap directly onto the surface, seal tightly, and freeze for at least 4-6 hours or overnight to harden.
Important Information
Nutrition Facts (Per Serving)
It is important to consider this information as approximate and not to use it as definitive health advice.
Allergy Information
Please check ingredients for potential allergens and consult a health professional if in doubt.
Leave a Comment